The quick pollinator shade garden I made last week is doing great. I think I may have cooked some of the really early spring bloomers by waiting so late to plant them, but they are rebounding and will come back next year. Today I checked on them and found a couple of patches of Virginia Bluebells starting to pop open, which I think constitute my first flowering blooms this spring.
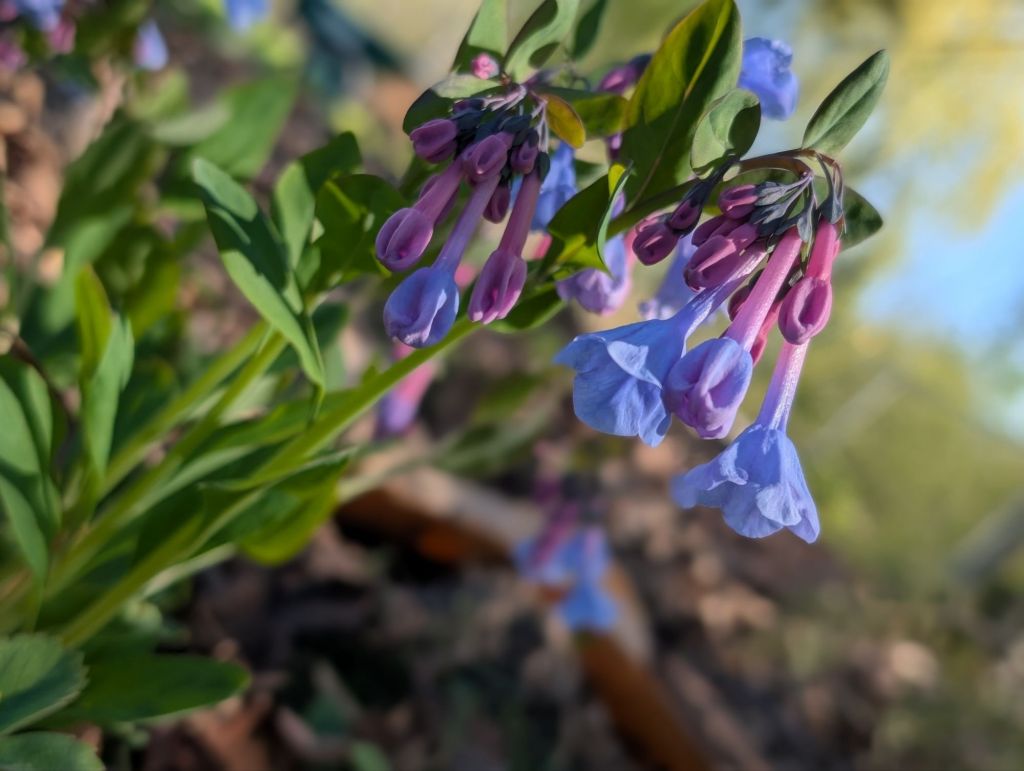
Technically the bloodroot bloomed in its holding pots before these guys, but I was far too busy panicking about all my plants being in pots to notice.
I’ve also been distracted prepping plants for some upcoming Butterflyway gardens in a couple of local elementary schools, and I am SO excited to see community pulling together around these, but this has also led to more neglect of my plants.
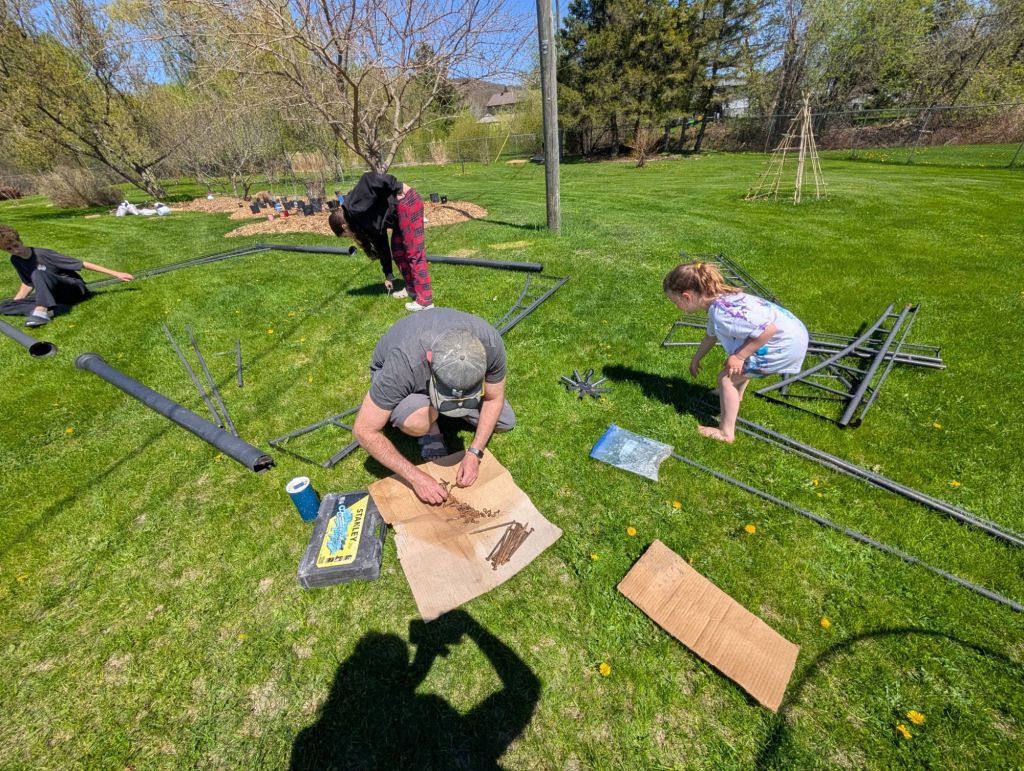
Yesterday was Mother’s Day and I got to spend all day in the garden with my favourite people, working on one of my favourite garden activities for our own brand new garden space:
Taking pleasure in finding new ways to kill lawn and replace it with pollinator habitat
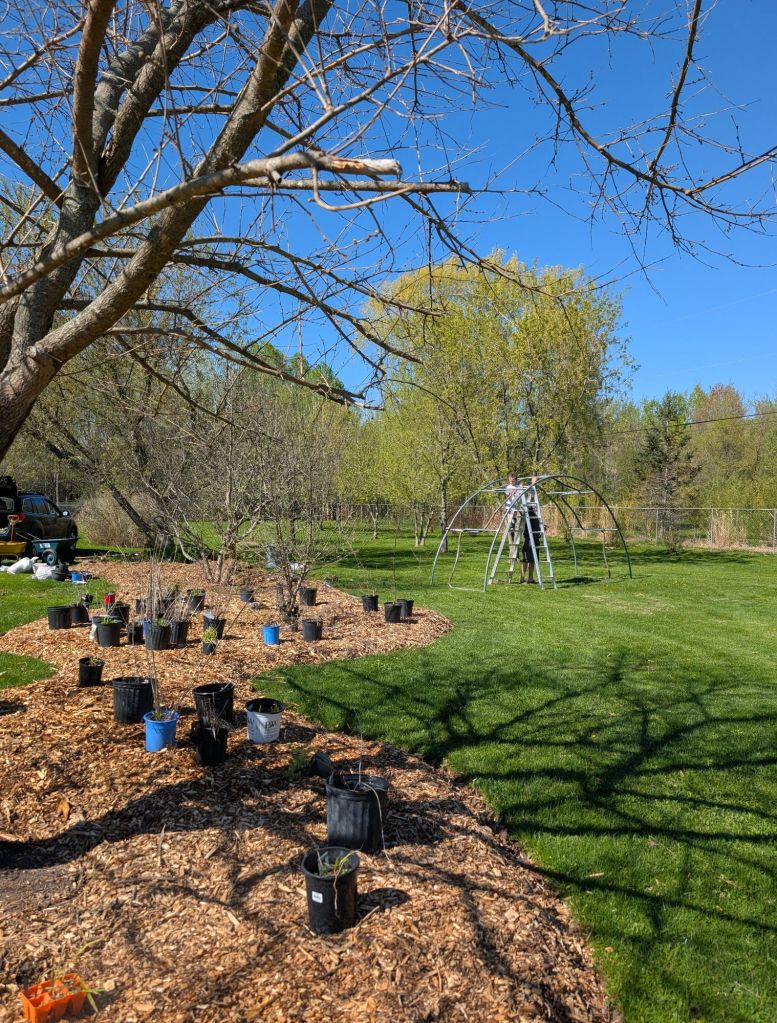
I have a lot of lawn space to reclaim here, and I plan to tackle it in sections. I’ve started with a long stretch that will join together the understory of a patch of fruit trees in a section of our yard that we currently call ‘The Orchard’, which I eventually hope to turn into a thriving food forest.
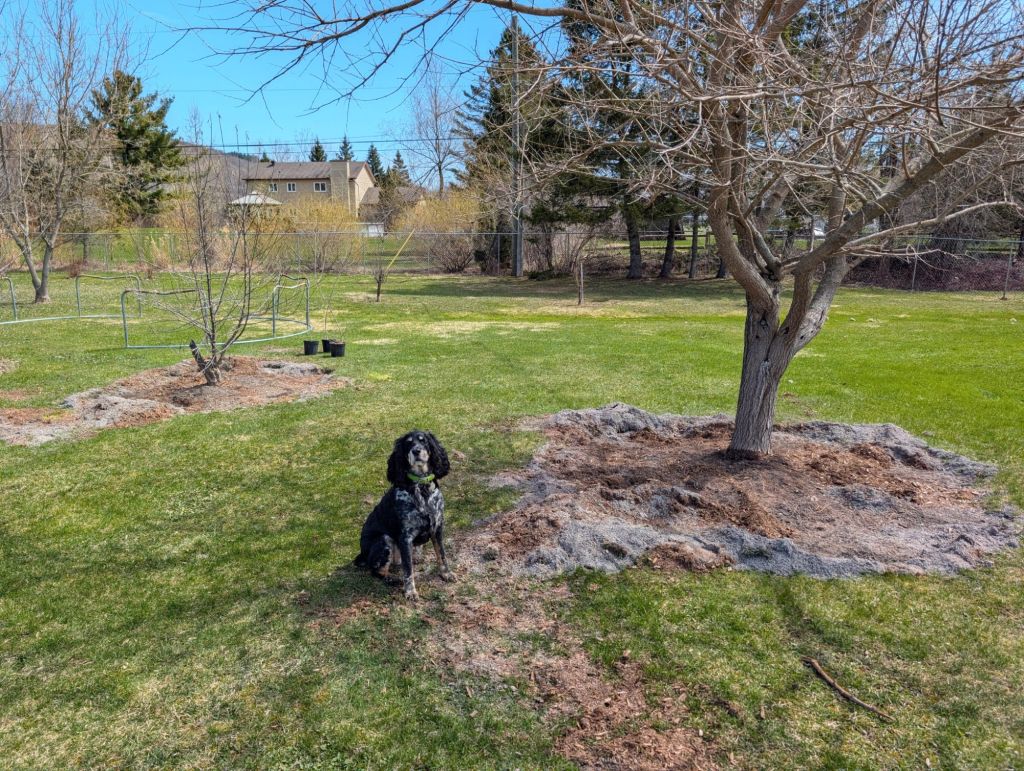
This section of ‘The Orchard’ consists of 3 trees. To date, I think these are an apple tree, some sort of cherry tree, and a mulberry. As we only moved in last year in late November, when all the trees had already shed their leaves, I am relying on some ID apps to help me identify said trees. I’m often asked what app I use. I want to love iNaturalist, I really do, as it seems to be a clear favorite among my planty friends, and though it’s growing on me lately, I still prefer PlantNet as a free plant identification app. I also have a Google phone, so Google Lens is built in to my camera feature, which makes that one quite often used as well.
I digress. That’s what I think these 3 trees are. They are still forming leaves and buds, that might all change. I’ve decided to cover the grass underneath them, and build a sort of raised planting with a very clearly defined border moat, to prevent the remaining grass from creeping forward and reclaiming territory.
Invasive Species Alert
I started prepping this bed as an understory to 4 trees initially a couple of weeks ago, but uncovered a rather unsavoury thick mass of Lilies of the Valley under the last of the 4 trees, and unfortunately this patch is so old and established and mature I have absolutely 0 chance of pulling out the underground root system twisted around the bordering rocks under this last tree.
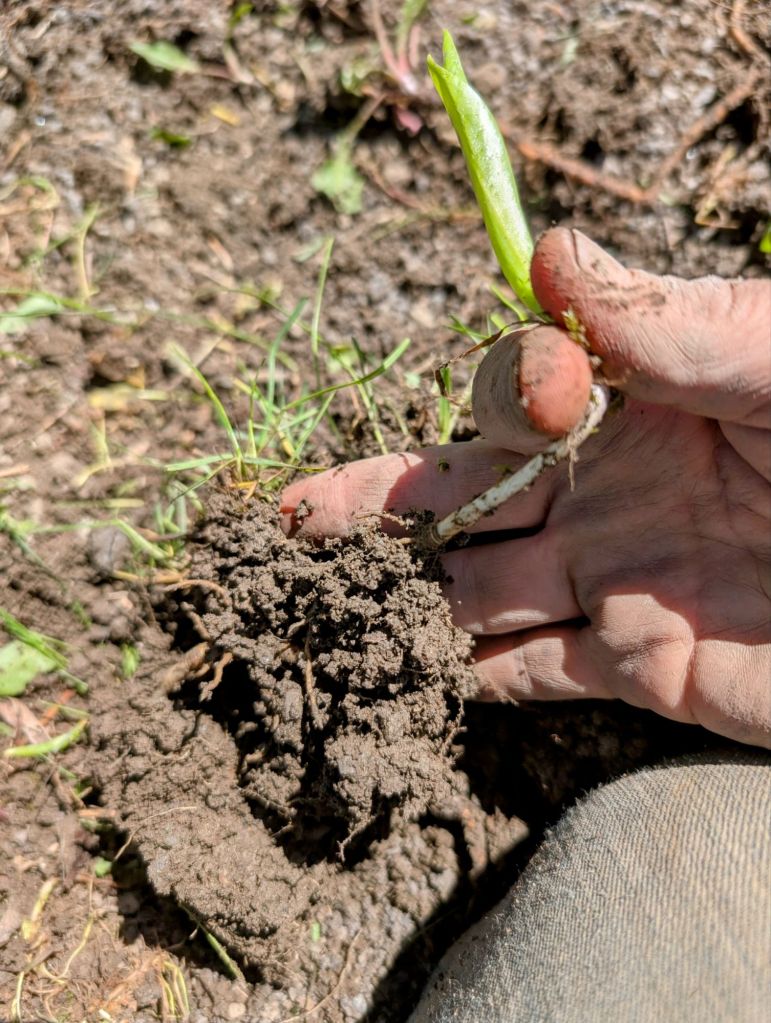
I have tried this fight before. There are no winners in an attempt to uproot an established patch of an invasive plant like Lilly of the Valley. Or Perrywinkle. Or Creeping Jenny. Or Goutweed. Or Bugleweed. Or English Ivy, or other species of ground covers currently sprawling through what remains of our native forests, strangling out and out-competing native species. If you are not familiar with invasive plants, and don’t necessarily understand the big deal, but want to learn more, try this link as a starting place:
https://www.invadingspecies.com/invaders/plants/invasive-ground-covers-2/
Anyway, I know I can’t win trying to remove this plant from here, but I can absolutely draw a line to where it’s currently established, and refuse to let it crawl beyond it. That’s the best that I can do, and I’m going to live with that, rather then feeling sad and helpless when I look at this patch. I’m lucky that it is largely contained by a border of flat rocks, and my battle will be to keep it there, far from any option to escape.
Making the new garden bed
Here is a step by step walkthrough of how I made a brand new planting area to house some of my most loved pollinator magnet plants, which I dug up from my old garden and brought with me.
Step 1: Edger and border flip
My favourite tool for grass murder. Precise, sharp and ruthless. It makes a very defined border of lawn, which makes it difficult for grass to sneak by.

More recently, I’ve been using it to create two parallel lines, 8-10 inches apart, and slicing those into liftable sized rectangles, which I then flip upside down and place as an outer border to my new bed shape.

The upside down grass will die, and break down to enrich the soil, and until that happens, the border will help the bed settle, while the ‘moat’ remaining can catch both woodchips and water.
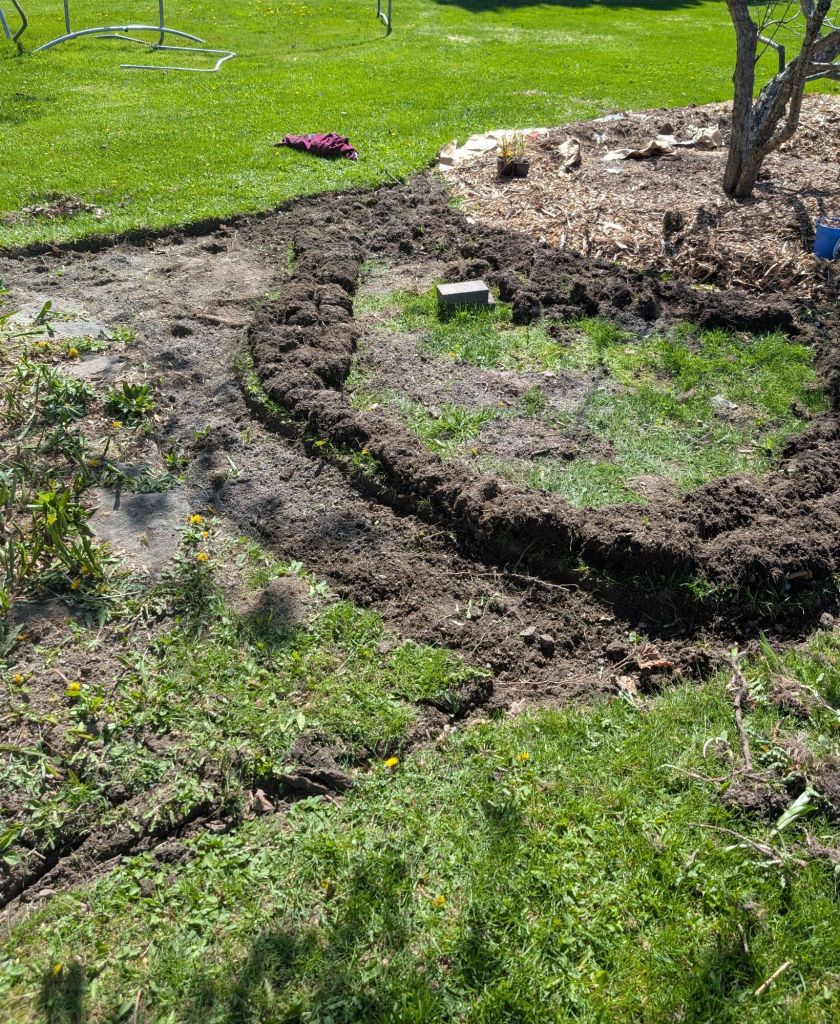
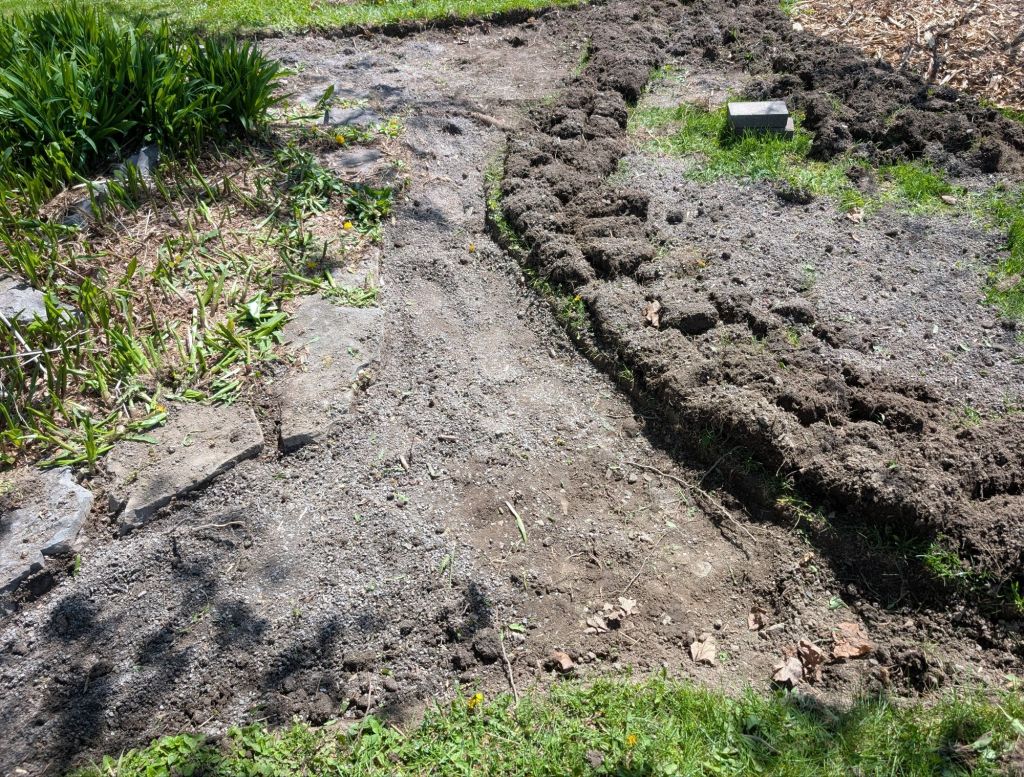
I used the same approach to remove a larger patch of grass in between the two beds, to help me monitor and ensure the invasive species don’t escape further than their current space.
Step 2: A smothering barrier of darkness
Grass dies without light. I prefer using lawn compost bags, as they break down faster than cardboard, and are available free as a bonus when I pick up bagged leaves from my neighbors. They are also more pliable and easier to bend around borders.
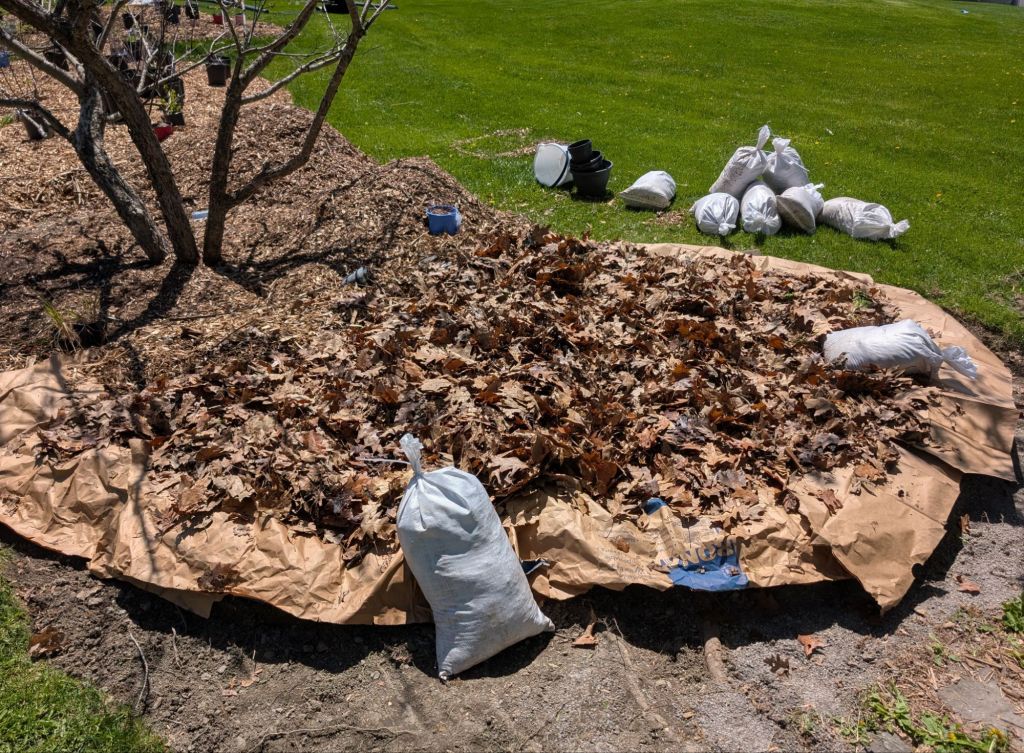
My pro tip: always weigh them down, they make pretty decent kites otherwise.
Step 3: Additional organic matter (optional, and feel free to get creative here)
This is my favourite way to amend soil for future years, as working this way will take some time for said organic matter to break down. While it does, nutrients slowly release toward the roots of plants, those roots have a very easy time reaching down and around and through the matter, and rain water is slowly captured and released to the plants that will eventually occupy this same space.
Here is what I added this time:
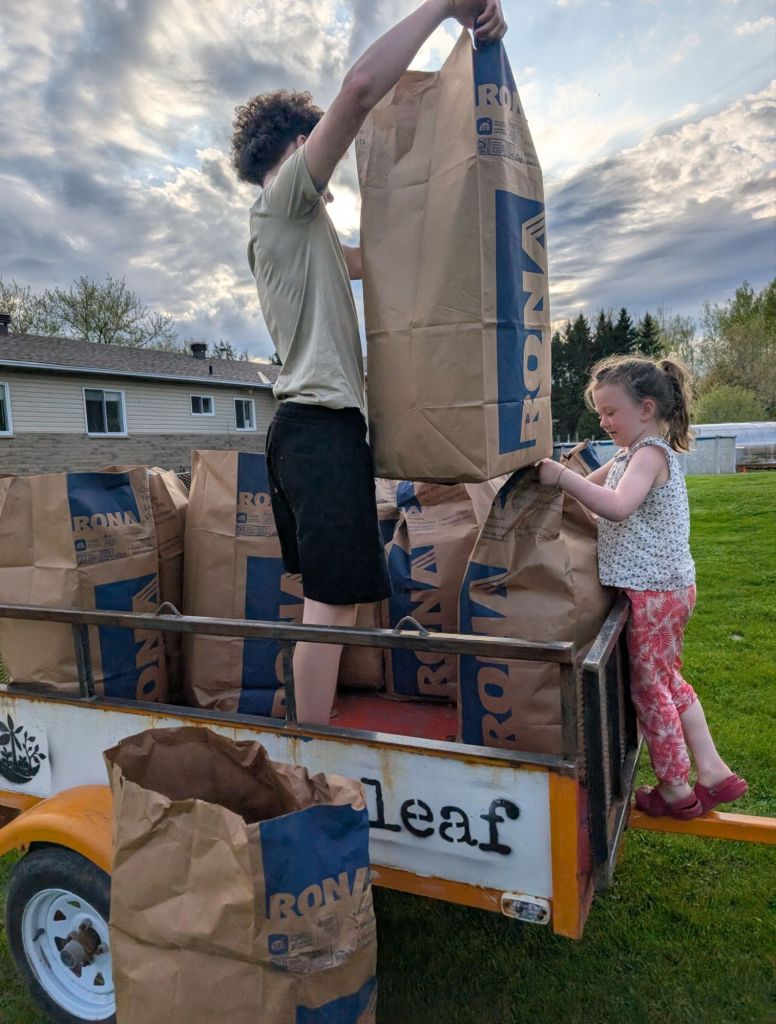
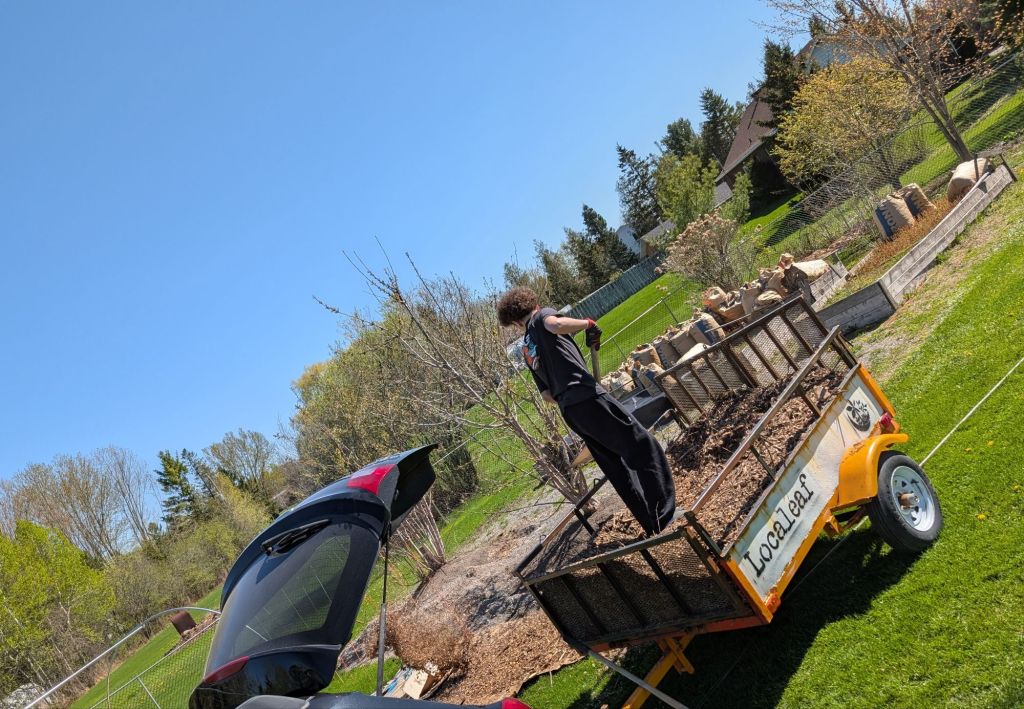
Bagged leaves (freshly picked up by my son who just started his own side business doing yardwork.)
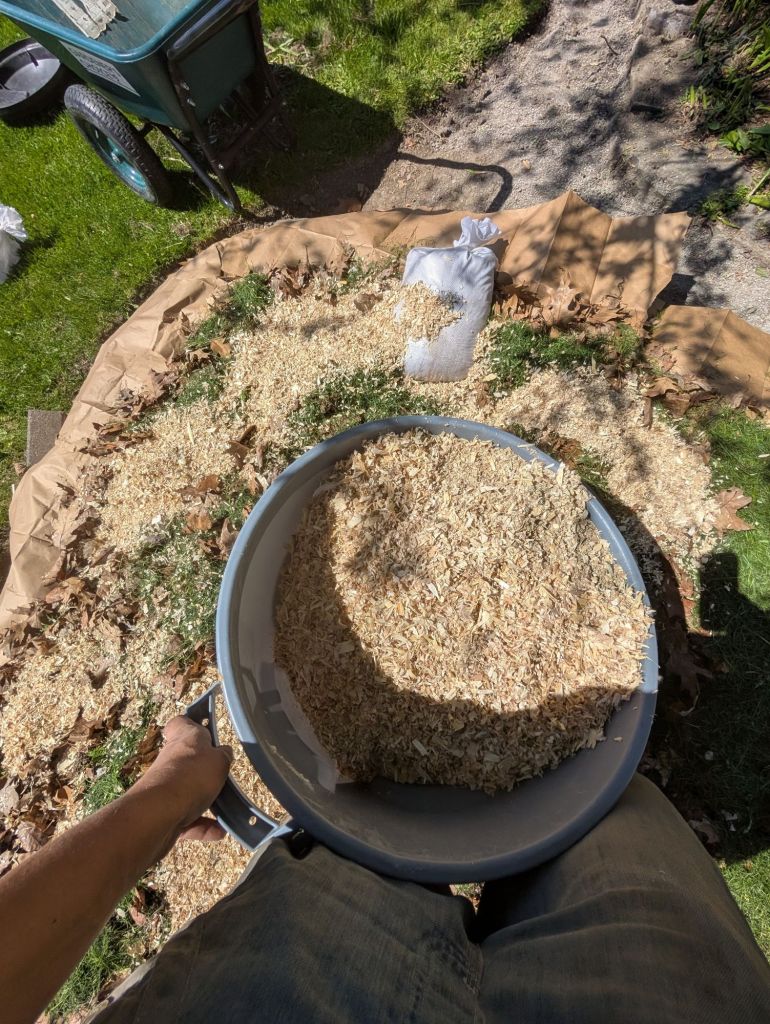
Baby chicken poop with pine shavings (from our own baby chickens!! )No more poop from the neighbours
Fresh grass clippings
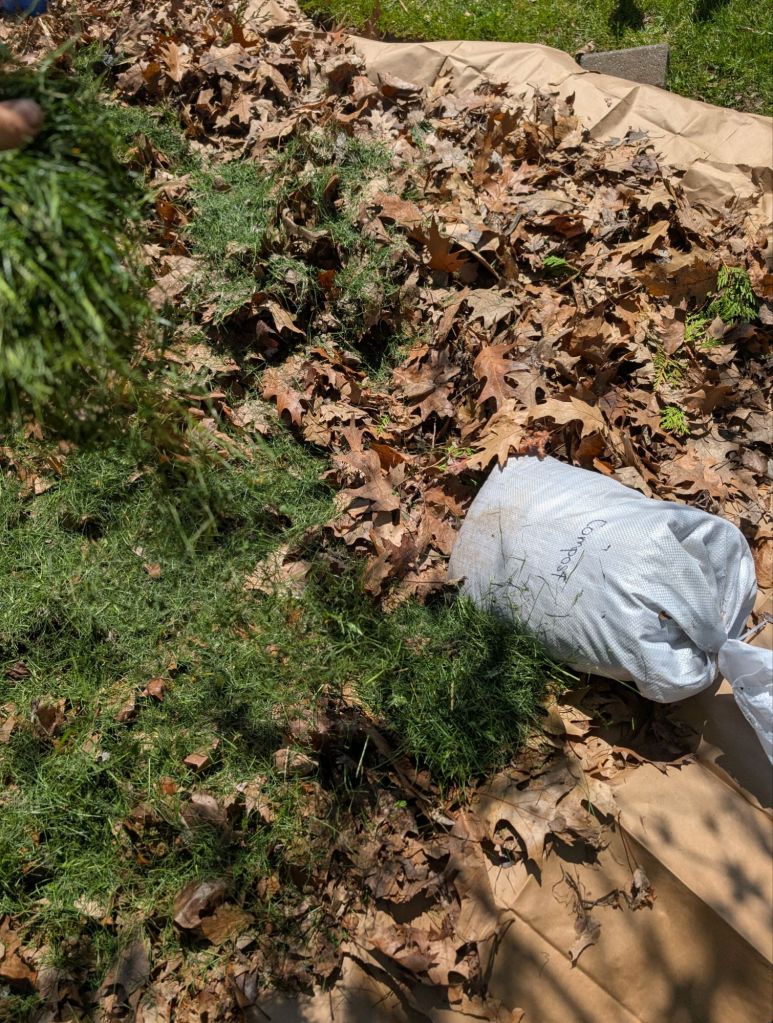
A single bag of leftover sheep manure, sprinkled over the top

A half bail of old straw (not pictures)
Other ideas: hedge trimmings, old plant material leftover from fall, vegetable compost, comfrey, old manure, shredded paper or newspaper, crushed egg shells, etc.
Step 4: Woodchip mulch
I use arborist woodchips because they are fresh, free and readily available to me ever since my most recent ChipDrop delivery. I put a healthy layer of woodchips on top of all the other materials, which will help prevent them from flying away, and the ‘soil’ from drying out.
Now I am ready for planting. And YES, I know there is currently no soil accessible to plants, but this whole bed was a fairly large undertaking, and built completely from our own compost, as well as free, foraged or donated organic materials.
It also happens to look pretty slick, and esthetically groomed, which can help convince some people there can be joy and order in native plants. I saved money, and as a bonus, I suffocated a lot of grass.
Planting in my composting bed
All the stuff I layered to make this bed is going to start to heat up and compost. I have to be careful not to burn the roots of my plants as this happens.
I have experimented quite a bit with this method of “live compost” planting, and find that as long as I can give plants enough of a layer between their roots and the composting materials, plants actually grow incredibly well in such environments, because of the ready availability of nutrients, on a constant basis, along with so much room for roots to spread, dig and establish.
I’m also planting native plants in here, and they are pretty resilient. The plants I’m planting are also fairly mature, and have been living in tight quarters in temporary pots since I up-ended them from our old home for the move. So I feel like this will please them all far more than their right, undersized pots.
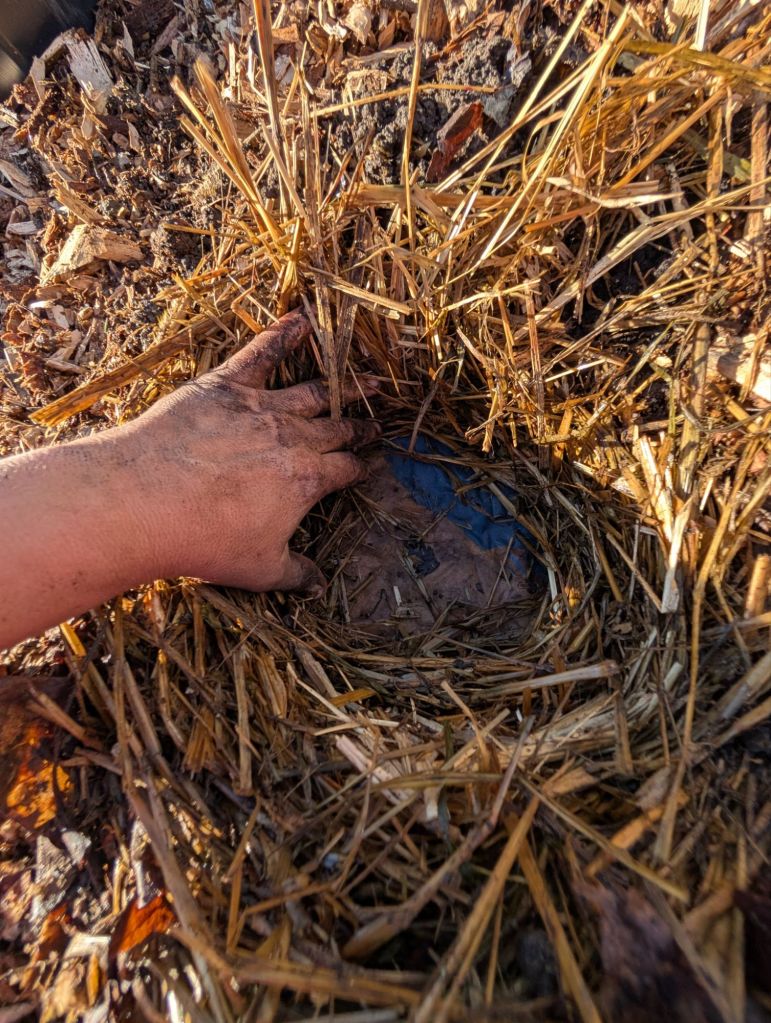
Planting in random layers of “not soil”
To make the plants comfortable, give them time to adjust and spread themselves out into this new space, I simply move the woodchips out of the way and dig a little hole in the layers I just placed, until I reach the brown paper. I make the hole just slightly larger than the pot, and fill it with a couple of handfuls of my own soil mix (top soil mixed with aged barnyard compost).

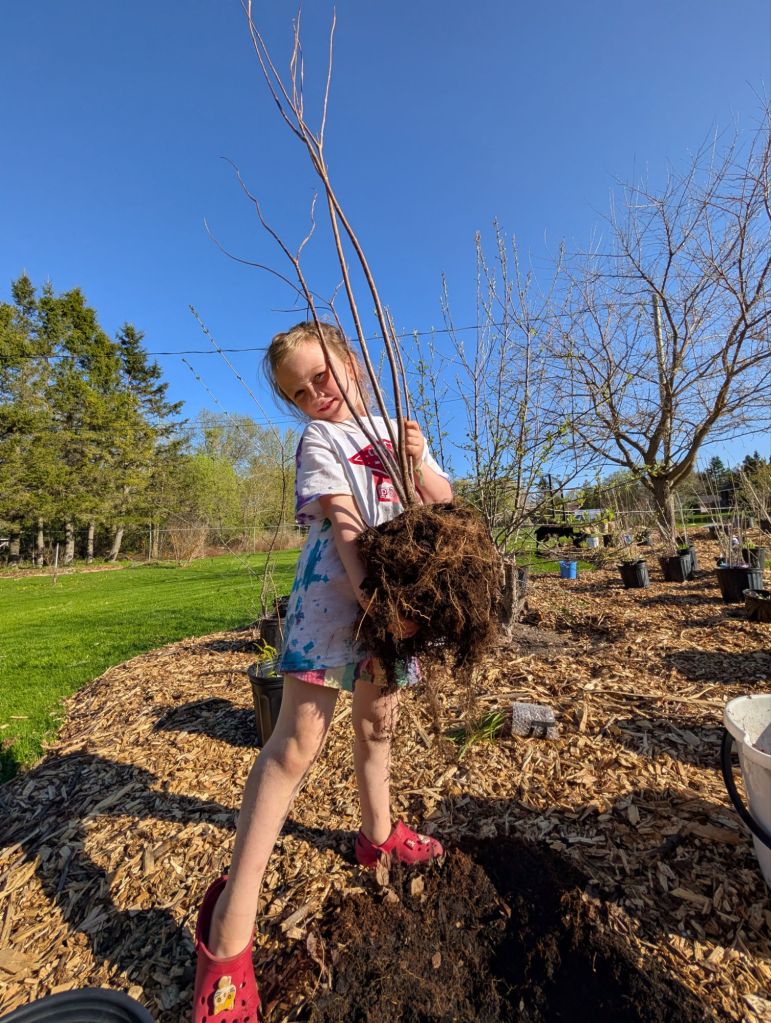
I pull the plant from its pot, soil and all, and lay it in the bed of extra soil.
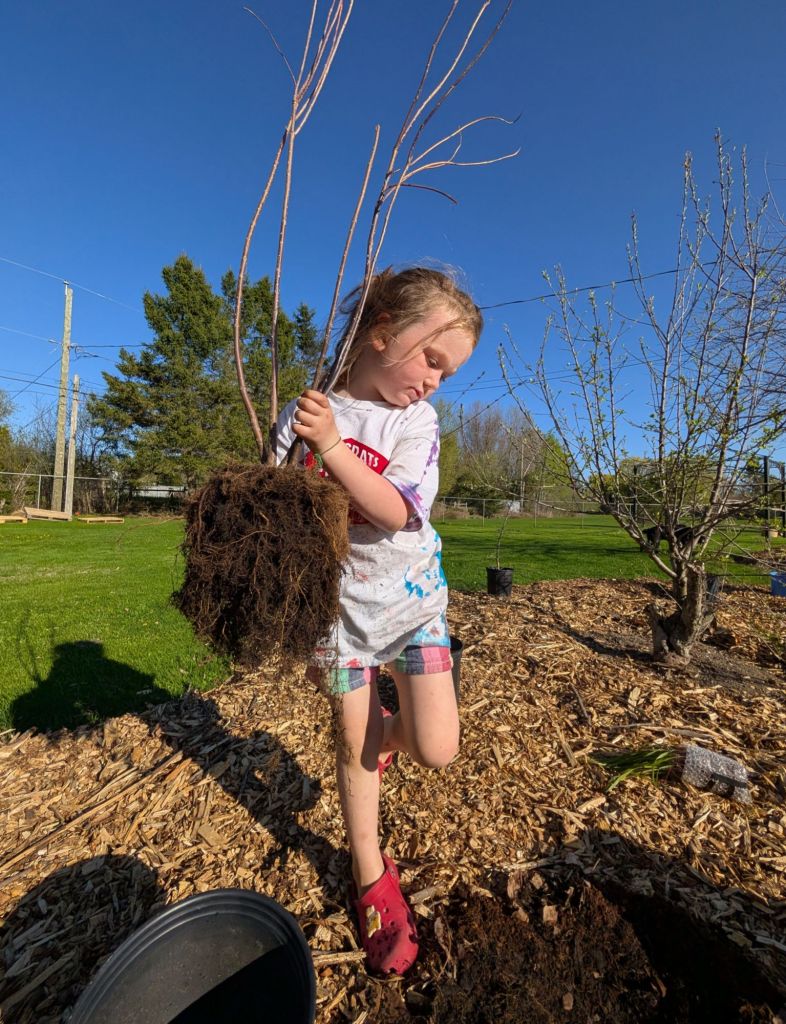
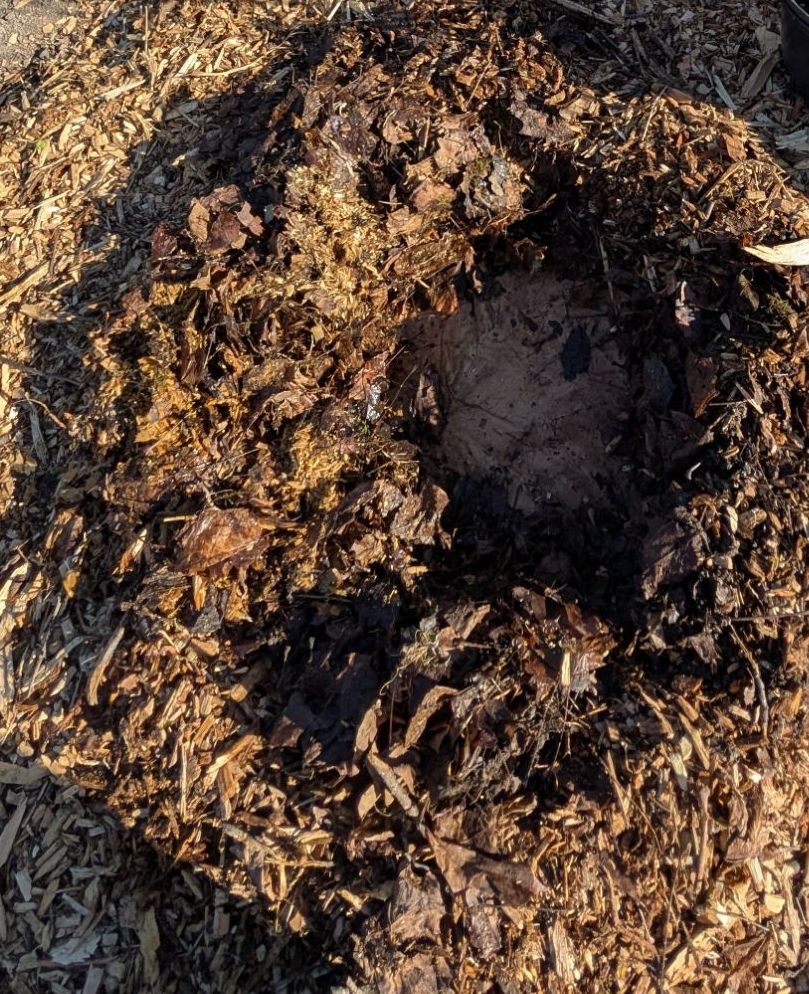
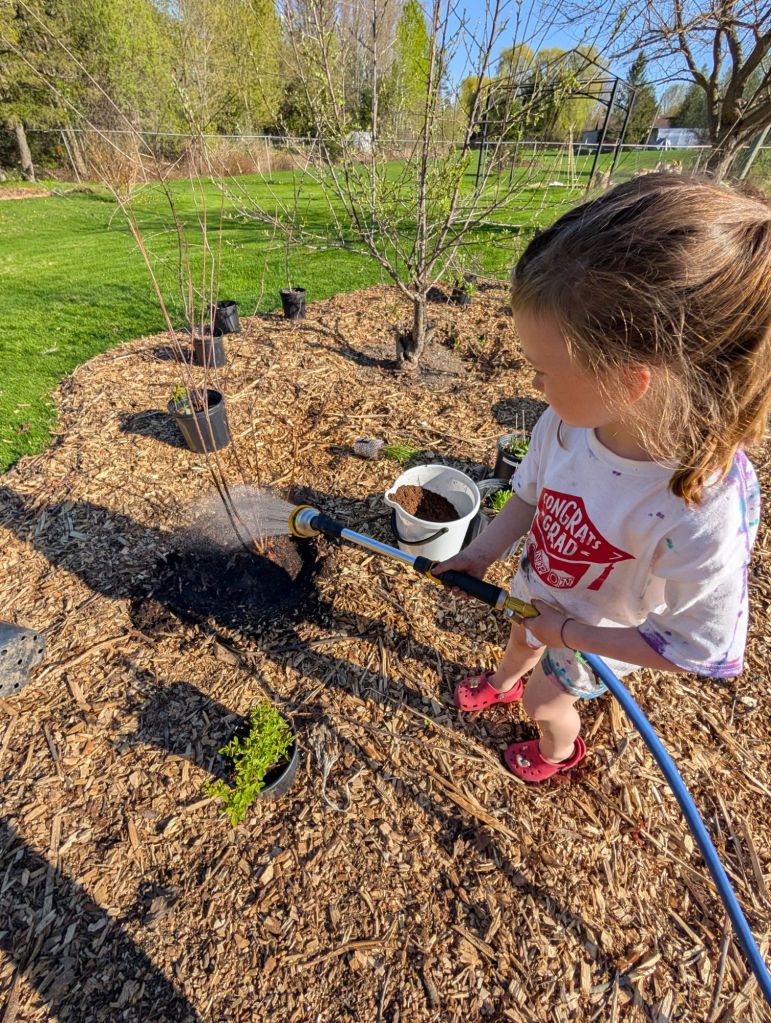
I squish then pinch the sides slightly to make sure the plant is somewhat snug, then I put each layer back in place, finally covering the top of the plant with the woodchips, leaving a little moat ring around the plant so it can absorb water in its own time.
That’s it. A bed this size will take me a bit of time to finish planting, but I have so many plants waiting for their new permanent digs, it will soon start feeling very full.
I have managed creating this bed without hauling away heavy bags of grass patches, and spending next to nothing on planting medium, all while enriching and improving the drainage of the soil in this spot.
The garden bed is raised nearly a foot today, but that will settle by next year.

In the meantime, I’m going to continue with the planting in this space by instinct, without overthinking it planning, because I know the plants I’m planting fairly well, and can somewhat envision which ones will play well with others, and which won’t.
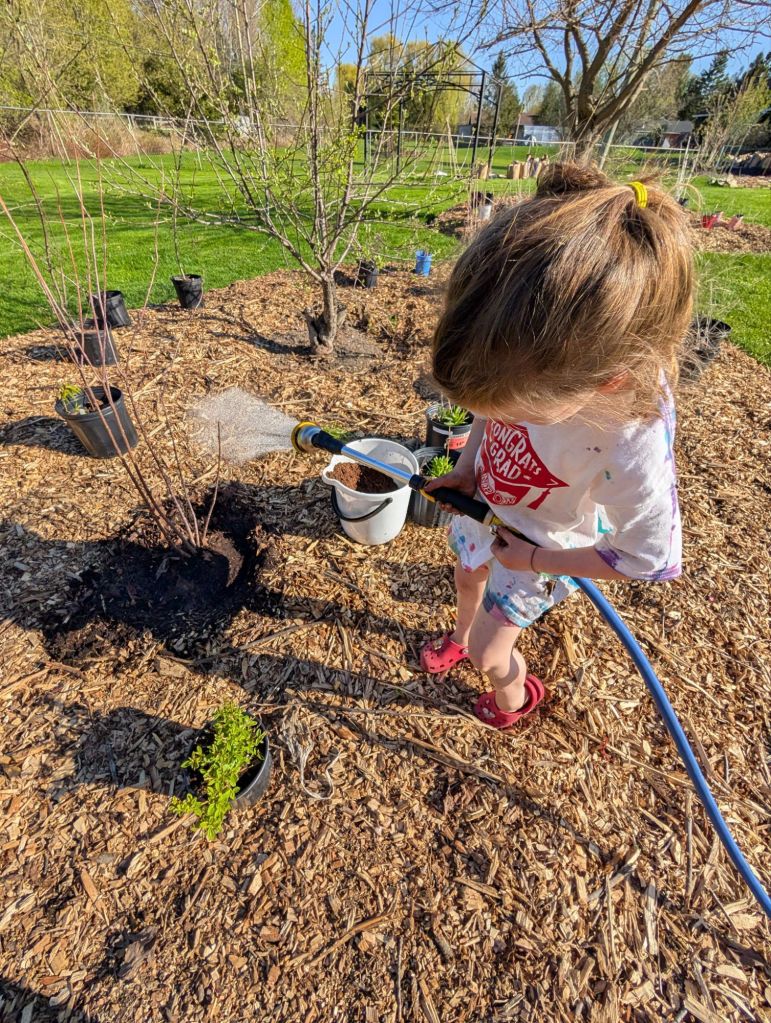
I started by laying out the larger plants where I think they will go, and will return with my little painted wagon filled with more plants to fit in between.
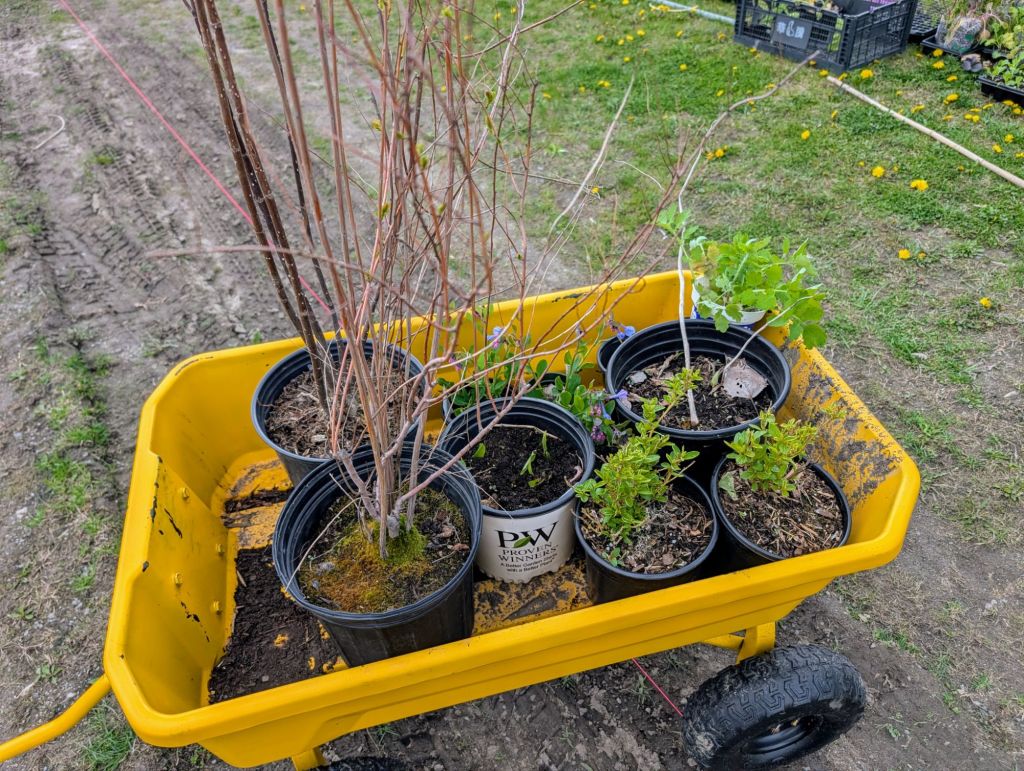
It feels like plant shopping, right in my own backyard. My memory loss plays to my advantage in this situation, as i am constantly excited to find a new plant that I thought I really wanted, and I already have
I doubt I’ll ever have the patience to fully map out this bed, but I will share glimpses of it as it grows, and a list of the plants that find its way in it this year.
Till next time, keep fit and have fun (Bodybreeeeeak 🎶)
Discover more from LocaLeaf
Subscribe to get the latest posts sent to your email.
