
I’ve been quiet. It’s a great feeling, because we’ve been so busy outside this first spring in our new place, with so many ideas and discoveries and projects, and dirty hands with mud-crusted nails, and if you know me you know that means I am happy.
We finally got around to starting one project both Colin were equally excited about, our rain-garden. Future rain-garden, really, and a slow work in progress, but the bones are finally there with some help from Ottawa West Excavation, whom we loved working with.
Details below…

The backdrop
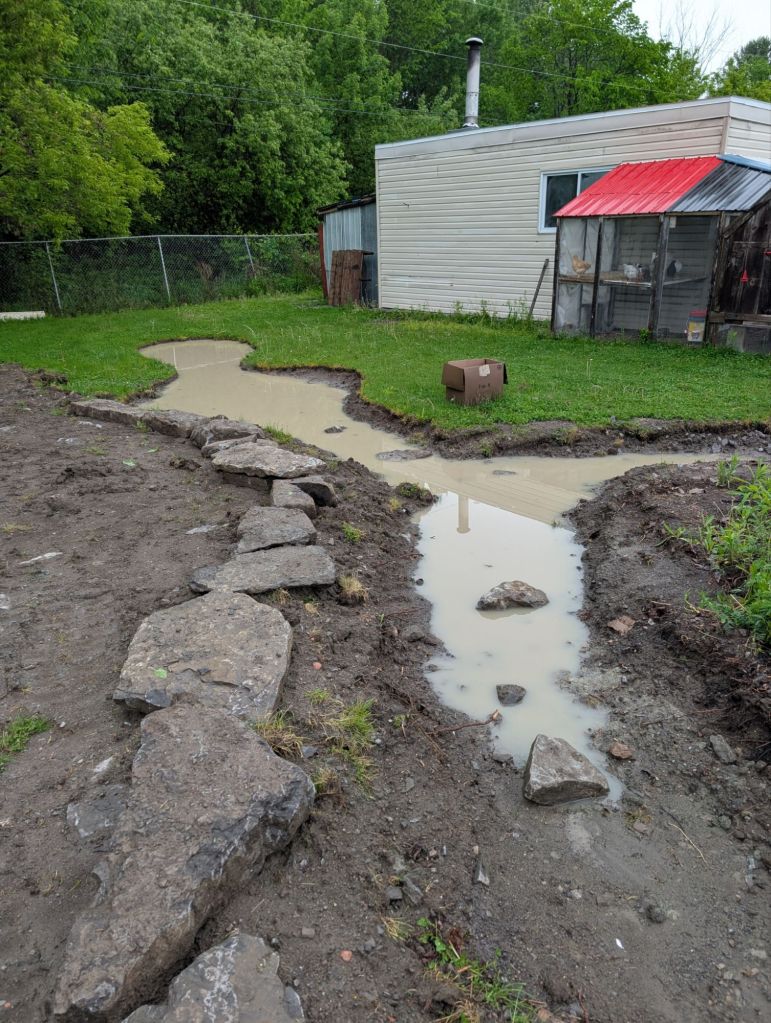
We bought the house knowing the yard had rain water flow and drainage issues. Our soil is clay, and water pools, instead of seeping into the ground. The back half of our yard floods every spring, and largely remained that way.
The ‘path’ we drove our cars and trailer on to access the back storage shack (I think technically a derilect ‘garage’ – project for next year maybe?) turned into a giant mud pile every time it rained, and remained that way for days.
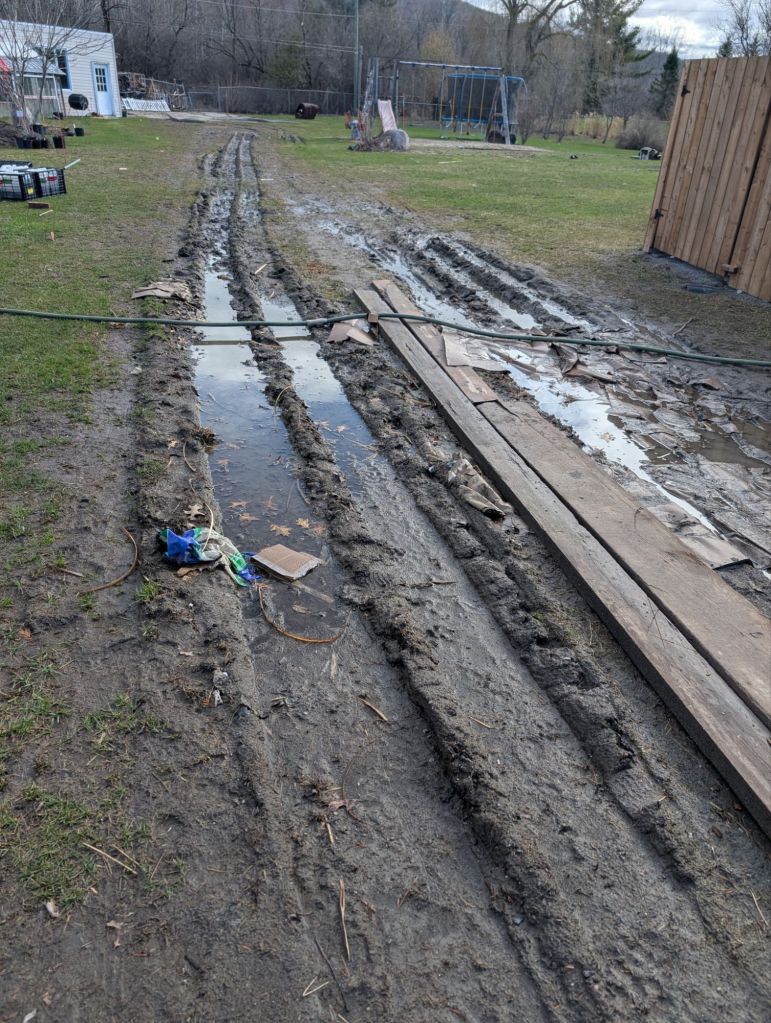
This might be less of a big deal for another family, but our springer spaniel is a water dog and rolls around in any and every puddle she encounters. Cleaning her becomes my problem, and needing to hose her down 4x a day was my first motivating factor for figuring out some sort of rain water management solution.

My second, far less practical and more enjoyable reason was an excuse to build a large scale rain-garden.
Colin, on the other hand, wanted to be able to get the trailer to the back of the yard, and send material deliveries back there. This became even more pressing for him when my 20 cubic yard load of woodchips got stuck in the mud, and chipdrop ended up having to dump the entire load in front of our house. My family is still carrying loads back where I need it.

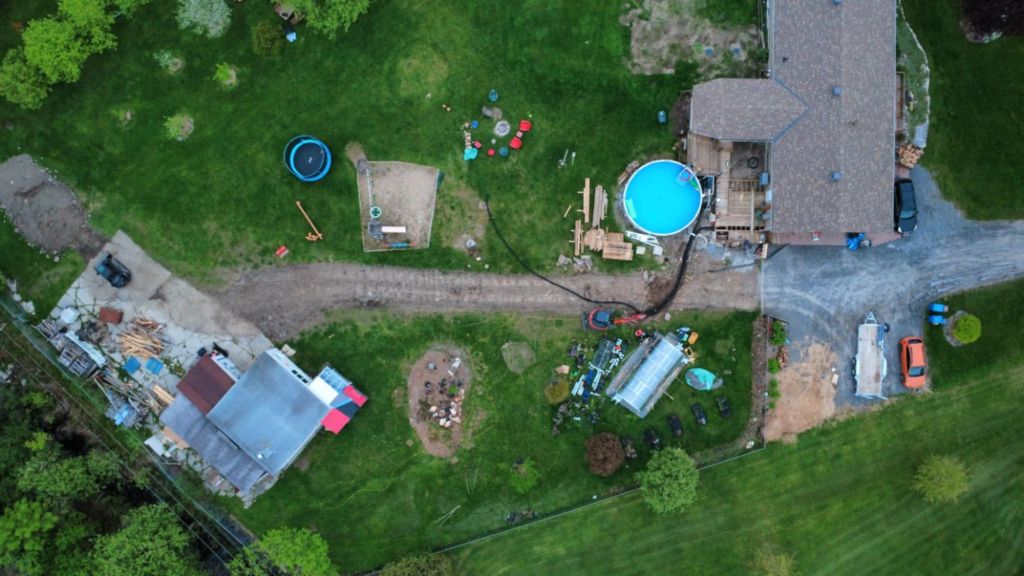
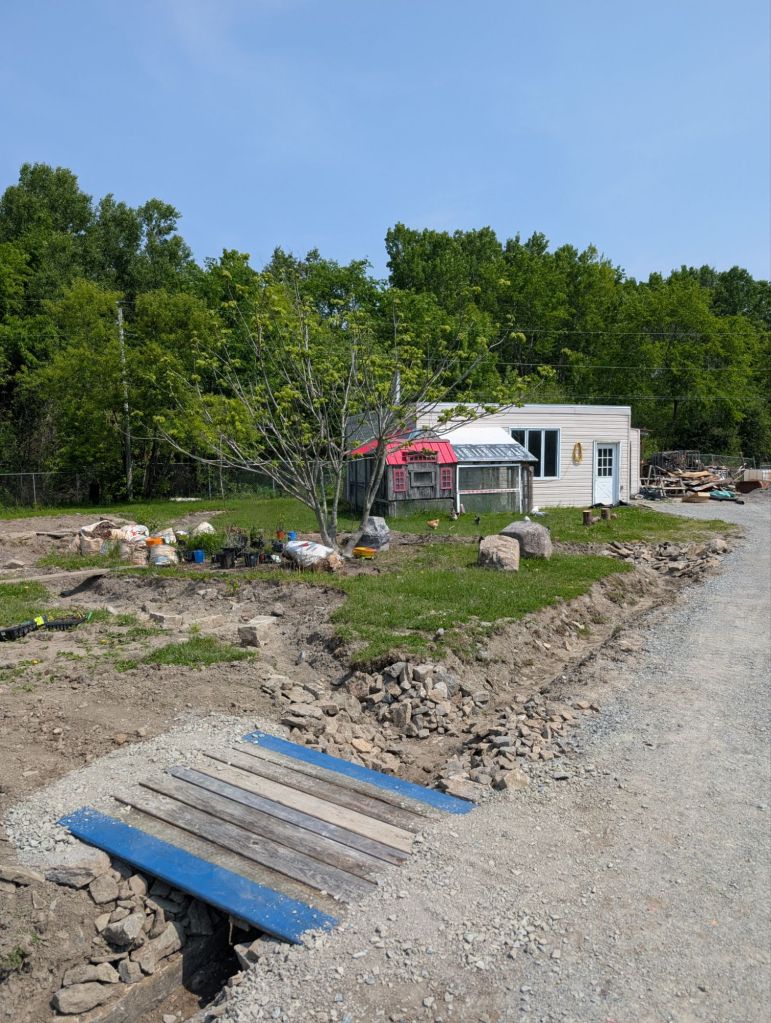
We settled on a gravel road leading to the back, angled slightly to direct the water run off where we wanted it. It was also important to bury lines for power and water through a conduit under this road, and feed these lines toward the greenhouse and the back part of the yard, while also planning for eventual solar panel energy storage (yet another next-year project).
The planned rain gutter downspouts also needed to cross under this road, and all of the water would need to be directed through a newly constructed ditch running parallel to the new road, which would eventually settle at the back part of the yard, which is naturally sloped lower than the front.
The planning
I largely ignored this phase of the project as I was still drowning in seedlings, my greenhouse and an ambitious brand new vegetable garden, and planning is not my forte.
I wasn’t much of a planner before I got sick, but since Neuro Behcet’s began taking over parts of my brain, measurements and numbers float in and out, and I can no longer retain numbers long enough to do simple math, let alone attempt to calculate slopes and angles and volume flow, or other formulas that likely went into planning this project.
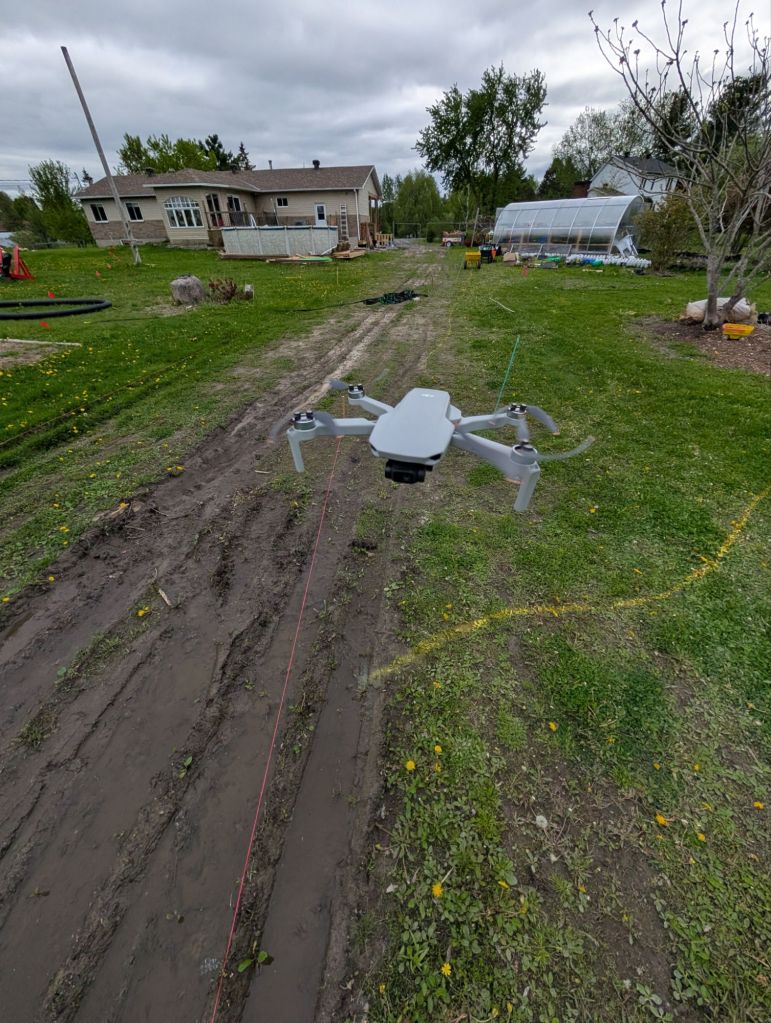
Thankfully, Colin is an excellent planner, he is invested, and he has a mini drone.
He figured out the road, the ditch, a bunch of other aspects like existing underground locating services, conduits and volume and flows and pipes, and other things I can’t remember, but pretended to understand when he tried to explain them to me, while really I just nodded enthusiastically and thought of plants.
Eventually, in his planning and design phase, I began chiming in just enough to complicate his life, and we agreed to flow the water from two muddy areas into one roadside ditch, forking in two directions around an area with a beautiful mature butternut tree. This would essentially create a little ‘island’ for the tree, with a moat around it, allowing us to direct the water flow beyond the moat, to a double chambered reservoir that may eventually become a pond of some sort.

Hiring the right help
We love DIY anything, and have complimentary abilities that let us figure out a lot of things on our own. We were both pretty excited to rent and learn how to drive an excavator and skid steer, but we eventually accepted that we are both working on a million other things and this would simply not happen for another year at least if we try doing it ourselves. So we decided to look for a company to dig the rain garden components and build the gravel road for us.
I will spare you the interview and screening process, and it took us a few weeks, but we finally landed on Ottawa West Excavation.
We loved their flexibility, their willingness to think outside typical residential norms, their creativity in finding solutions and bringing ideas we had never through about, and also their honesty and easy going attitude, which matched our own.
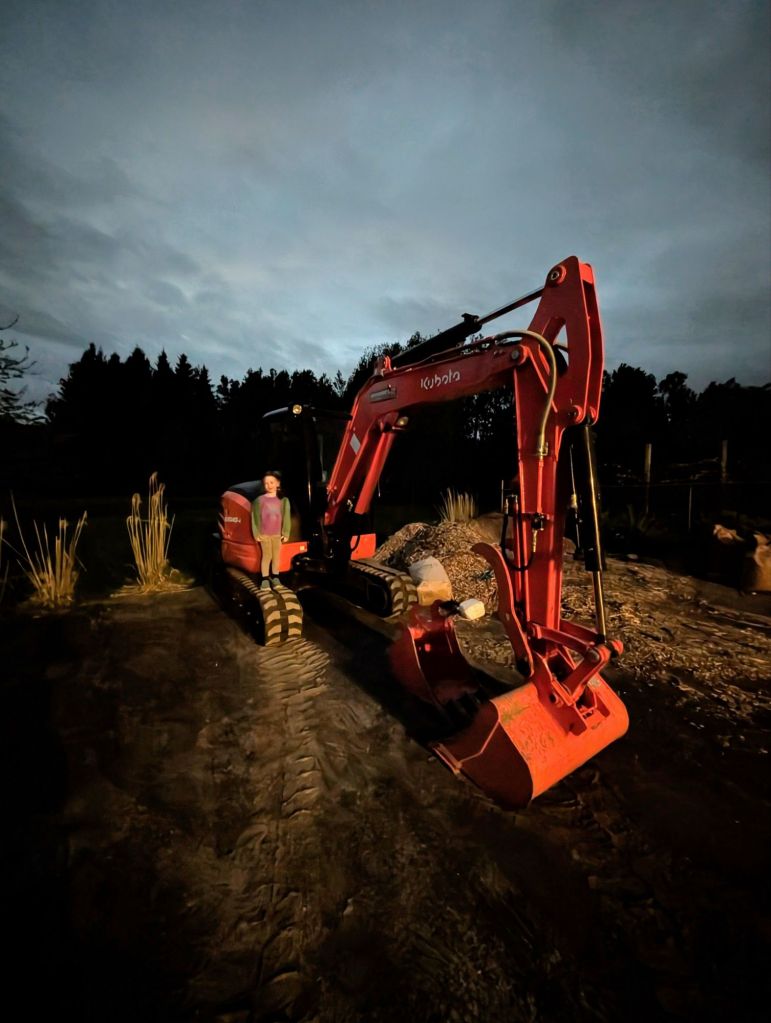
Finally, digging day-eve arrived, and we came home to find the excavator waiting for us, ready for a bright and early start the following day. Naturally, it was put through some rigorous 5 year old testing on night 1, and passed.
The dig
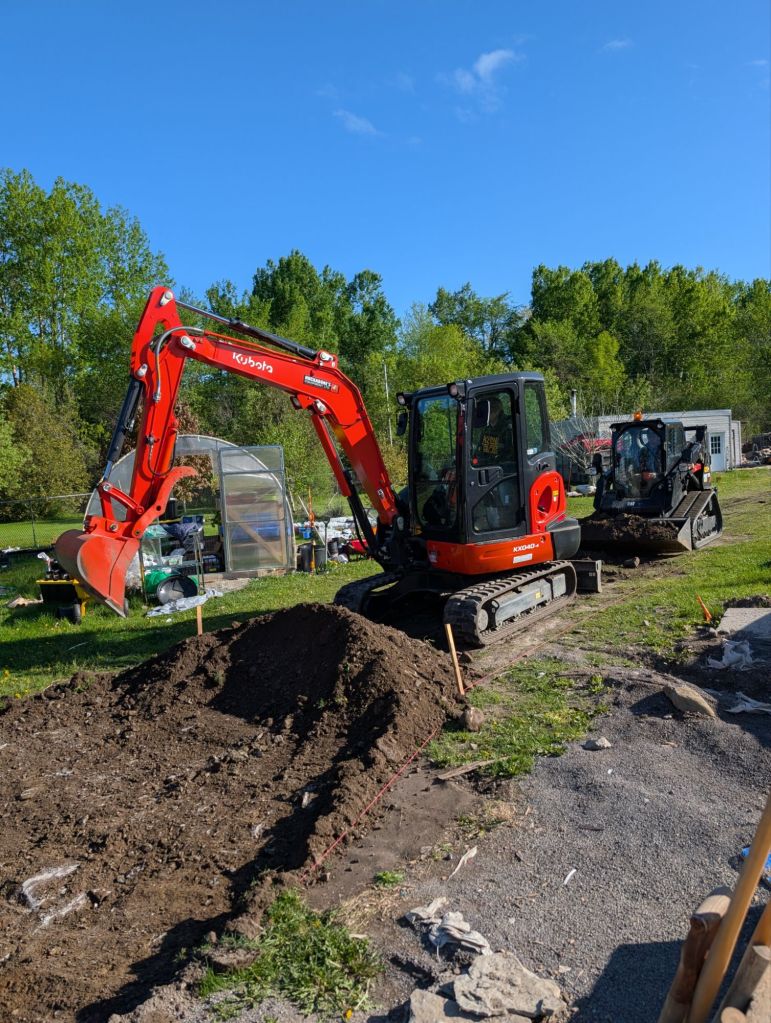
The project took 2.5 days, largely because we encountered some mammoth rocks while digging for the road.

We kept the rocks with new ideas for using and placing them. The rest of the dug up dirt and fill were moved into a large mountain at the back of our yard, which I believe we will turn into a sledding hill this winter.

The road came together quickly once all the rocks were moved, and as we had time while waiting for the gravel to show up, we got to witness some impressive excavator skills uprooting and moving giant shrubs in one clean bite.

We asked the guys to keep some of the less rocky fill on one side of the rain garden’s water basin, and left that bordered by some of unexpected the giant rocks. This will form the future site of my Miyawaki little forest.
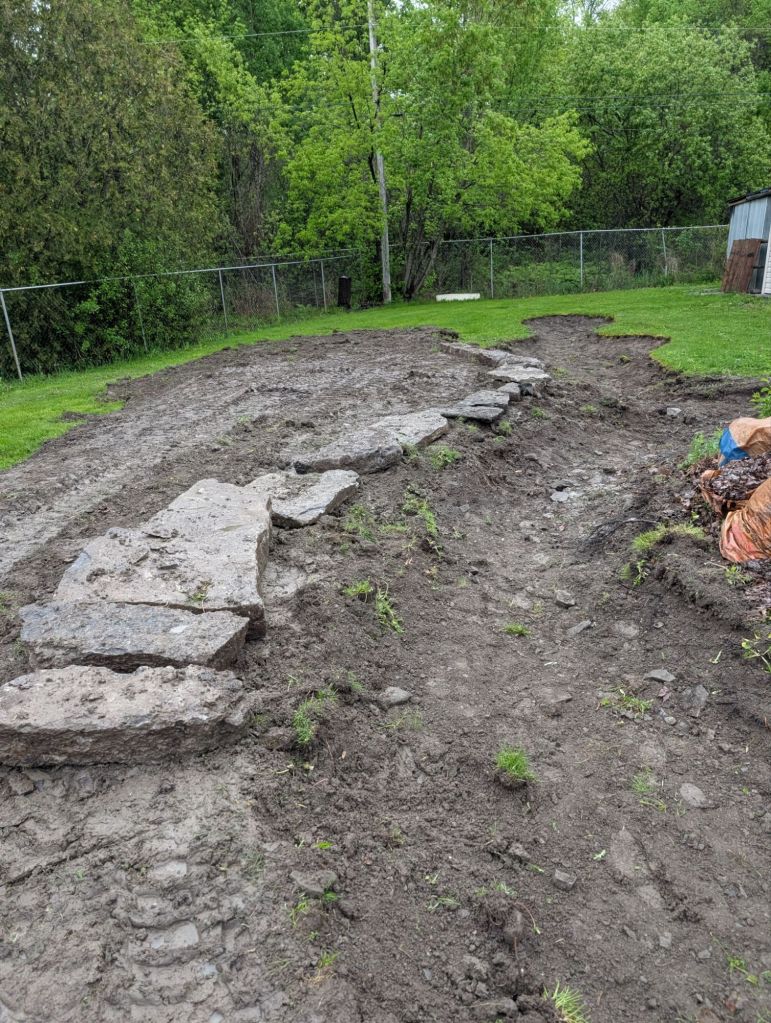
With the road done and the dig complete, we tested the water flow, fixed the spots where water stuck, and said goodbye to our new friends and their amazing machines. Goodnight, goodnight construction site, and West End Excavation.
I can’t gush enough about how nice it was working with these guys, and would highly recommend them.

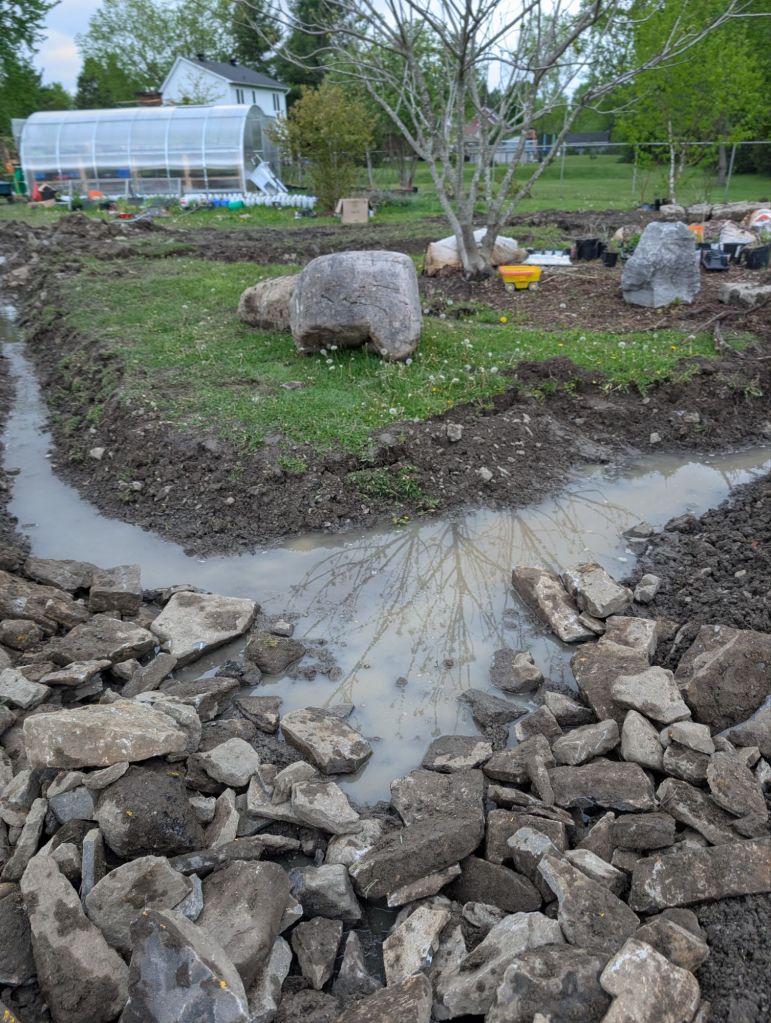
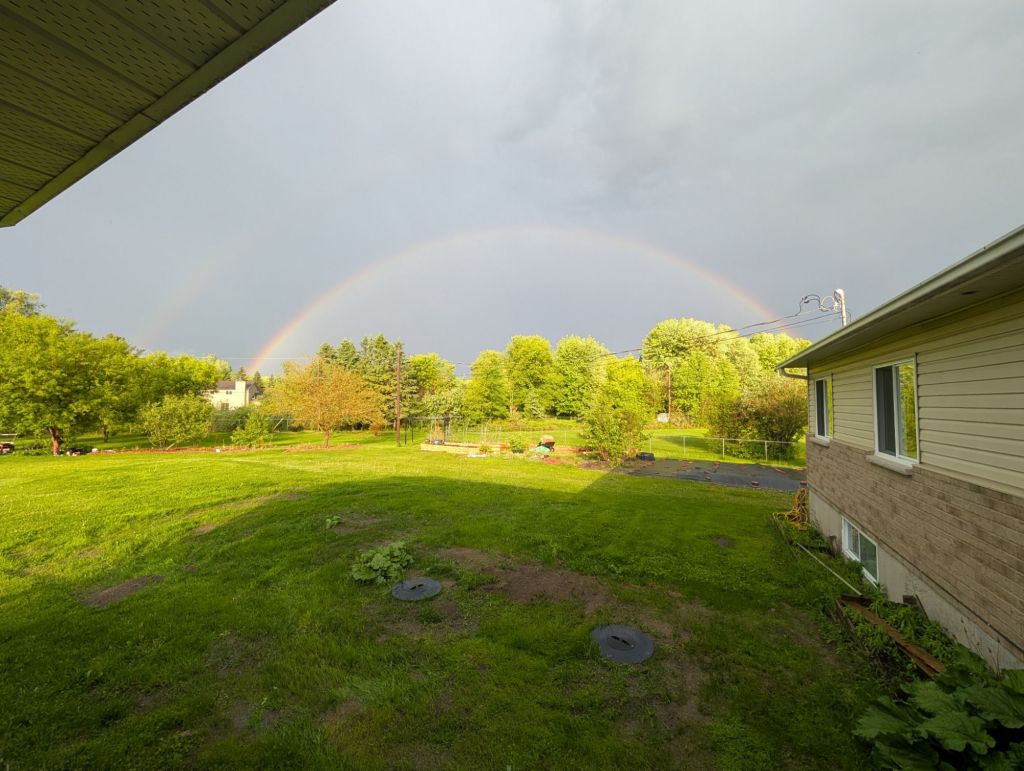
A freak storm last week saw so much water fall from the sky in a short amount of time that ditches and sewers in town backed up and overflowed. We couldn’t have come up with a better test for our new road and water flow.
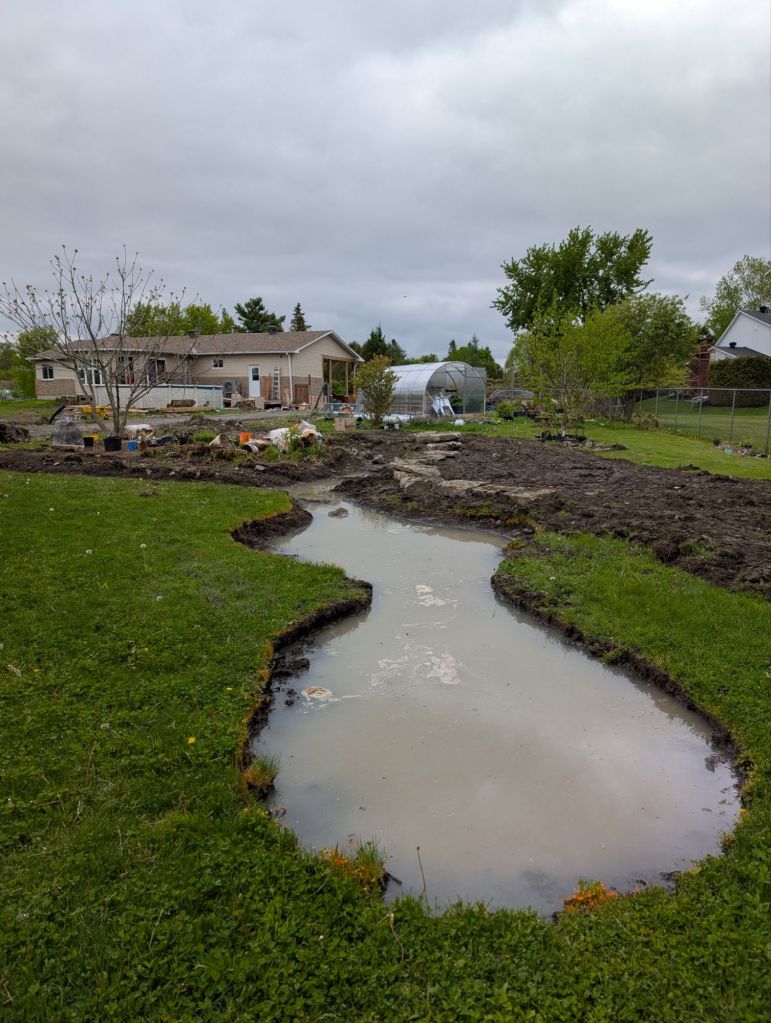
It worked! The water flowed easily and smoothly to the back, and settled in the first basin until it filled, then seamlessly flowed to the second, without spilling over anywhere along the way.
As the basins are very slow to drain, we thought that part may overflow, but both held strong at the dug level.
The planting
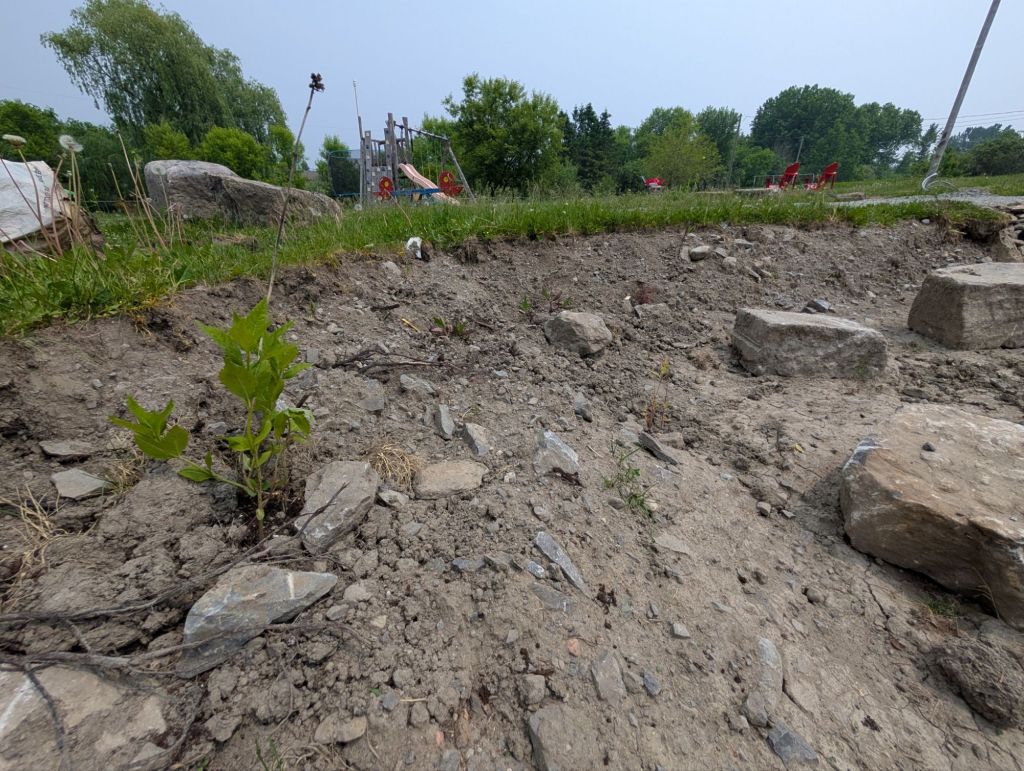
With testing complete, the rain garden is ready for planting.

I’m taking my time planting this part of the garden, focusing on one strip of it at a time, largely. Because I am still trying to juggle too many projects in my garden, and prioritizing these by the saddest group of plants on a given day. Currently those are my vegetable seedlings, so I’m focusing a bit more on trying to get our vegetable garden built and ready to plant, and will come back to the rain garden later this summer.
For now, I’ve planted some marsh marigold, water avens and harlequin blue flag iris along the bottom, with some native violets, canada anemone, swamp rose mallow and turtlehead along the wettest edges. I also have a tray full of moisture loving grass and sedge plugs, but those seem happy enough to wait a bit longer for me to get to them.

Despite how many plants went into the little section I have planted, it is still looking bare, rocky, dusty and brown, rather then the lush green i am hoping for, so I acknowledge this habitat will take time to come into its own.
I’m very happy I still have so many species to pot up seedlings from this summer, or planting this could get expensive.

Have you planted a rain garden before?
Share your favorite moisture loving yet drought-tolerant species with me, I could use ideas.
Discover more from LocaLeaf
Subscribe to get the latest posts sent to your email.

3 thoughts on “A purpose-built (future) rain garden”