
I haven’t written a blog post for a long time. I have plenty of ideas jotted down, but have been busy, and tired, and busy again.
Aylmer Butterflyway
Our Pollinate Aylmer group has also been working hard this summer with a goal of completing the first Aylmer Butterflyway, which requires 12 new pollinator habitat ‘islands’, or Butterflyway stops to be considered born.
We decided our best way to make an impact was to create the first 12 in public spaces. We are getting close. Yesterday we completed #11, and though we have typically chosen to let our work and the public habitats we create speak for themselves, without a social media focus, our latest stop is very near and dear to my heart, as well as that of our entire Aylmer Community, and this morning I wanted to take some time to reflect on it.
Site Preparation
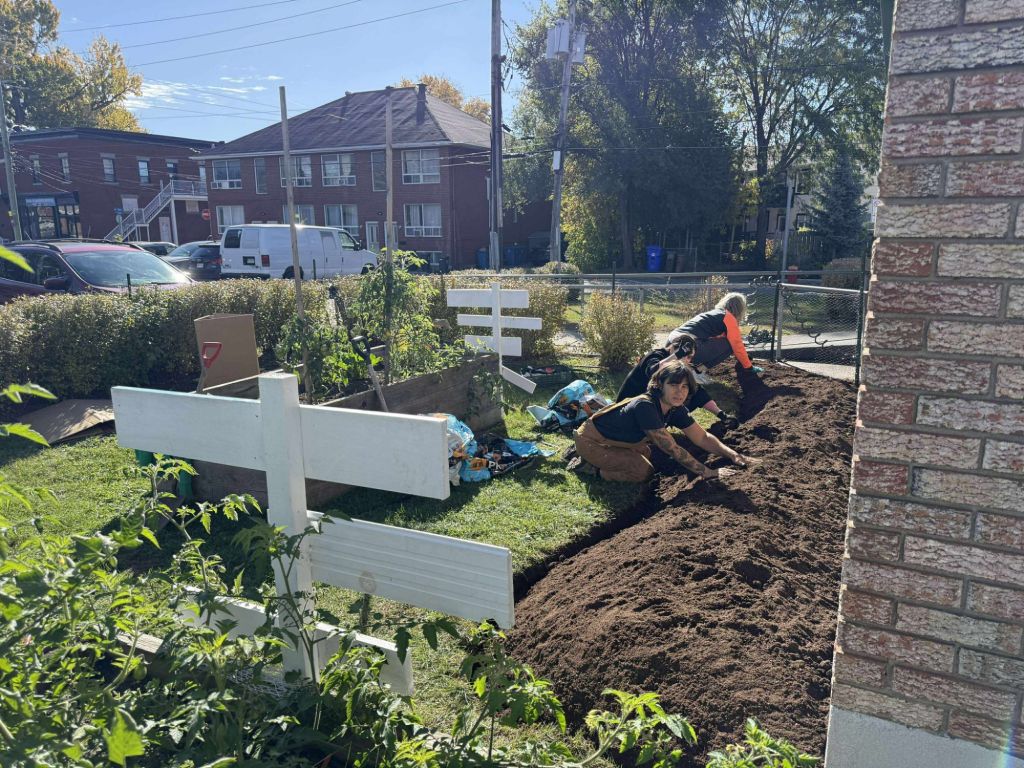
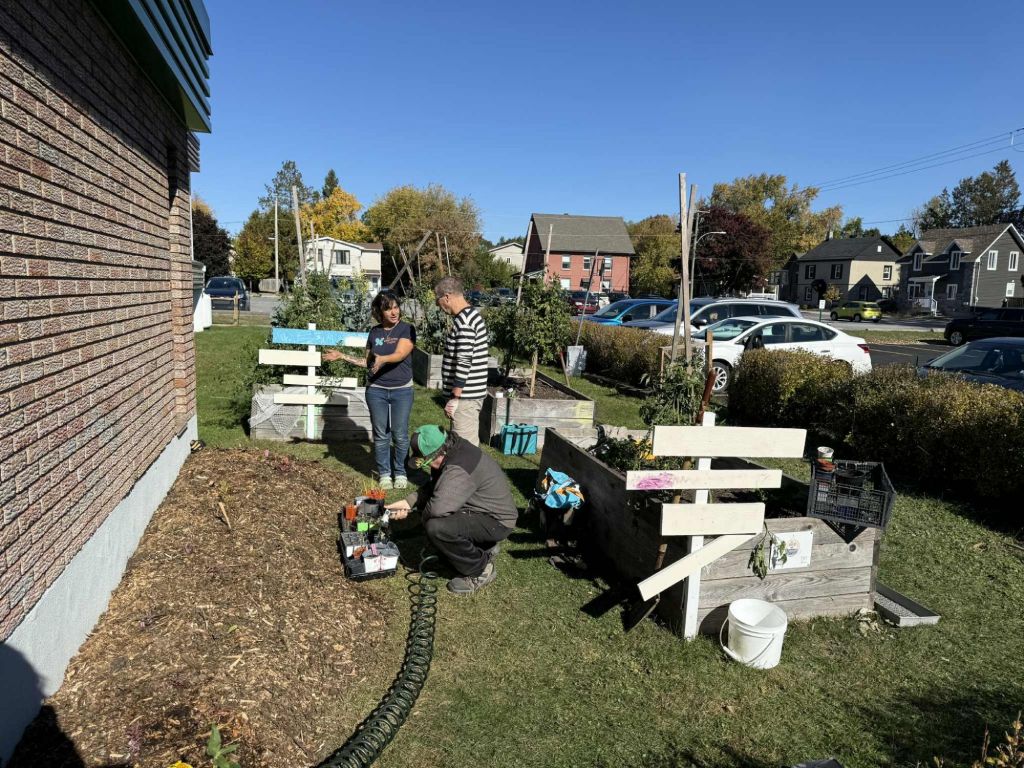
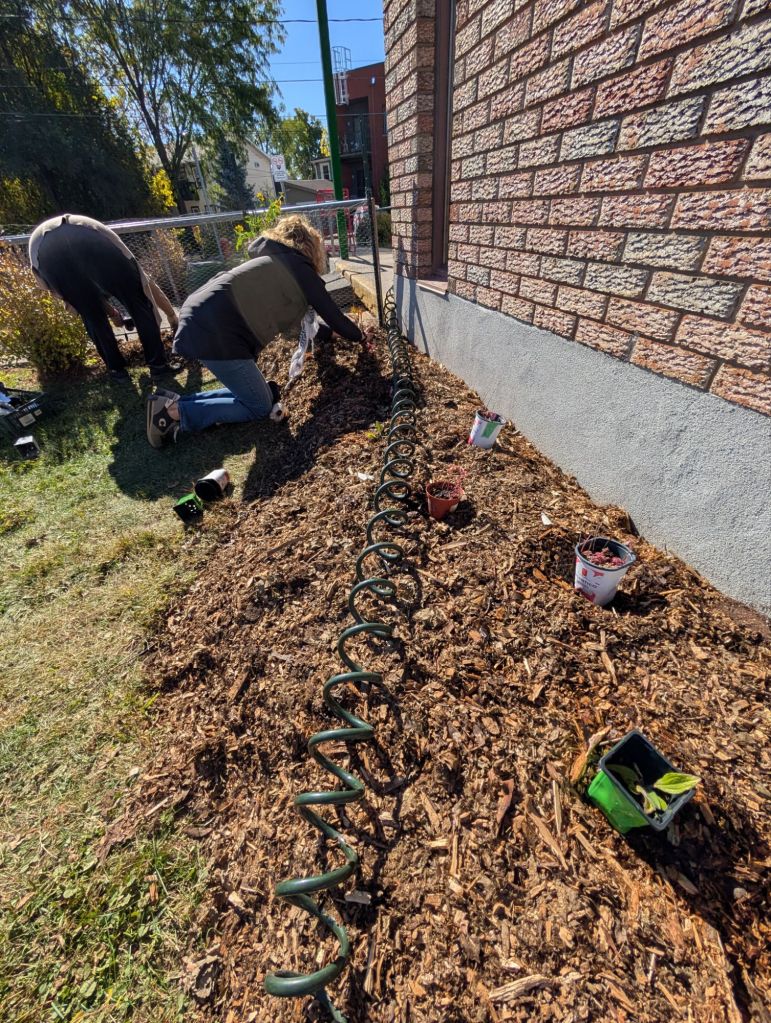
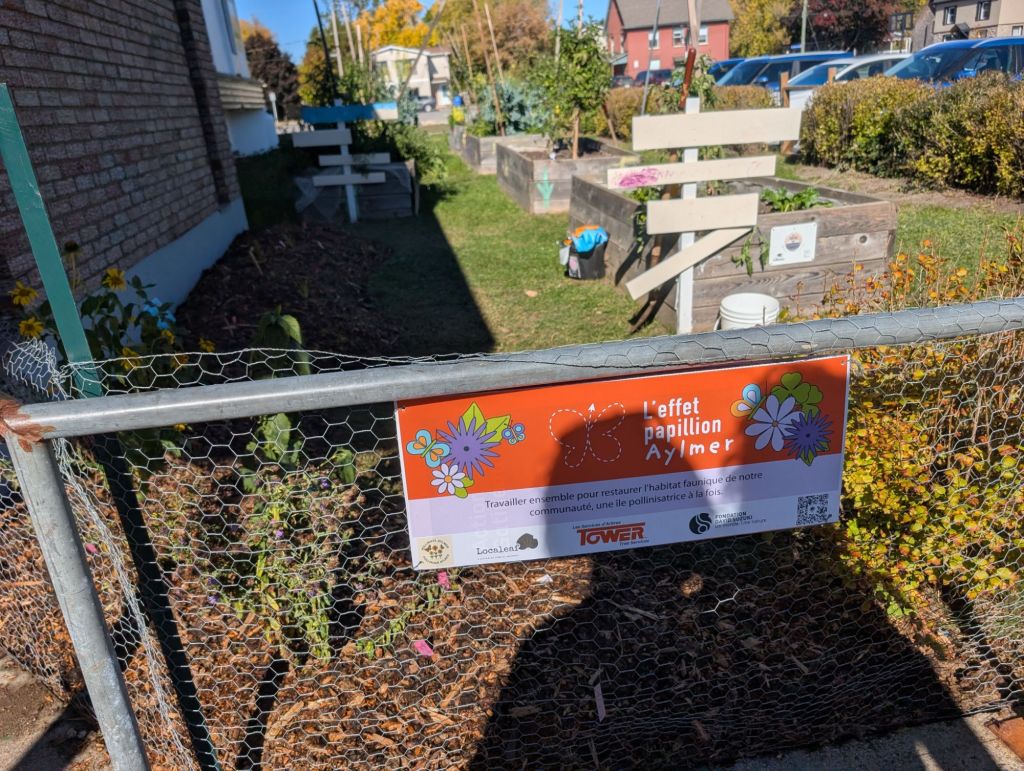
Over the past few days, volunteers from Pollinate Aylmer and the Aylmer Food Centre (Centre Allimentaire Aylmer) have been working hard to prepare a site for a pollinator garden and habitat, strategically placed next to the centre’s expansive vegetable garden, which was created with the support of another wonderful Aylmer based organization, Partenaires du Secteur Aylmer (who, incidentally, are Stop #6 on the Aylmer Butterflyway).
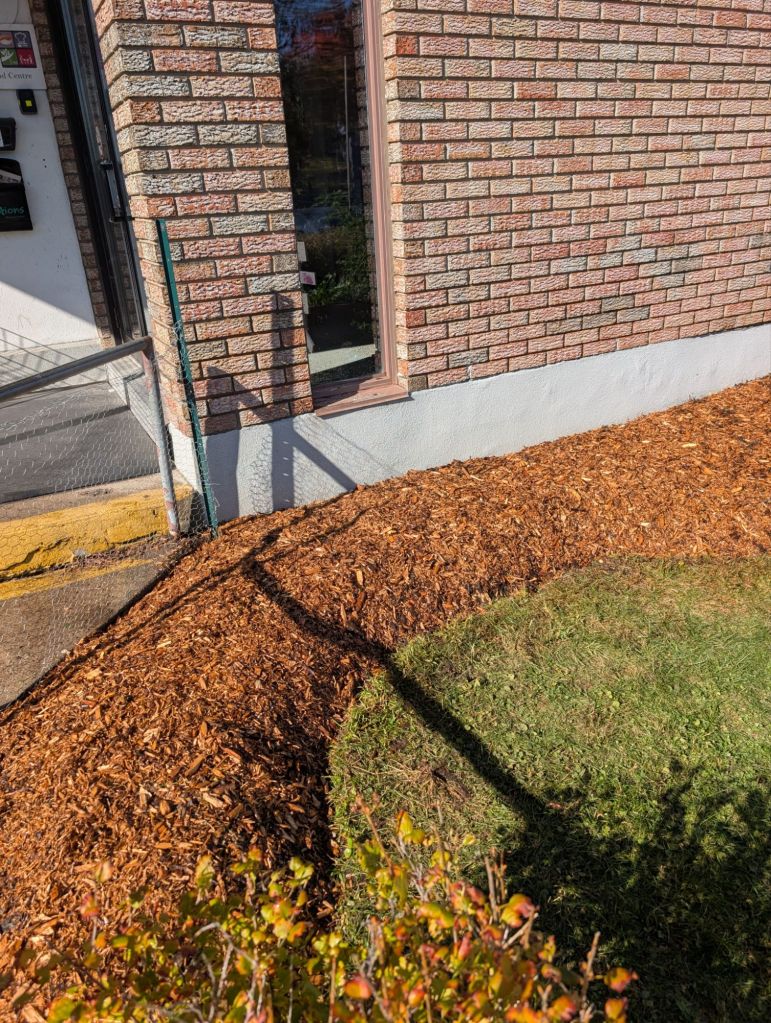
Volunteers helped transform a large patch of grass into a striking, eye-catching curved garden bed stretching toward the main entrance of the Food Bank.
Lasagna Method
We opted to minimize soil disturbance by using a simple and effective method lovingly refered to in the planting community as ‘the lasagna method’. There is a lot of conflicting information out there about exactly how to use this method, and I have recently found myself clarifying how to do this for a couple of people, so here’s something that should help.
Lasagna method aims to suffocate unwanted growth (such as weeds, grass, etc.), without disturbing the existing soil layer, which is filled with life, and home to many underground critters and organisms who will continue to live and contribute to improving soil so plants can grow there. That’s it really, and it can be accomplished in multiple ways, depending on the planting site and plant requirements.
In urban, residential gardens, people want ‘neatness’, so an edger can be used to define the space of the new bed, prior to beginning layering the area.
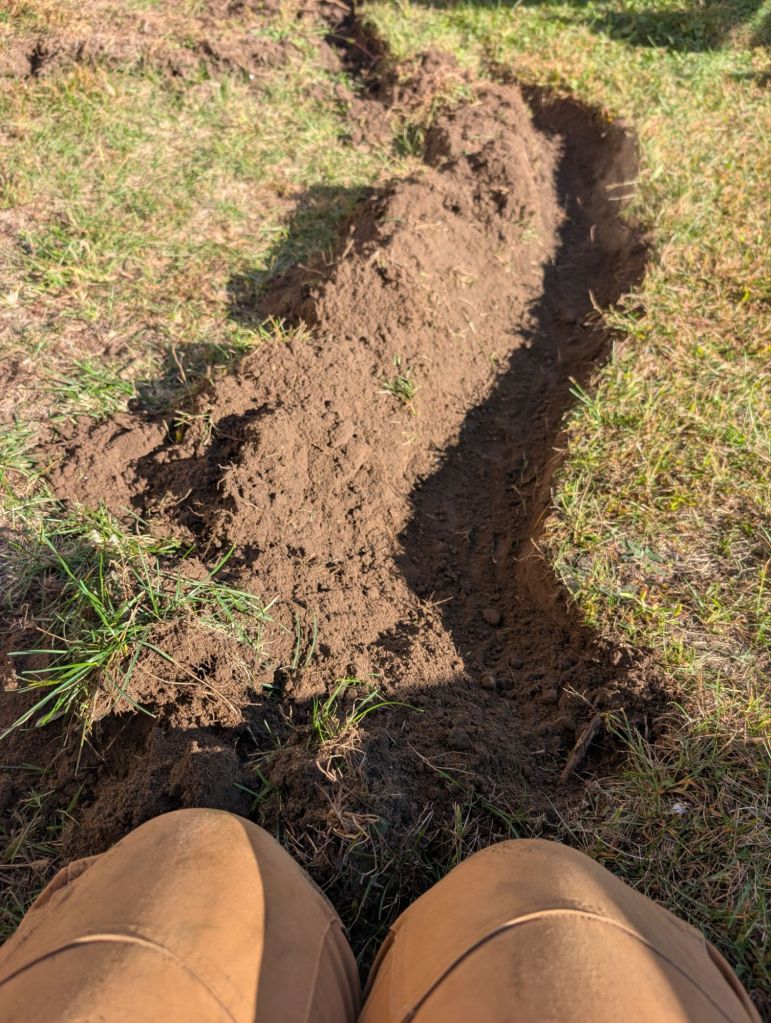
This is what we did. We used an edger to define a soft, curved edge for the bed, ensuring that the curves are wide enough for a lawnmower to maneuver. We cut strips out a long this edge to create a moat, and these strips were simply lifted and placed on the inside edge of the bed, creating a bit of height, separation and definition.

Next we laid down a layer of cardboard boxes, after inspecting them carefully and removing all tape and stickers. The cardboard serves to kill the grass and any other plant matter beneath it. The dead grass, along with the cardboard boxes, will decompose and become absorbed into the soil.
Sometimes cardboard and wood chips are all that is available or needed as ‘lasagna’ layers, and other times more materials are wanted, available or needed. Some people prefer to minimize any changes to the soil composition, planting instead for the existing, undisturbed conditions. For some sites (such as my rain garden) that makes sense, but in residential gardens, where organic, compostable material is readily available, I personally like layering anything and everything that has potential to be absorbed into the soil onto the bed itself, as I find this trend to help retain moisture and minimize watering.
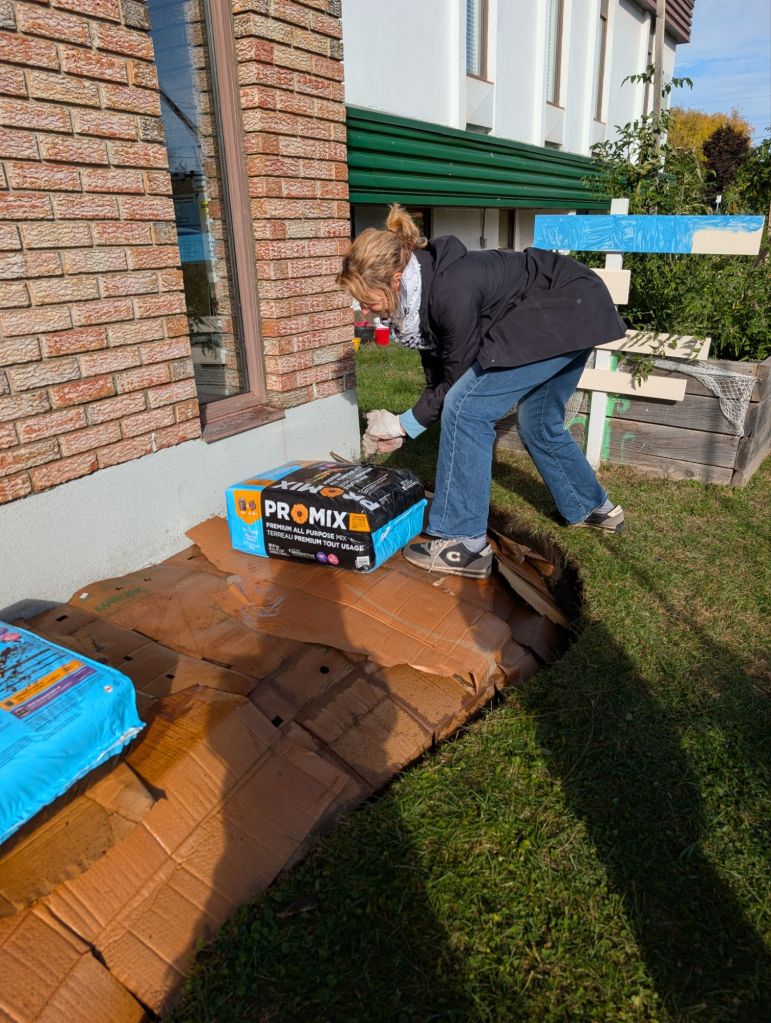
For the Foodbank, we had some garden soil available, and we layered that on top of the cardboard, adding a generous layer of arborist woodchips (kindly donated by Tower Tree Services).


We soaked the garden bed after adding each layer, and left the new bed in pristine condition overnight.


Planting Day
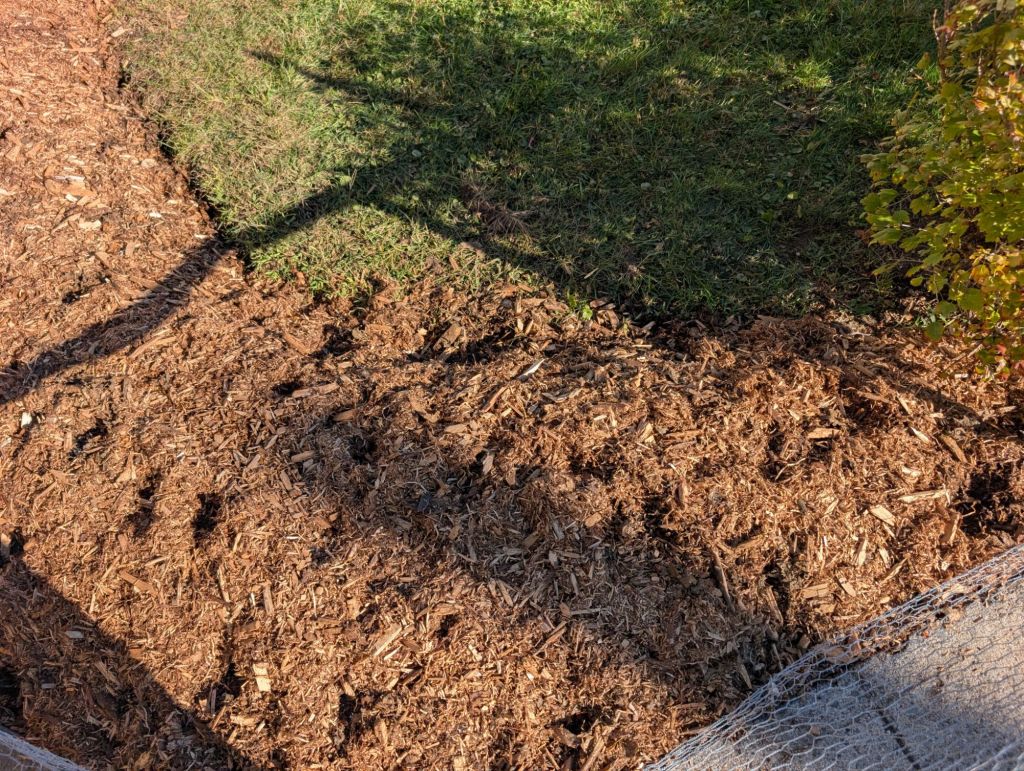
We came back the next morning to find that the local squirrels had apparently hosted a Zumba dance party in the new garden bed. This lets us know we will continue to have to come back and check on our new plants, until established.
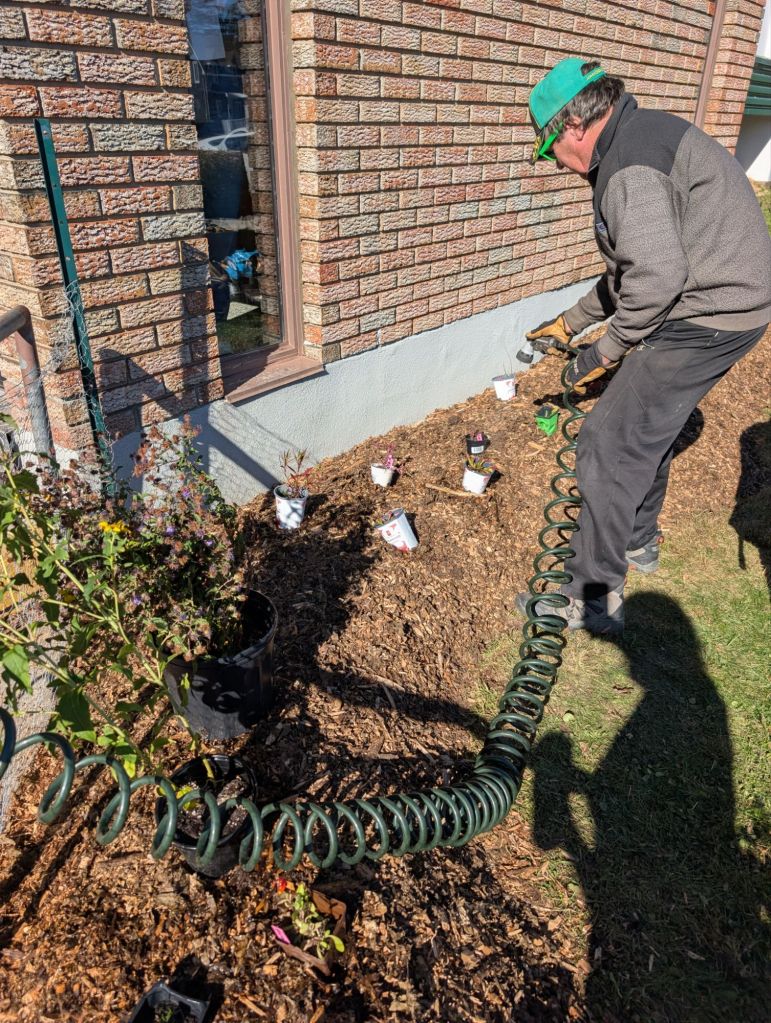
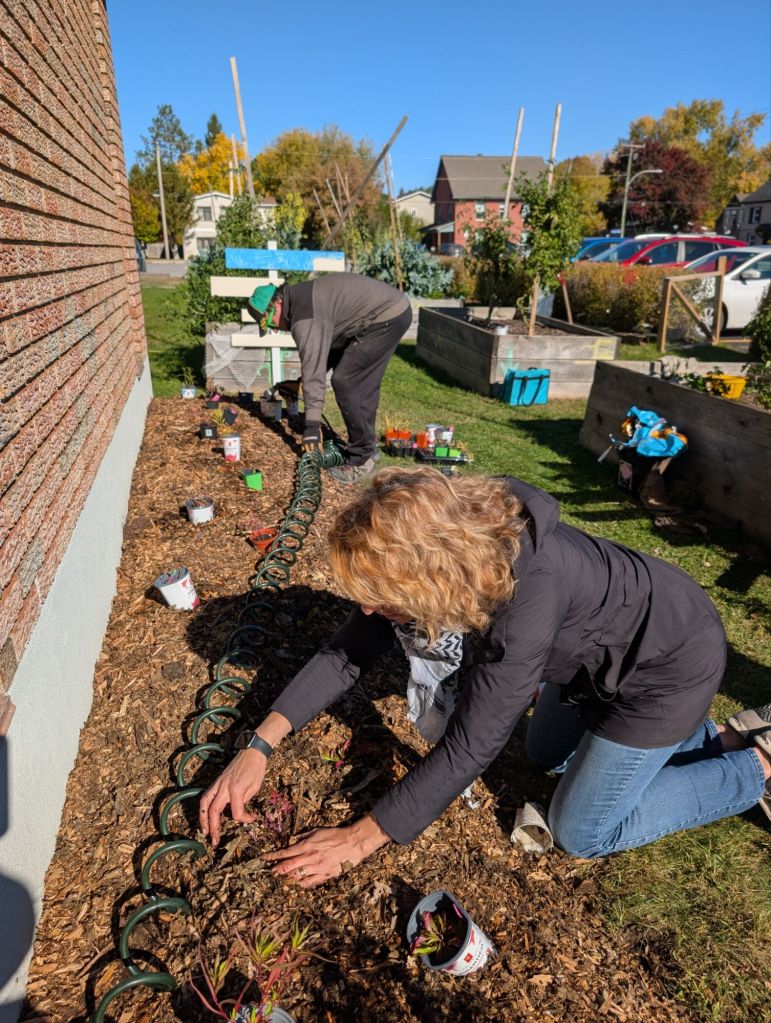
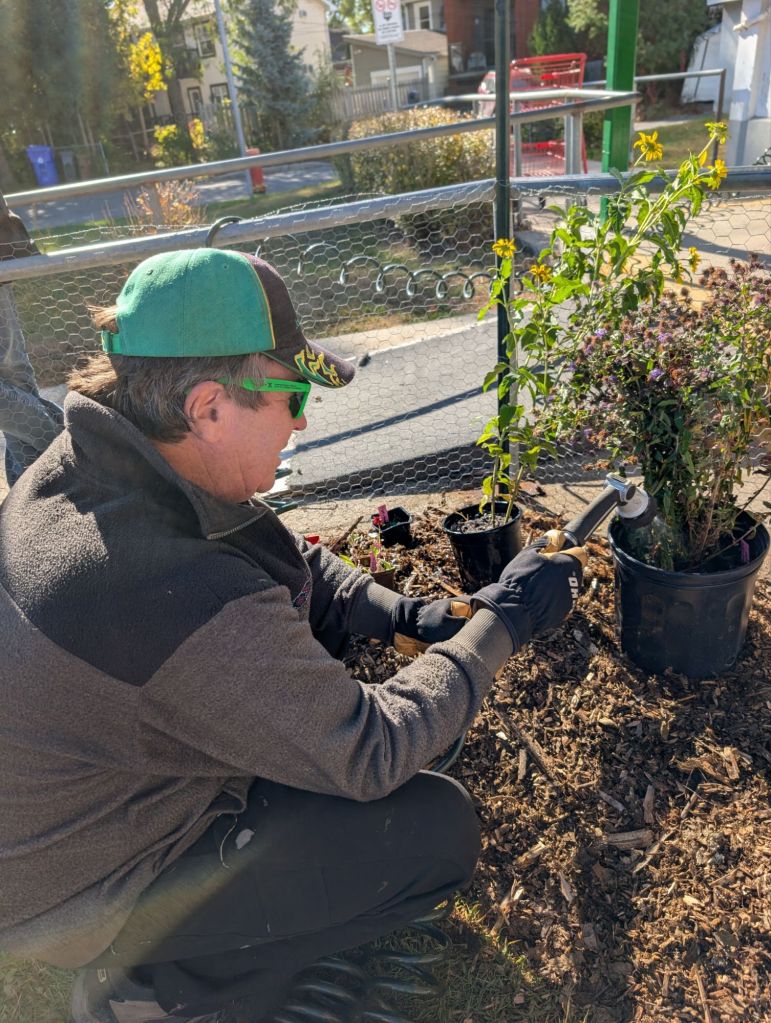
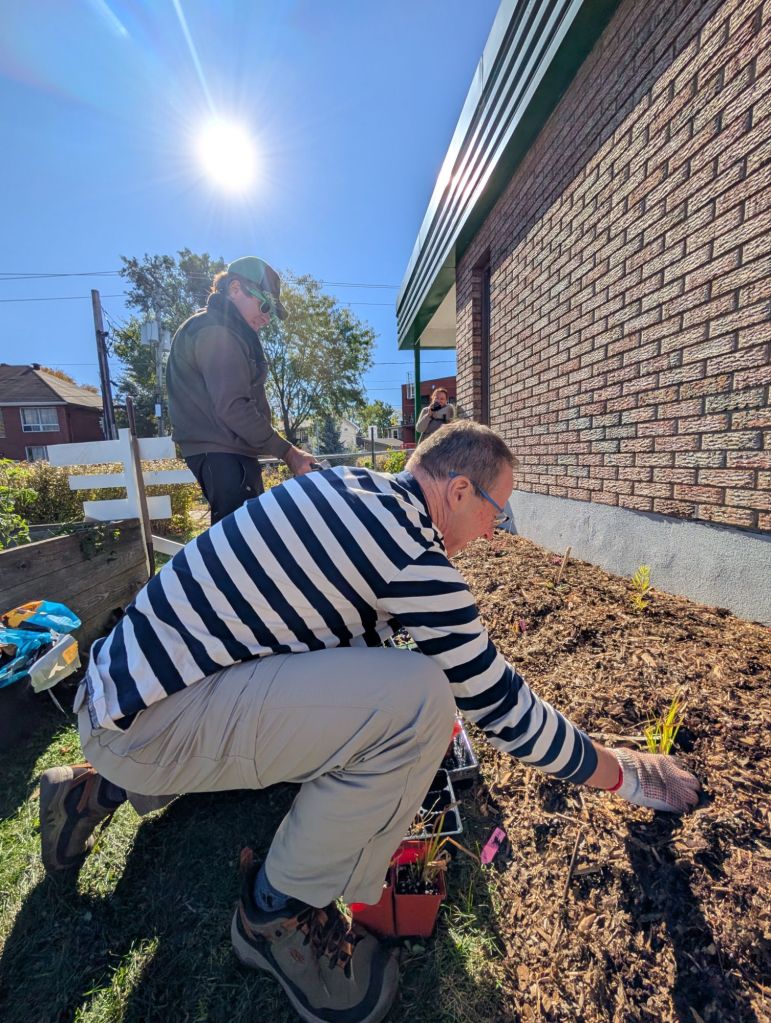
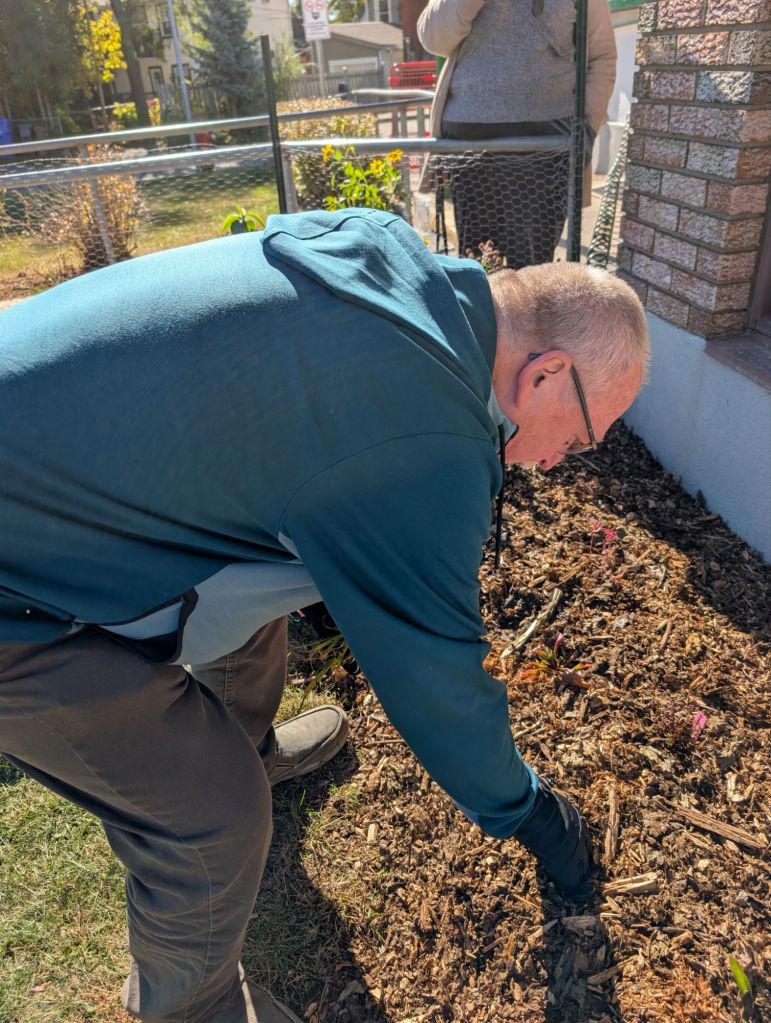
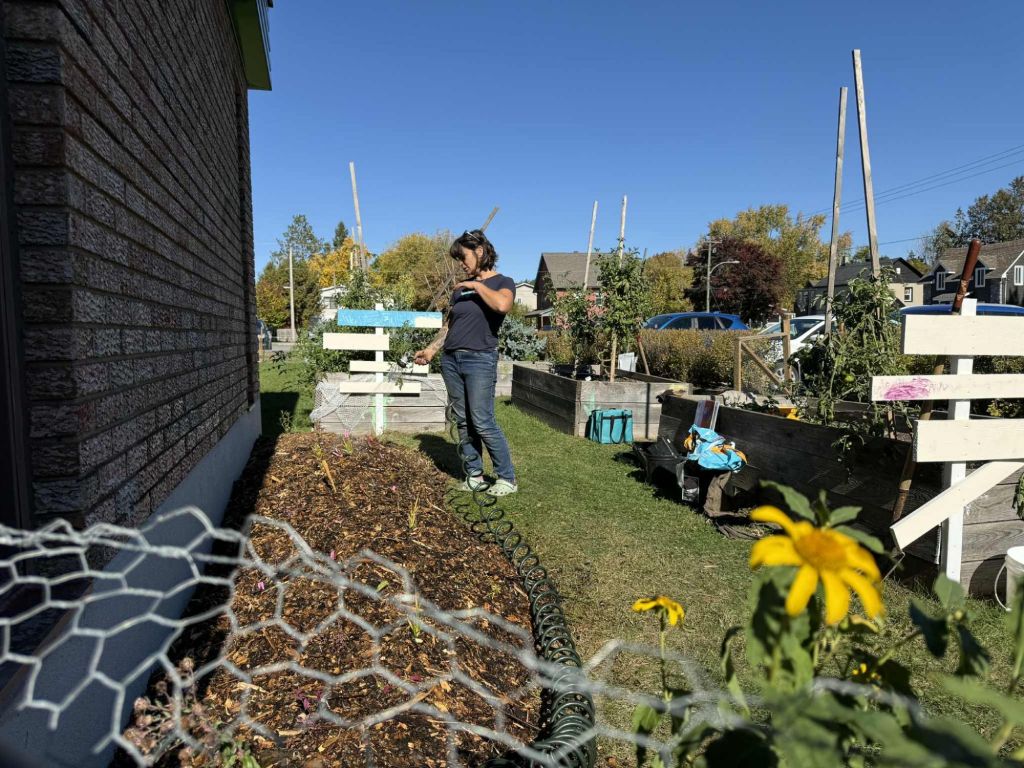
I had brought plenty of plants with me, and we laid them out with a mix of calculated precision and a slight flare of ‘let’s try this one over here shall we?’
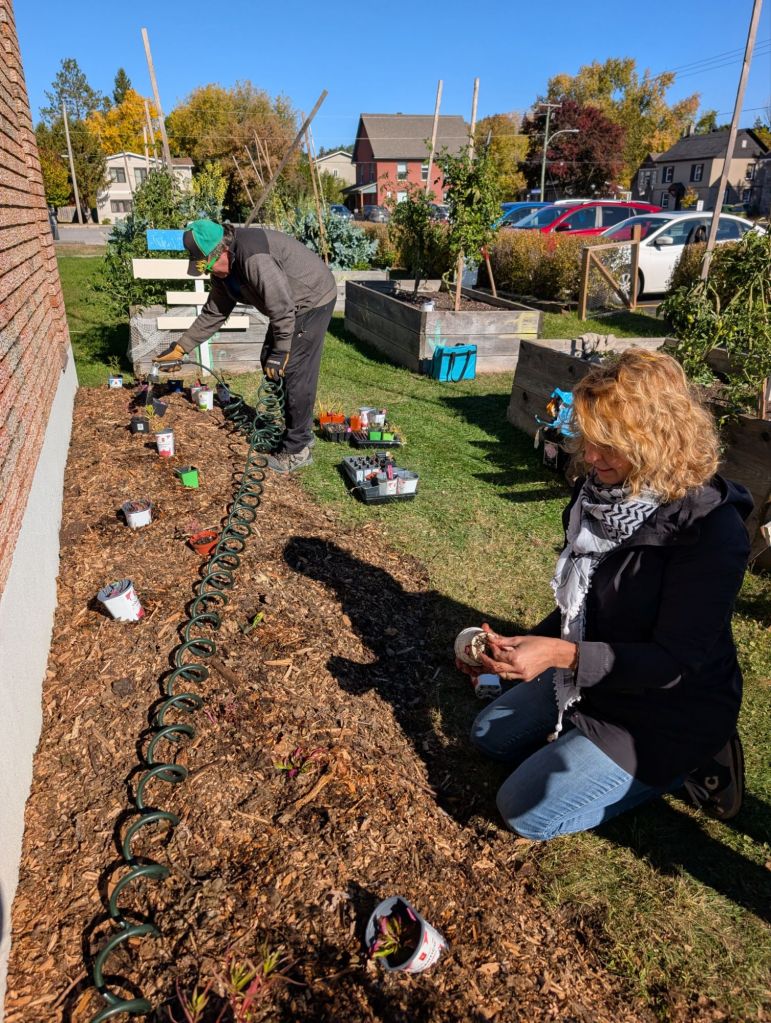
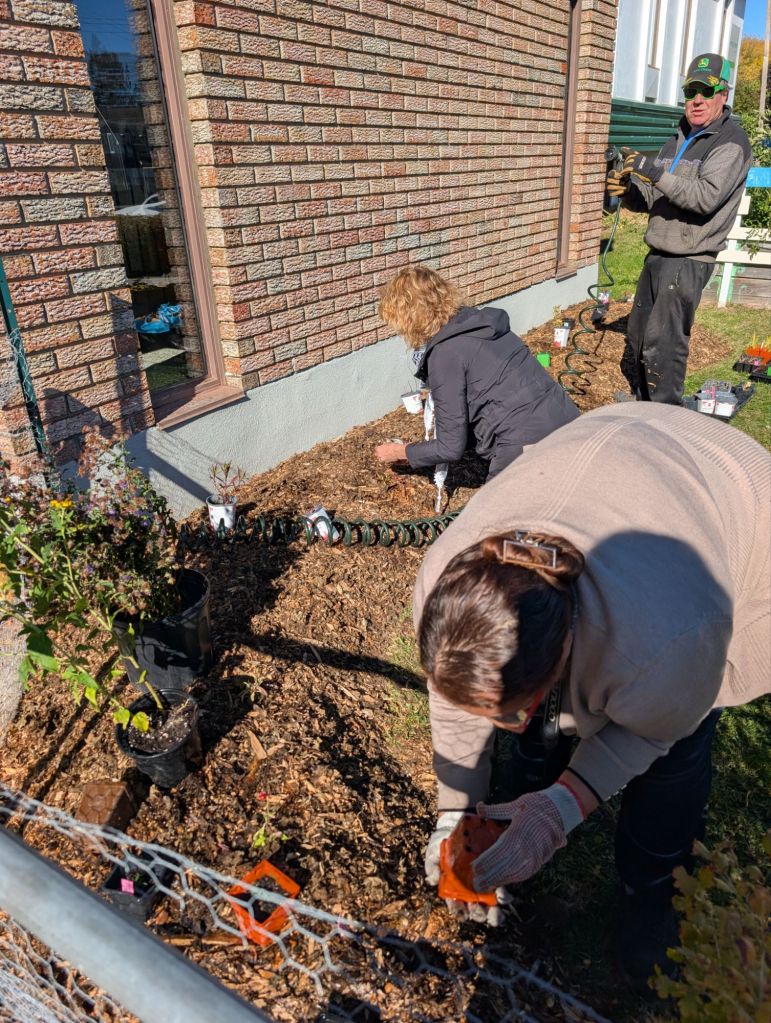
We enjoyed a slow and leisurely planting pace and multiple educational and conversational opportunities with a rotating roster of volunteers, staff, board members and helpers, all very curious to learn more about planting native species and the benefits to pollinators, wildlife, as well as the centre’s expansive vegetable garden.
Plant Selection
I would love to say all of the plants selected were optimized for our planting site, but in truth, other factors came into play, and largely that came down to availability.
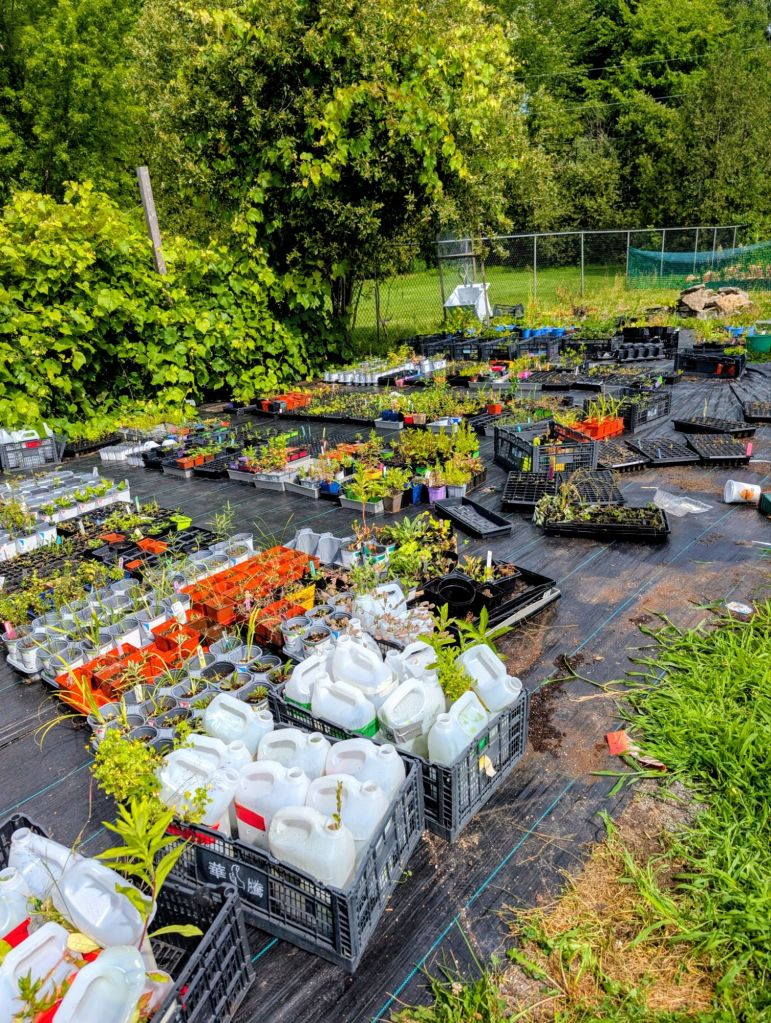
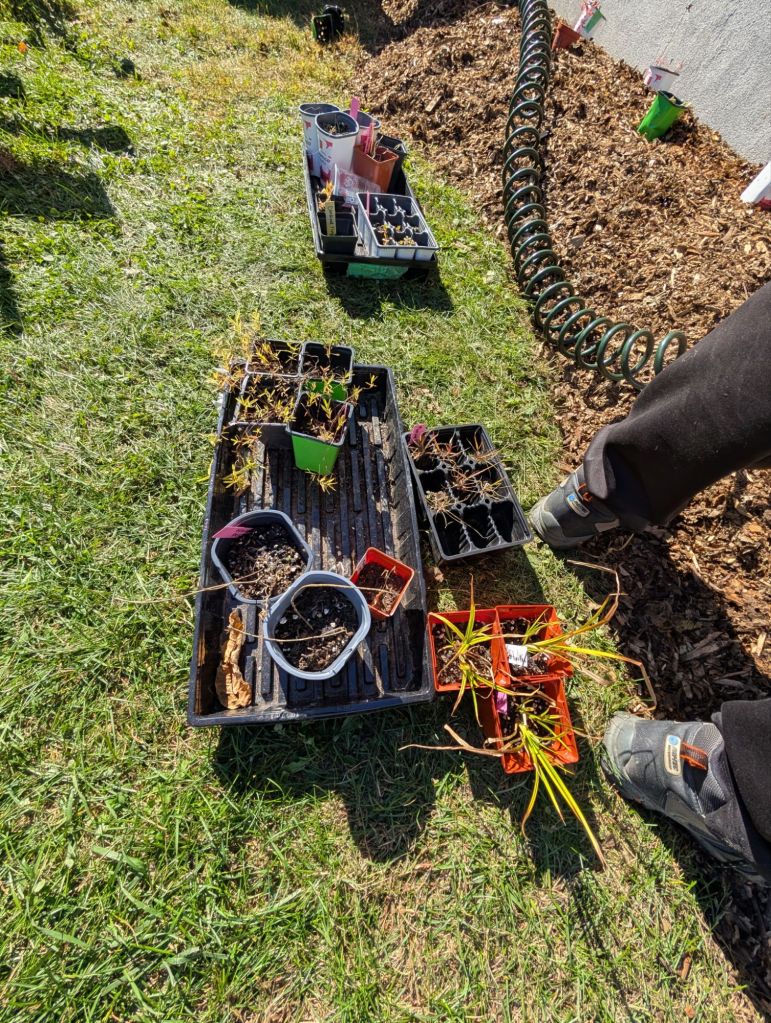
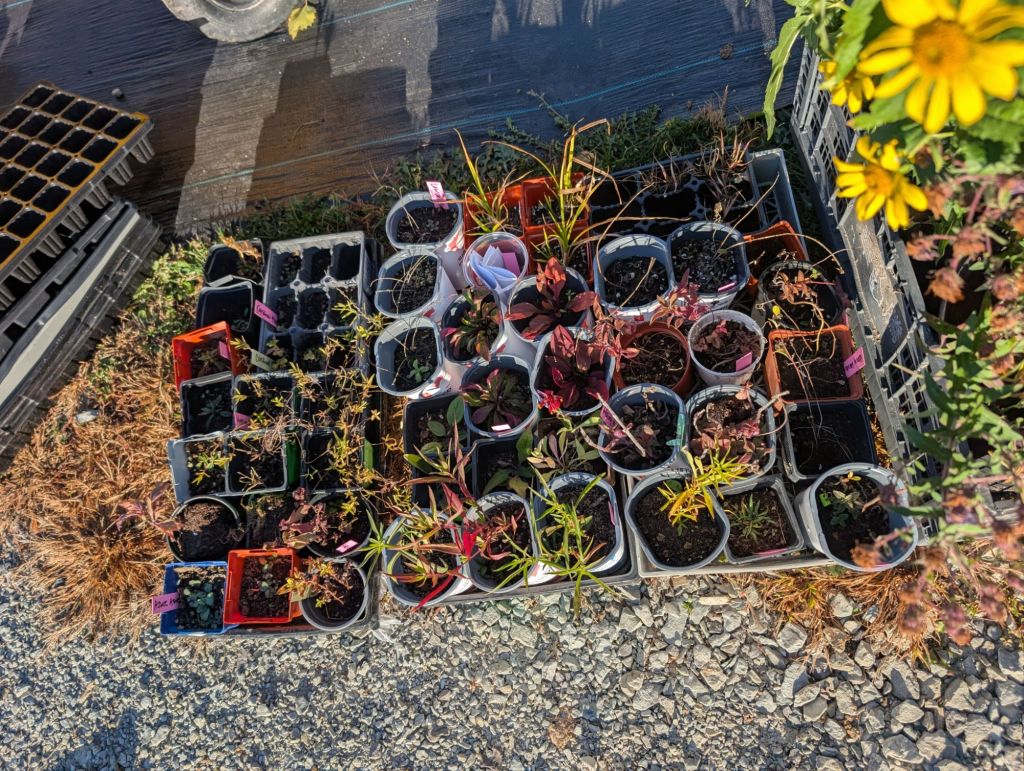
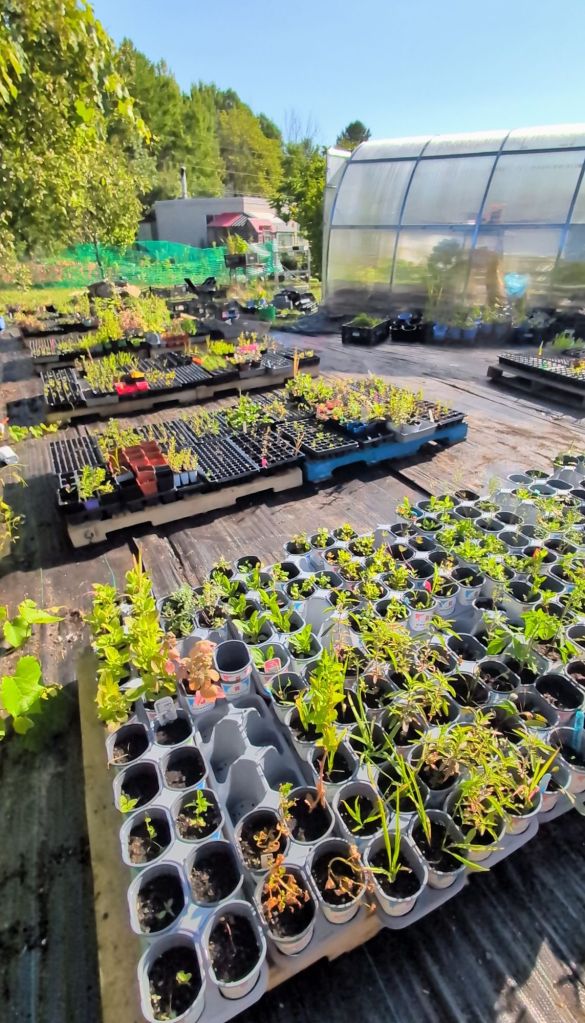
I grew a lot of plants this year, and though I also accidentally killed a lot as well (future blog post topic), I learned a lot in the process of starting an almost nursery, and I hope to be able to use some of those learnings next year.
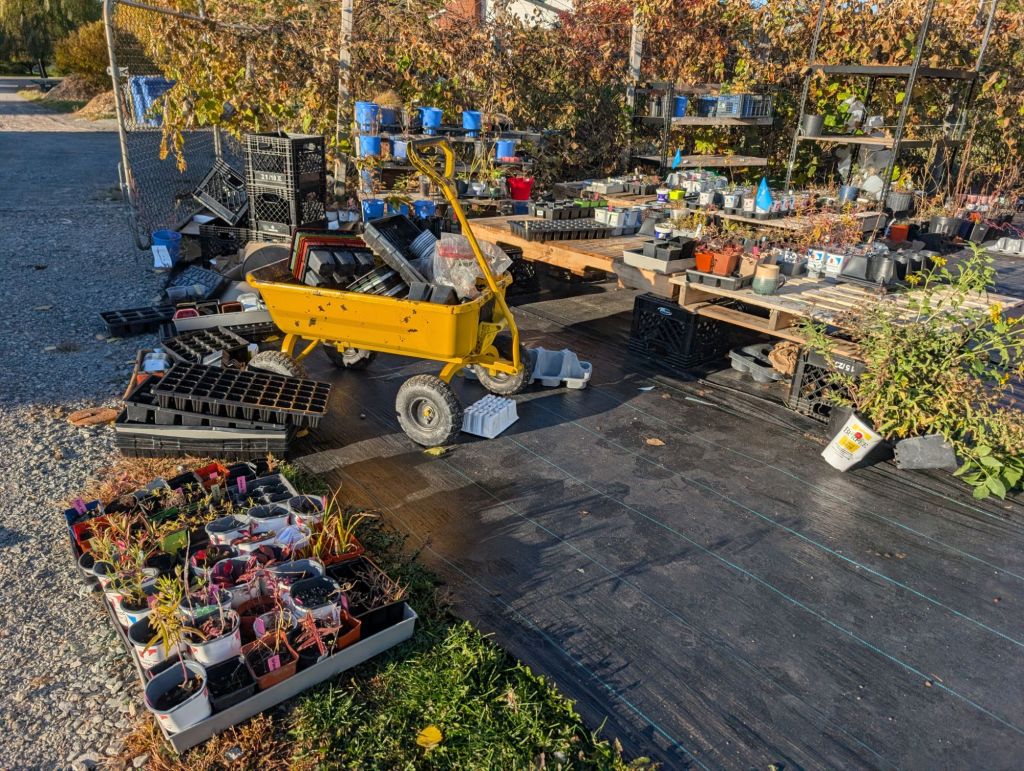
In the meantime, despite severe drought, neglect, washed away labels, mistakes and my chronic illness, along with memory deficits (such as where I placed dozens of trays of transplants), I eventually found a rhythm and developed some rudimentary means for organizing surviving plants.
We planted 8 gardens this summer, and 4 remained to be planted in the fall.
A group of us got together, representing each of the remaining Aylmer Butterflyway Stops, and we divided up the plants I had remaining at the nursery, which matched our habitat priorities, as well as existing site and soil conditions.
The other 3 of 4 sites are far larger habitat gardens, so the Food Bank needed a smaller number and species of plants. There are a couple of staple keystone plant categories I always aim to include in a habitat garden, because of the sheer number of pollinator species they support, but we also needed to take into account some additional preferences discussed with the centre. We wanted large pops of colour peaking out over the 2 foot fence, and greeting anyone walking up to the front doors. We also needed some companion plants to perform specific roles for the nearby vegetable gardens, such as luring away Japanese beetles, and aiding the pollination of squashes.
With those requirements in mind, also based on what I still had left, here is the list of plants we planted in the centre’s garden.
Plant List
🌱Asclepias incarnata (Swamp Milkweed)
🌱Asclepias tuberosa (Butterfly Milkweed)
🌱Carex lupulina (Hopsedge)
🌱Eragrostis spectabilis (Purple Lovegrass)
🌱Euthamia graminifolia (Flat-topped Goldenrod)
🌱Gaillardia aristata (Blanket Flower *)
🌱Heliopsis helianthoides (False Sunflower)
🌱Hypericum prolificum (Shrubby St. John’s Wort)
Linum lewisii (Lewisii Blue Flax *)
🌱Lobelia cardinalis (Cardinal Flower)
🌱Monarda didyma (Scarlet Bee Balm)
🌱Monarda punctata (Spotted Beebalm)
🌱Oenothera fruticosa (Narrow-leaved Evening Primrose)
🌱Penstemon digitalis (Foxglove Beardtongue *)
🌱Penstemon gracilis (Slender Beardtongue)
🌱Penstemon hirsutus (Hairy Beardtongue)
🌱Pycnanthemum pilosum (Hairy Mountain Mint)
🌱Pycnanthemum virginianum (Virginia Mountain Mint)
🌱Rudbeckia hirta (Black-eyed Susan)
🌱Symphyotrichum lanceolatum (White Panicle Aster)
🌱Symphyotrichum novae-angliae (New England Aster)
🌱Symphyotrichum oolentangiense (Azure Aster)
🌱Verbena stricta (Hoary Vervain)
*near-native species
Maintenance
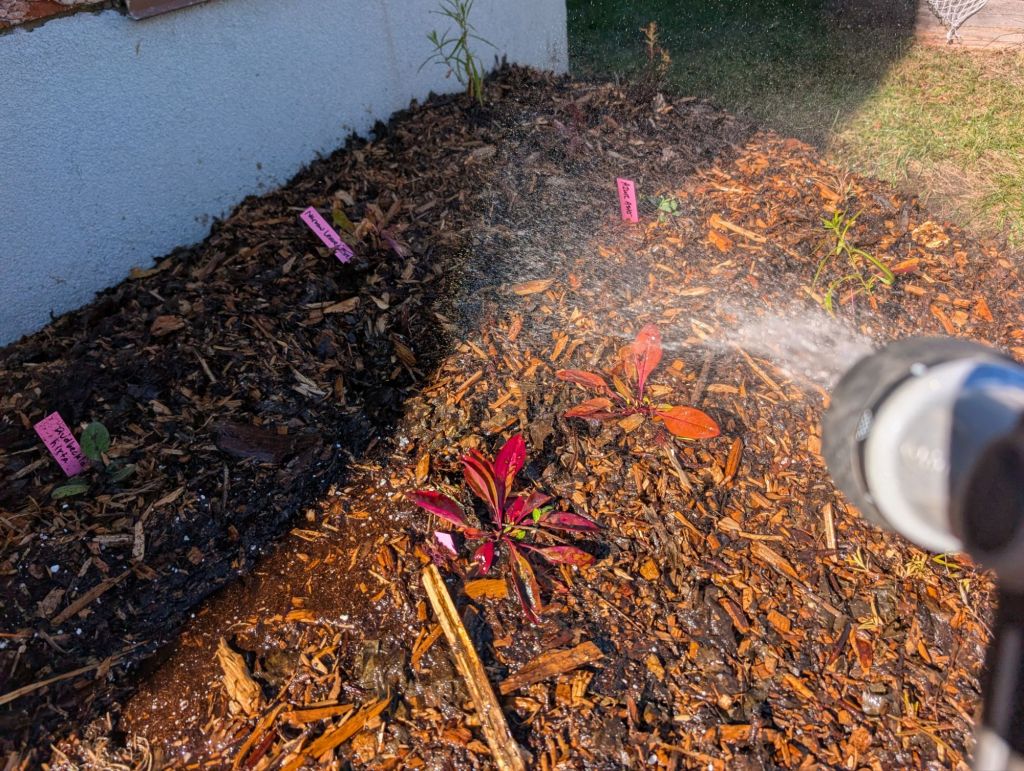
Finally, with all the plants in their new homes, we heavily watered the bed one last time, and expect it will be the only purposeful watering it requires, for a couple of reasons. The layer of woodchips will retain moisture, and slowly breakdown to release additional nutrients and a consistent moist barrier into the garden bed.
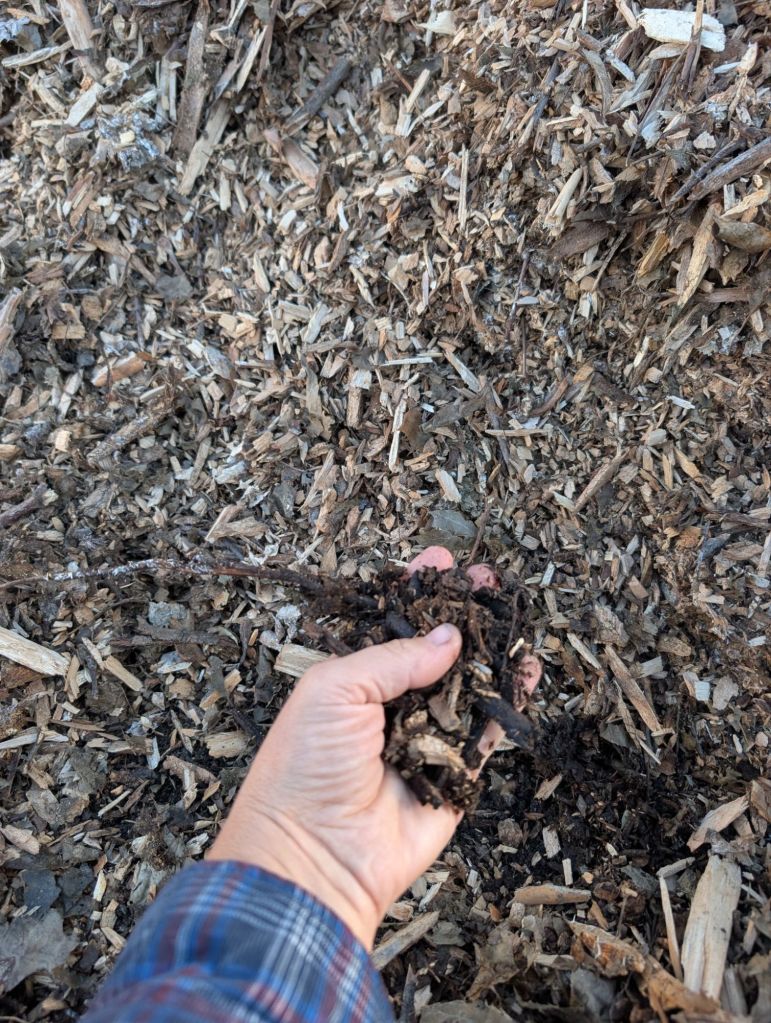
This is what a large pile of woodchips on my property looks like, very dry looking on top after the drought we have experienced, yet moist and starting to breakdown below the surface. These woodchips were delivered to me freshly cut in July. I have never watered the pile, yet it has been able to capture, maintain and even release its own moisture.
Other reasons this bed won’t have to be watered are the size of plants chosen.
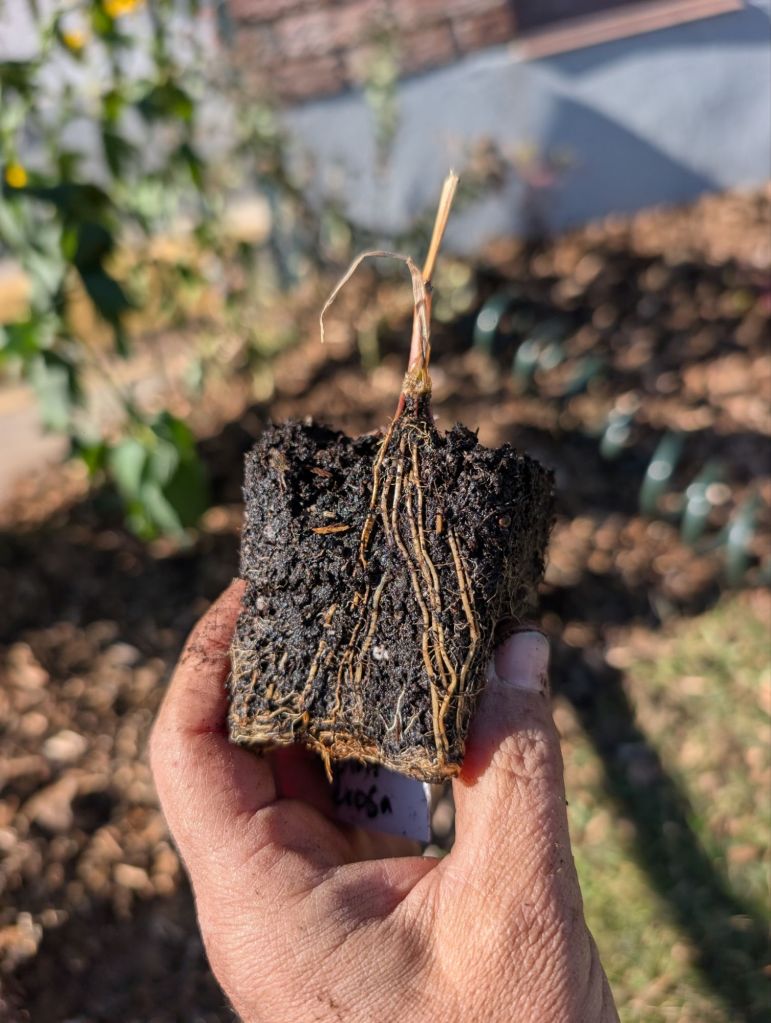
We planted plugs and small first year plants with healthy root systems which will branch out and expand into the lasagna layers as they break down. Once established, the plants selected all have some drought tolerance, if needed, and combined with the moist healthy soil they will be able to wait out a drought until rain can replenish the moisture in the soil.
We planted heavily and densely, and my expectation is within the next 2 years the plants selected will grow and sprawl out to fill most of the space available to them, currently visible as mulch. It’s possible that some will be absorbed, and some will begin to try to outgrow the space we allowed them, at which point the habitat island might expand on its own, or plants can be divided and placed elsewhere, or shared in turn.
Until then, some light weeding will likely be required, especially around the exposed mulch. I doubt it will be excessive, and hope the Centre will be pleasantly surprised with the minimal maintenance needs of such a heavy planting.
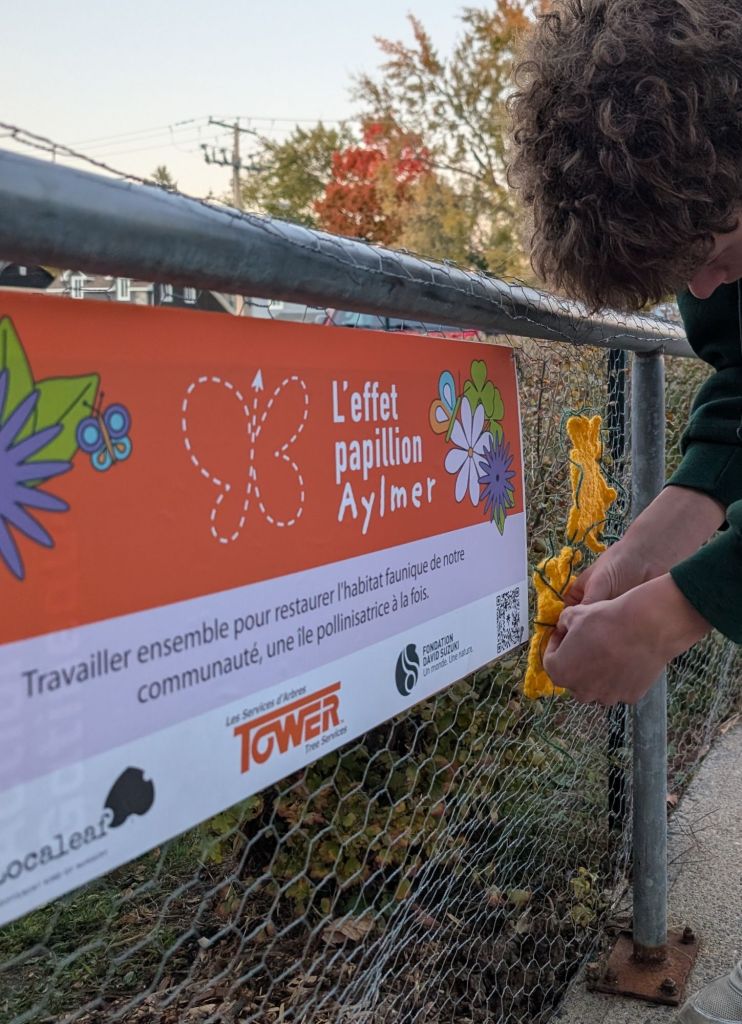
Finishing Touches
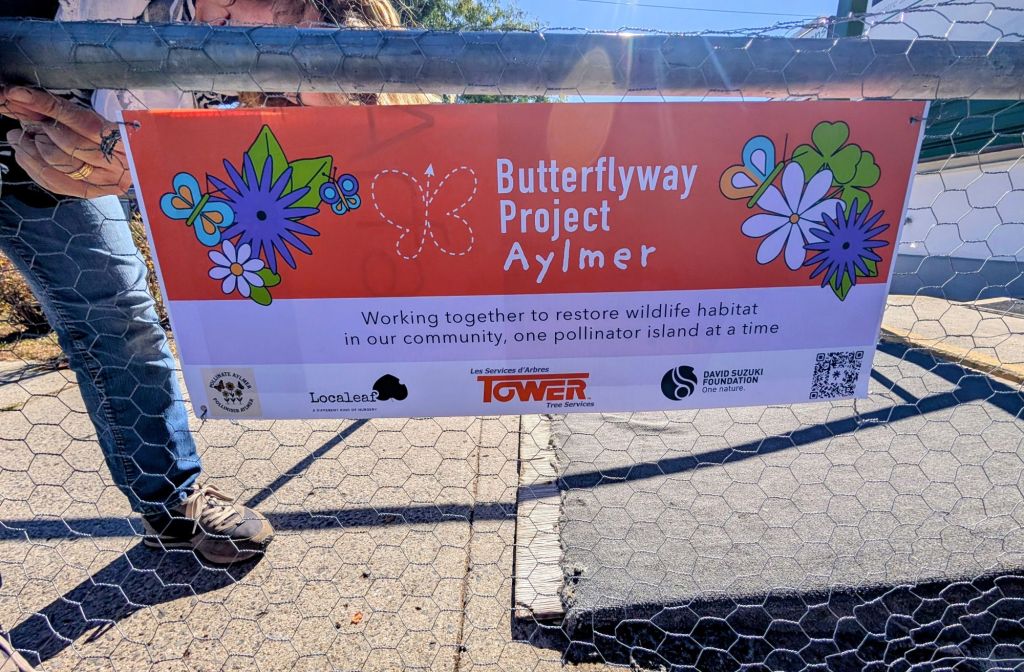
With the watering complete, we hung our newly designed, enlarged Aylmer Butterfly sign on the flimsy fence.
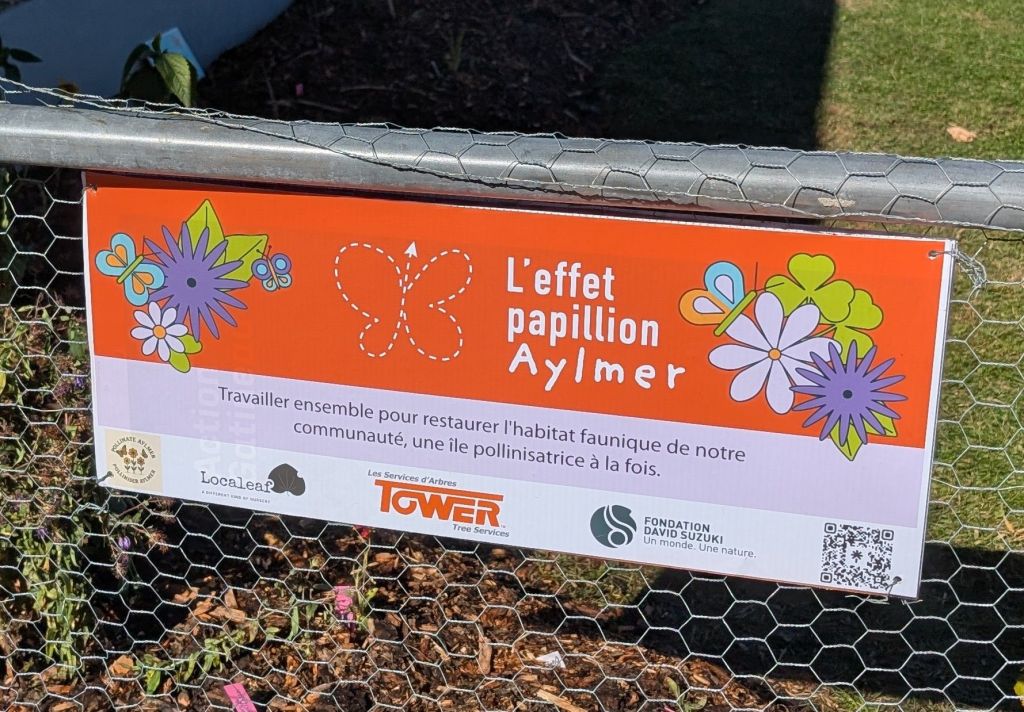
We felt a wonderful sense of pride, mixed with a little bit of giggles after completing this planting, but the project is not yet finished.
Help Wanted!!
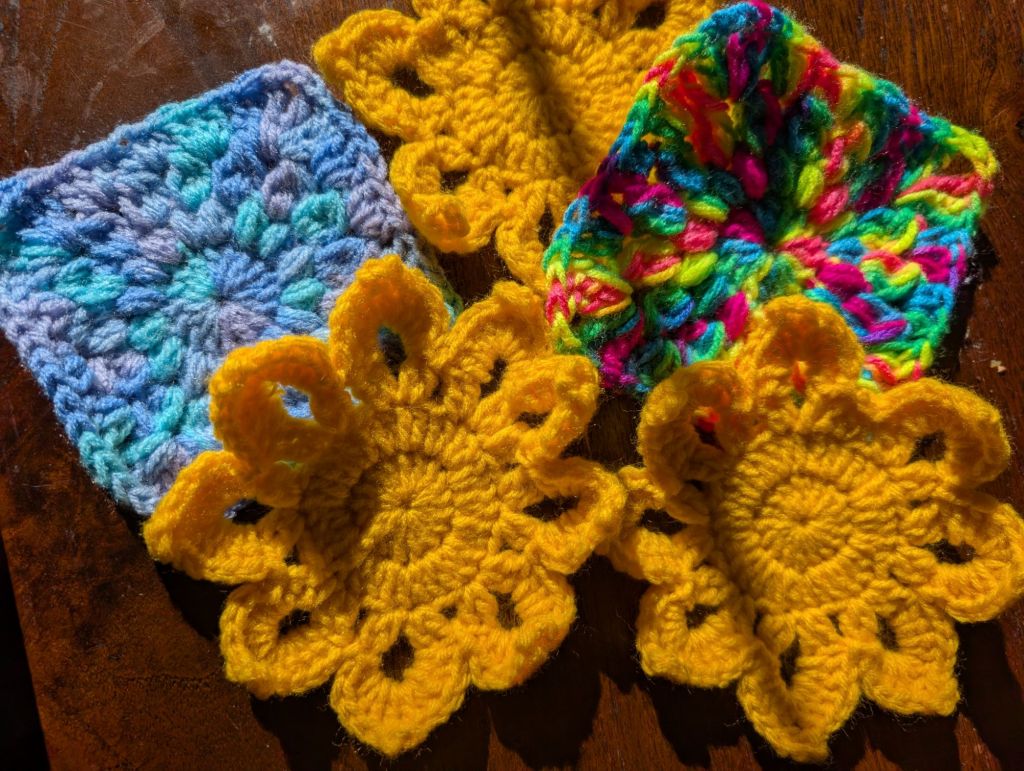
This is where you, dear reader, come in. We need your help. We are looking for knitted and crochet flowers, just like the ones below.
Being grassroots, nimble and unmarred by formal organization or official rules, procedures and guidelines, as Pollinate Aylmer we have been able to fly by the seat of our pants and accomplish anything we set our mind to, as long as at least 1 person in our group is able and willing to run with an idea, with very limited resources and a lot of creativity.
One such idea needs help, which we are hoping to get from our larger community, as it turns out none of us can knit, or crochet.
We have an ambitious ask of hundreds of these flowers, to completely cover the flimsy little fence that wraps around the vegetable garden of the Food Bank. This is our starting point.
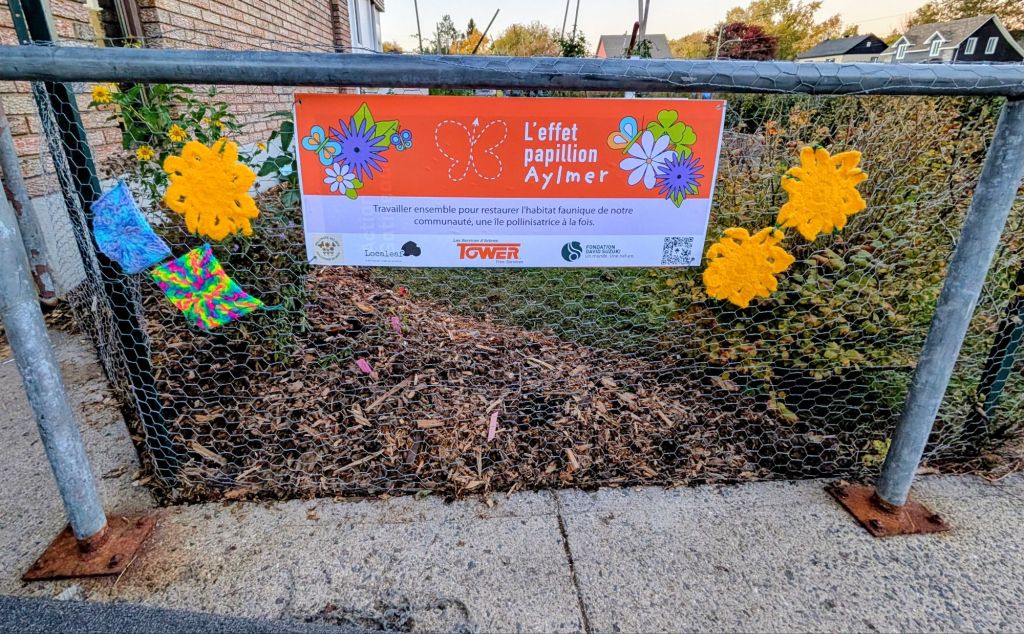
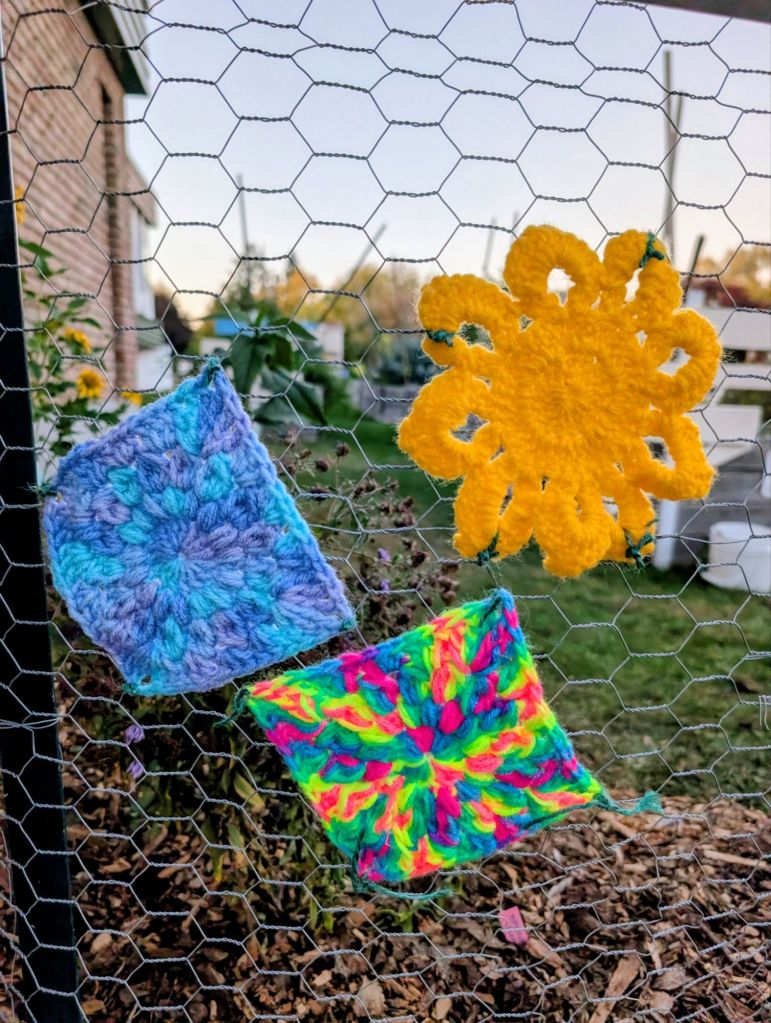
The flowers and squares currently on the fence were donated by kind staff at Eardley Elementary School (Aylmer Butterflyway Stop #1 and #2). We simply tied them to the fence.
Hopefully the idea inspires you.
If you or anyone you know can make one or more of these, please message me, or anyone in the Pollinate Aylmer FB group, we will gladly coordinate picking them up, and tying them onto the fence.
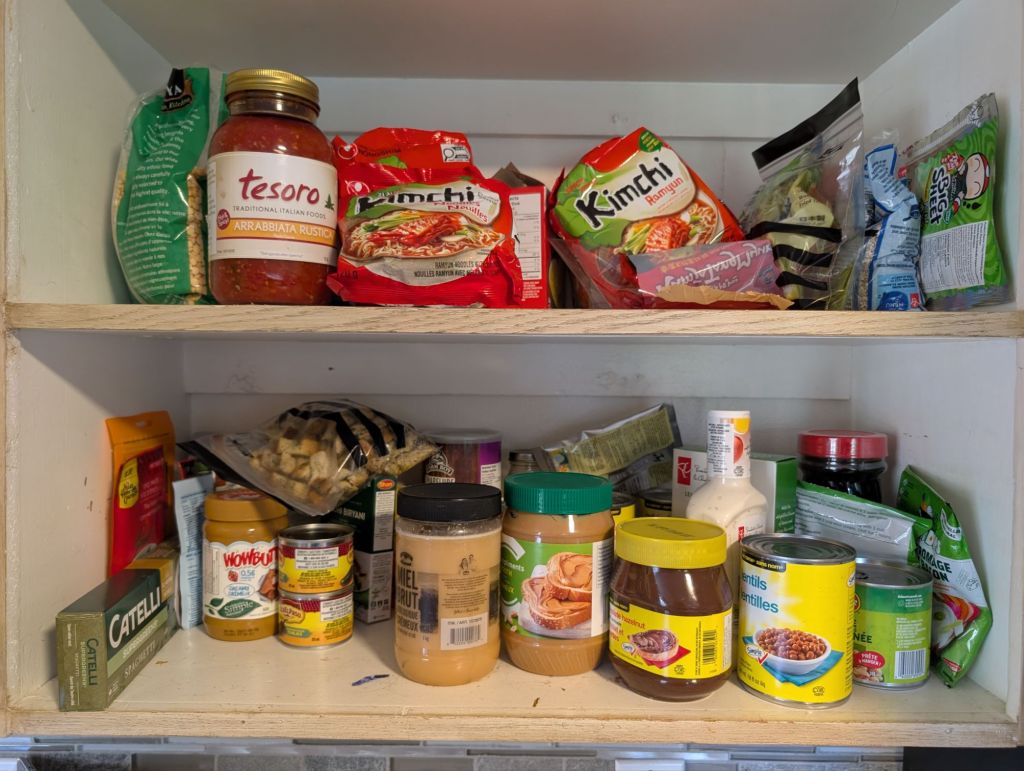
Alternately, if you are feeling so inclined, feel free to stop by and tie your own onto the fence. Before you do, check your cupboards, and bring some food donations for the centre along with you.
Discover more from LocaLeaf
Subscribe to get the latest posts sent to your email.

3 thoughts on “Aylmer Butterflyway Stop #11 – Centre Allimentaire Aylmer”