I’ve been winter sowing seeds successfully for sever years, and racking up mistakes, learnings and tips from my experiences, as well as those of many others who started winter sowing before me, so by now I’m pretty comfortable with the practice.
I found it overwhelming when I started, so I began small, with just a few native flower seeds my first year trying it, and fell in love with the process. I also love the amazing community of gardeners who enjoy growing this way, sharing their learnings, and what they’ve adopted as their own flavour of winter sowing that works for them, so I thought I would share ours.
This blog post is aimed at anyone new to winter sowing, and might bore anyone familiar with it, as it assumes no prior knowledge, just interest in the topic.
What is winter sowing?
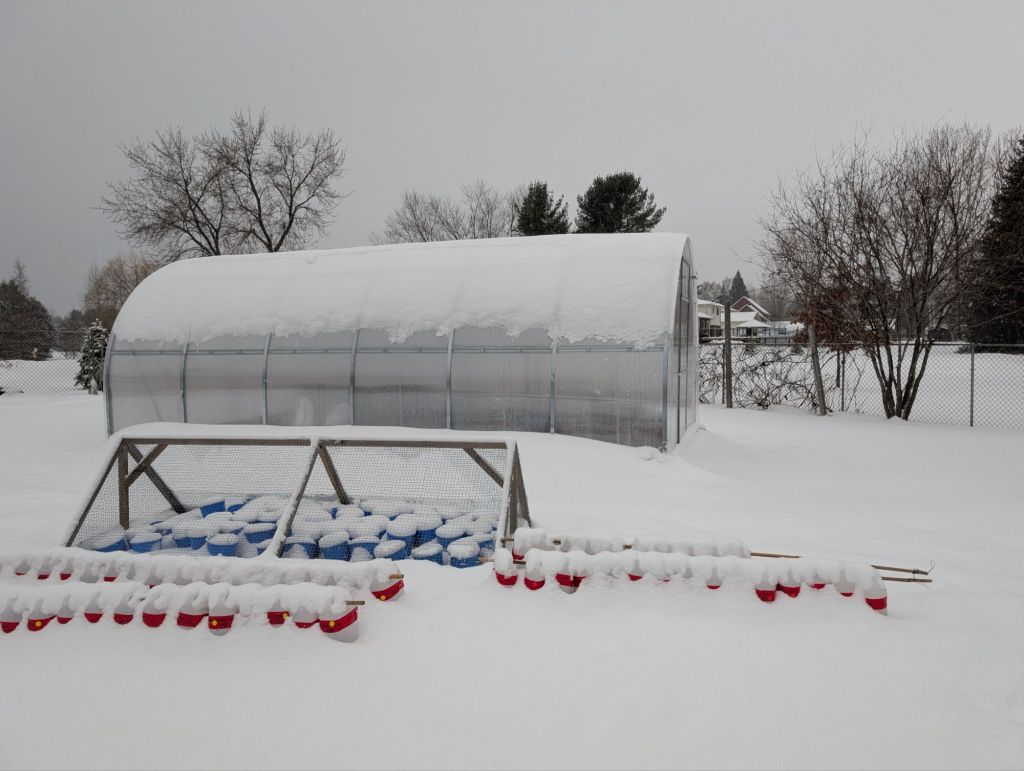
In essence, it’s the idea of planting seeds outside in winter, letting them freeze, then sleep, and wake up on their own in spring when the time is right.

In our climate this is natural. Seeds drop in fall, spend winter frozen, and wake in spring. This is how our native plants grow, this is how baby trees grow, and surprisingly this is also how strong and resilient vegetables can also grow, overwinter and pop up when the time is right on their own in spring.
Why winter sow?
- It’s sooooo easy
- Hands in dirt in winter
- Environmentally friendly
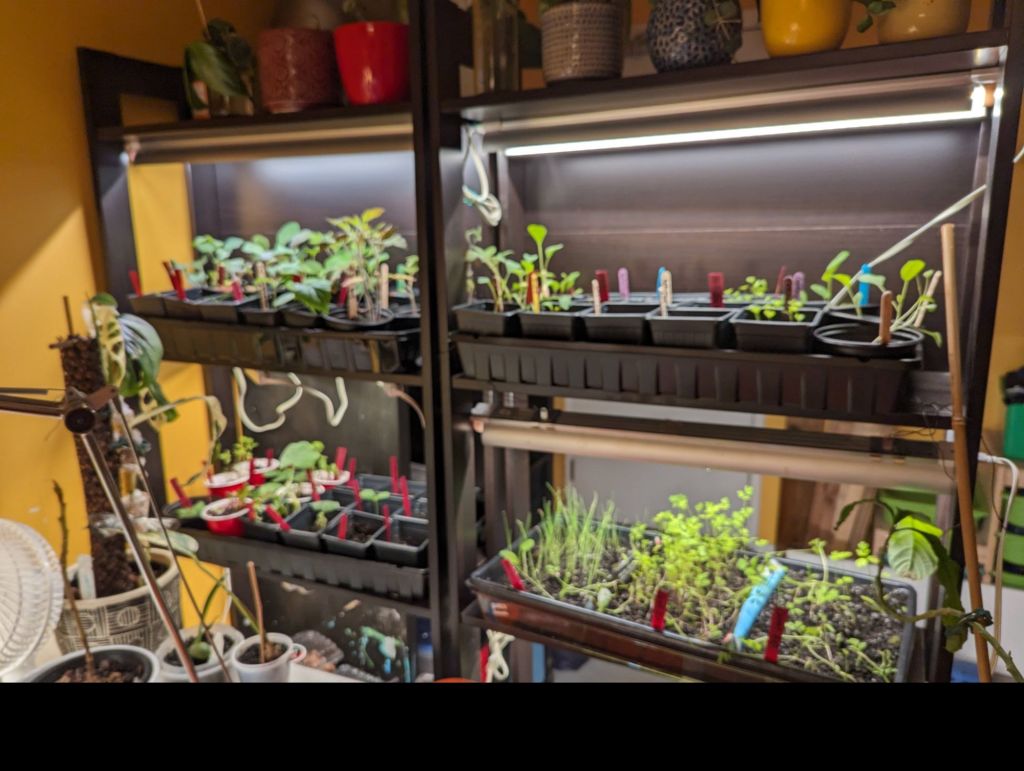
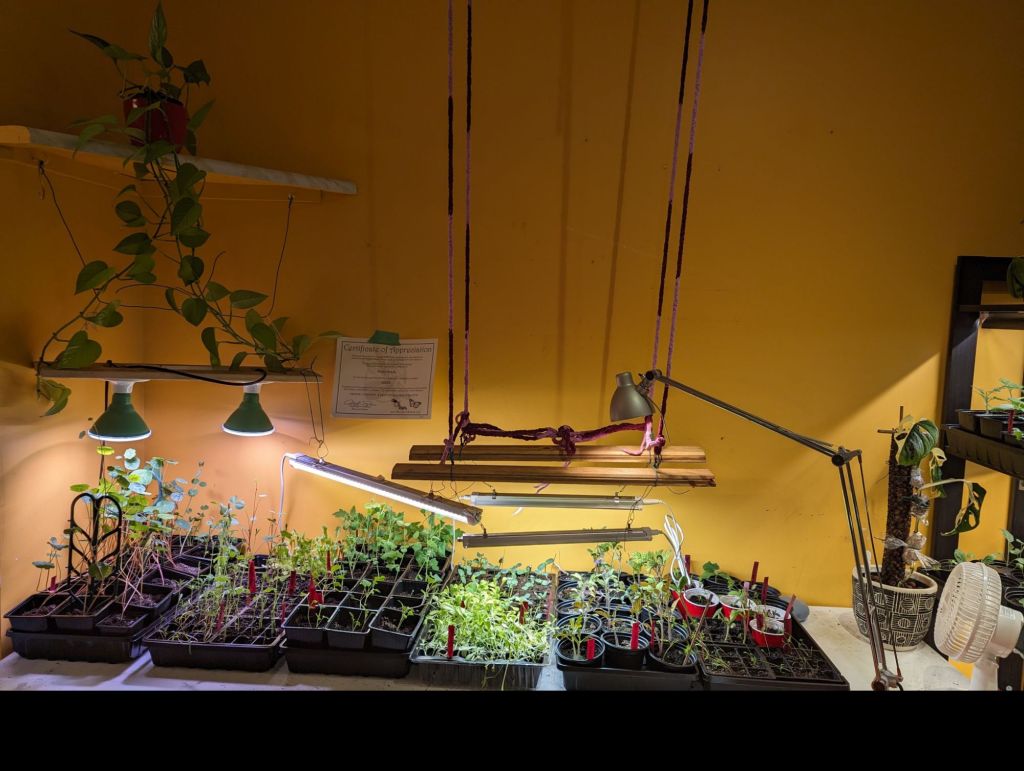
- Saves indoor space
- Strong, resilient plants
- Amazing, supportive community of gardeners to connect with and learn from all winter long
What types of seeds can I winter sow?
Literally, anything.
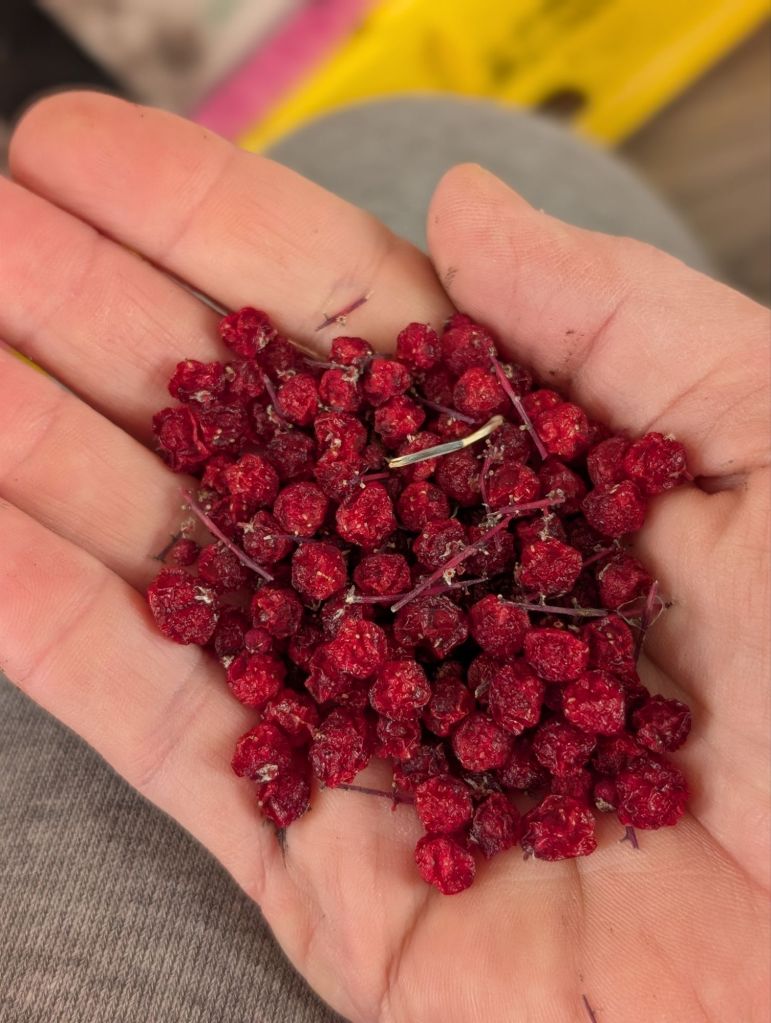
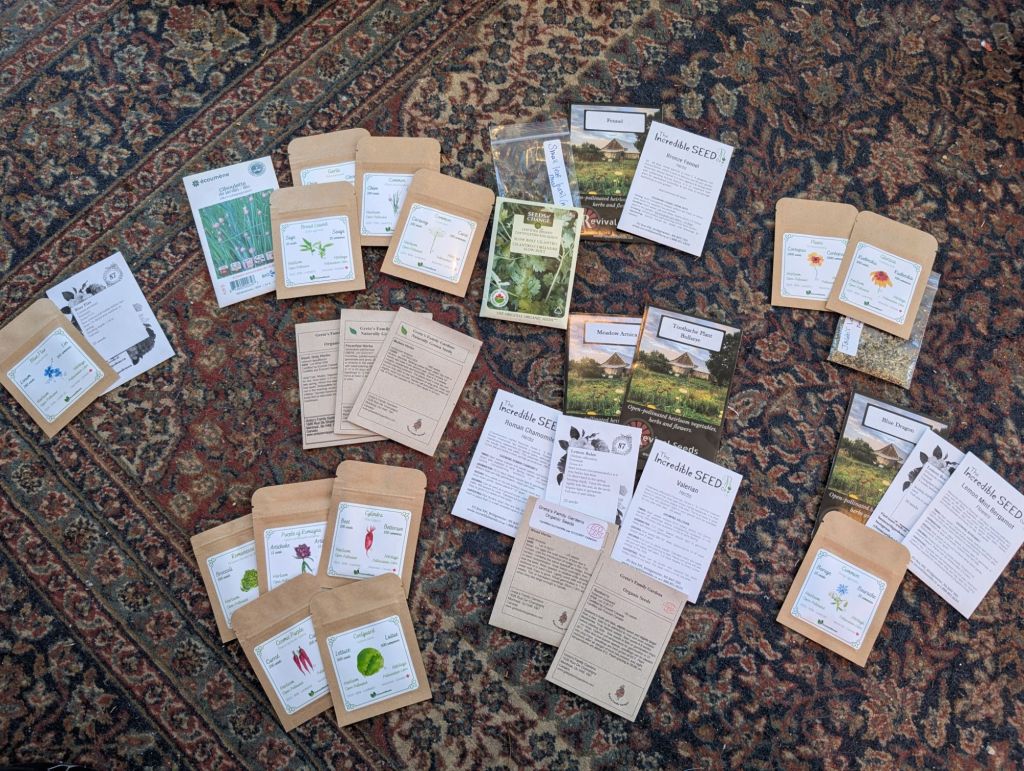
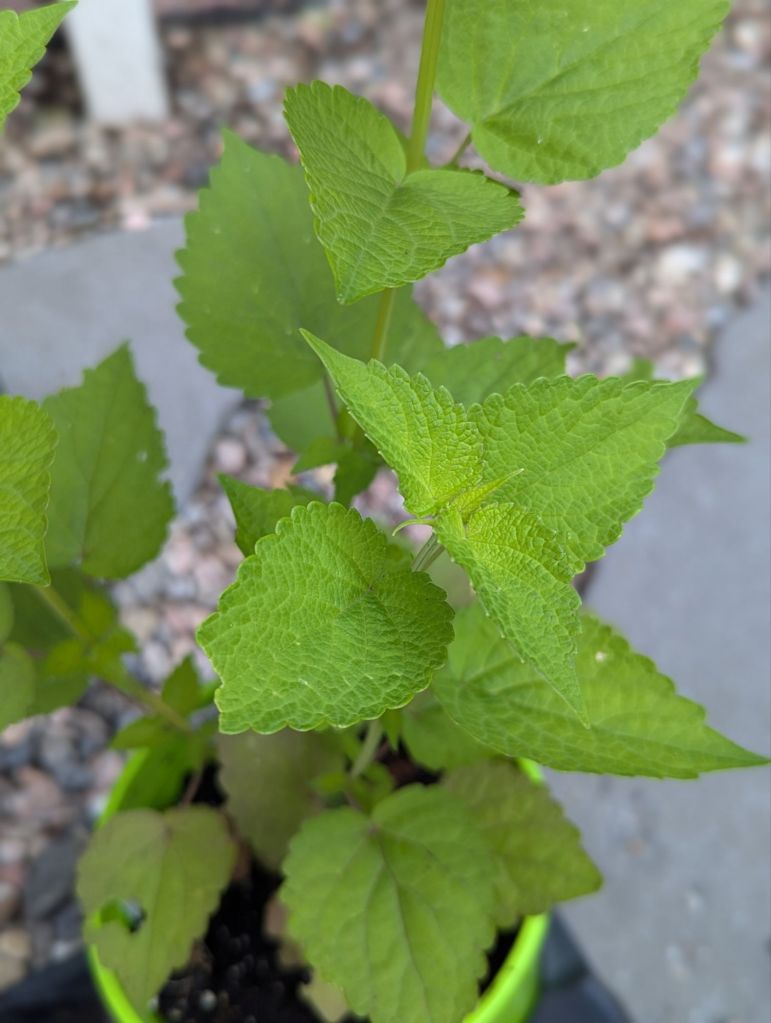
I started with native flowers, then native plants, tree seeds, bushes, berries, herbs, annuals and eventually worked up the nerve to winter sow vegetable seeds too, because I ran out of space inside growing seedlings under lights.
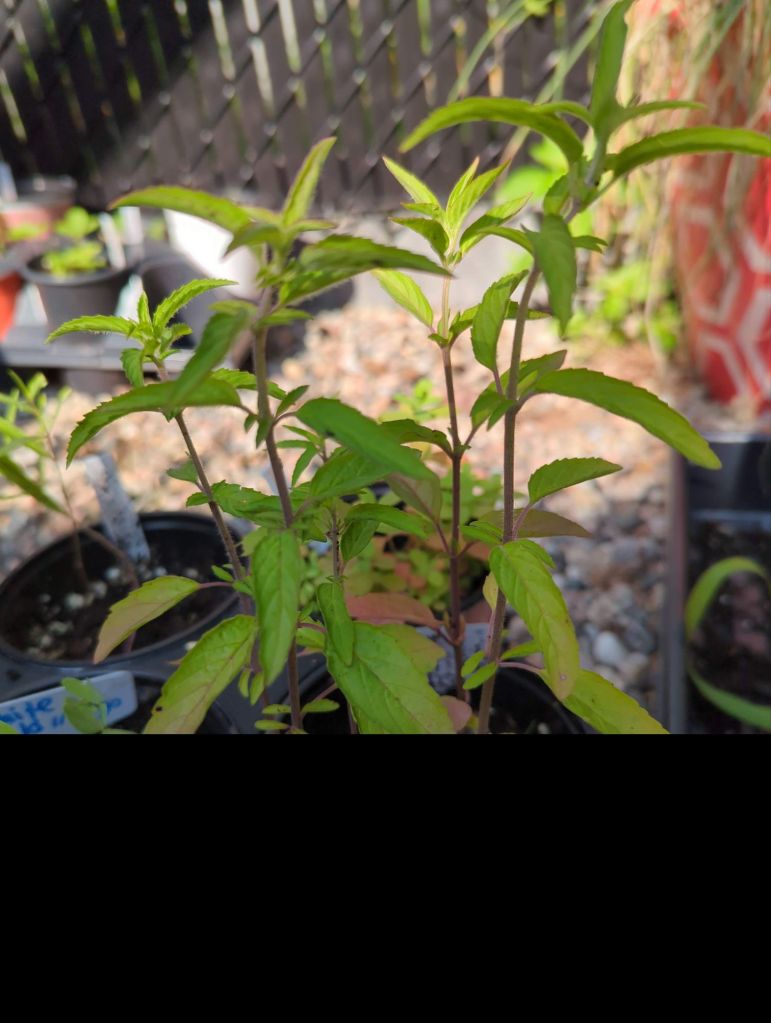
To my amazement, even the more tender vegetables grew successfully when winter sown, and turned into strong, high yielding and cold resistant plants.
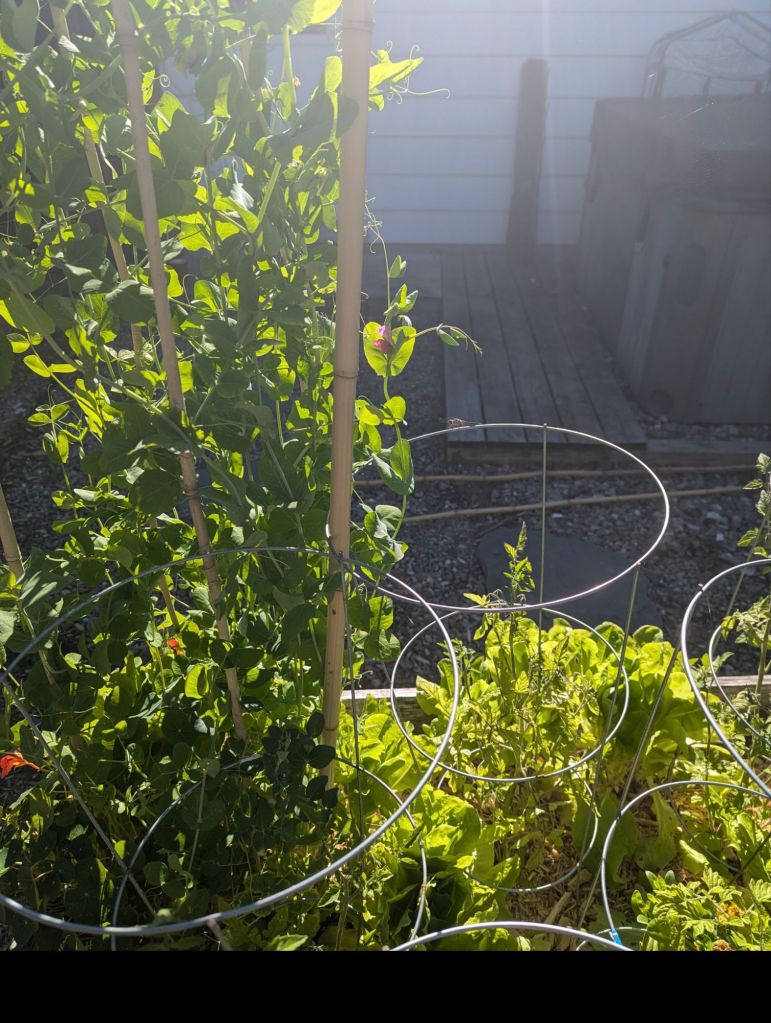
I’m still nervous about some of my vegetables so I grow many both ways, but each year more and more of my veggie seeds and up in the winter sown part, and the results do not disappoint.
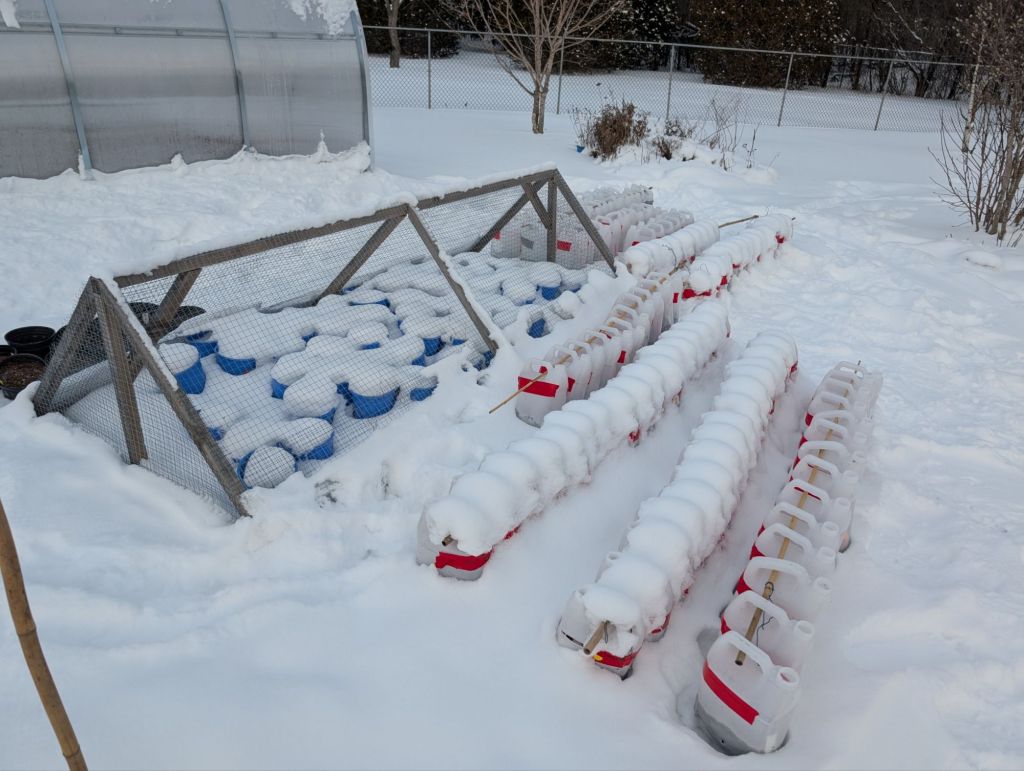
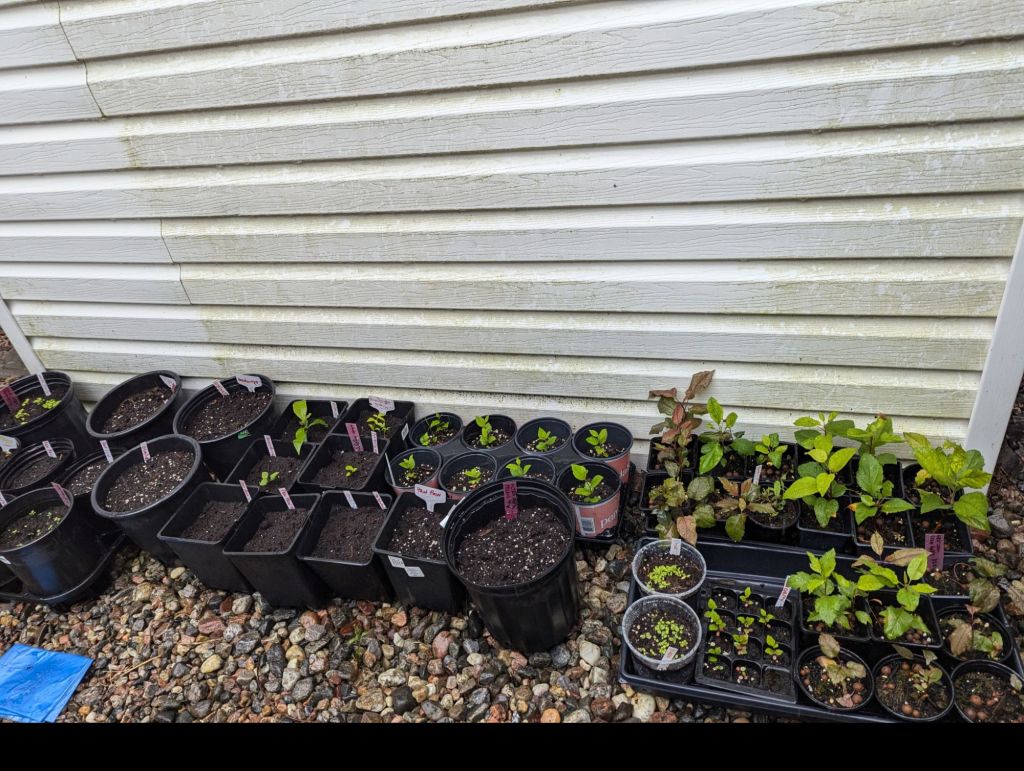
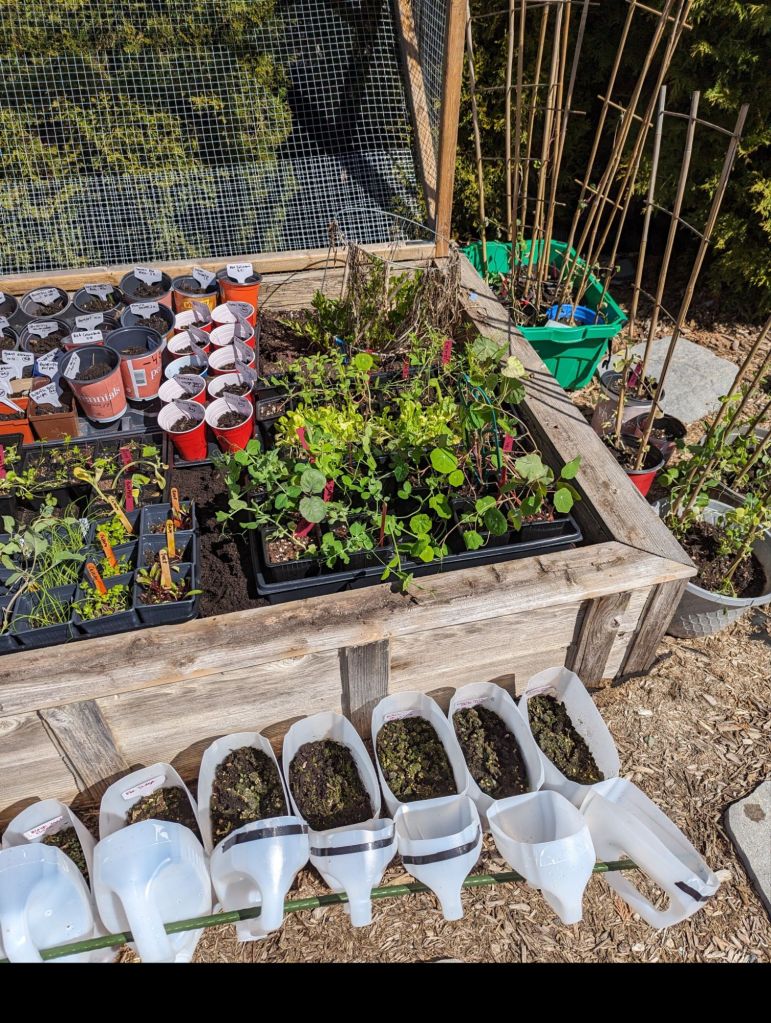
Winter Sowing Containers
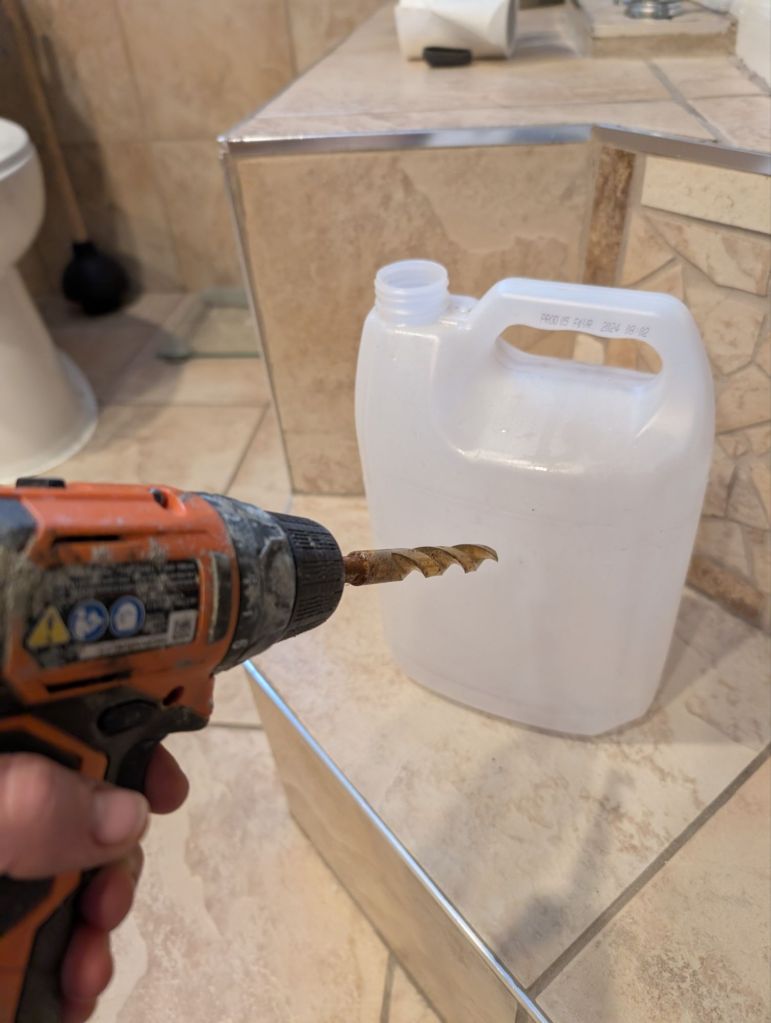
Each species or packet of seeds you are planning to sow needs its own container. An appropriate container can be something clear, or white and partially transparent, like a milk jug. These types of containers shelter seeds in a dome-like structure that acts like a mini greenhouse. Open top containers work too.
You can use anything that you can fit 3″ or more of dirt in, and that you can protect from animals and birds (who will eat and scatter your seeds if you don’t).

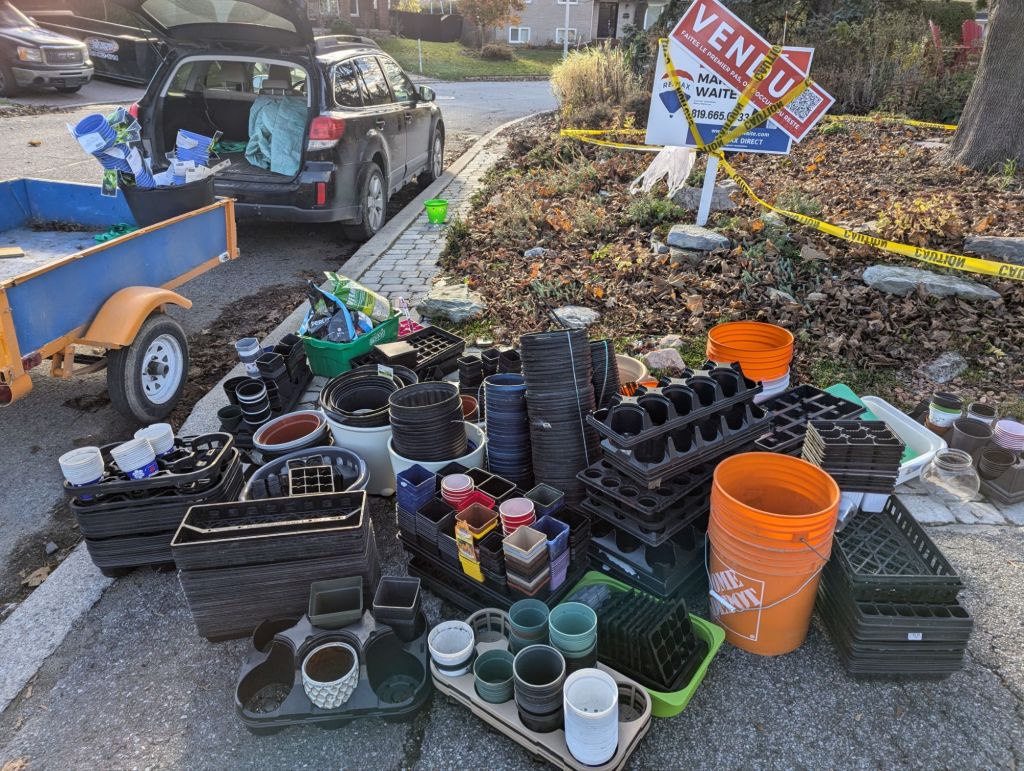
Every winter sower has their own container preference, and there are sooo many options. Some common ones:
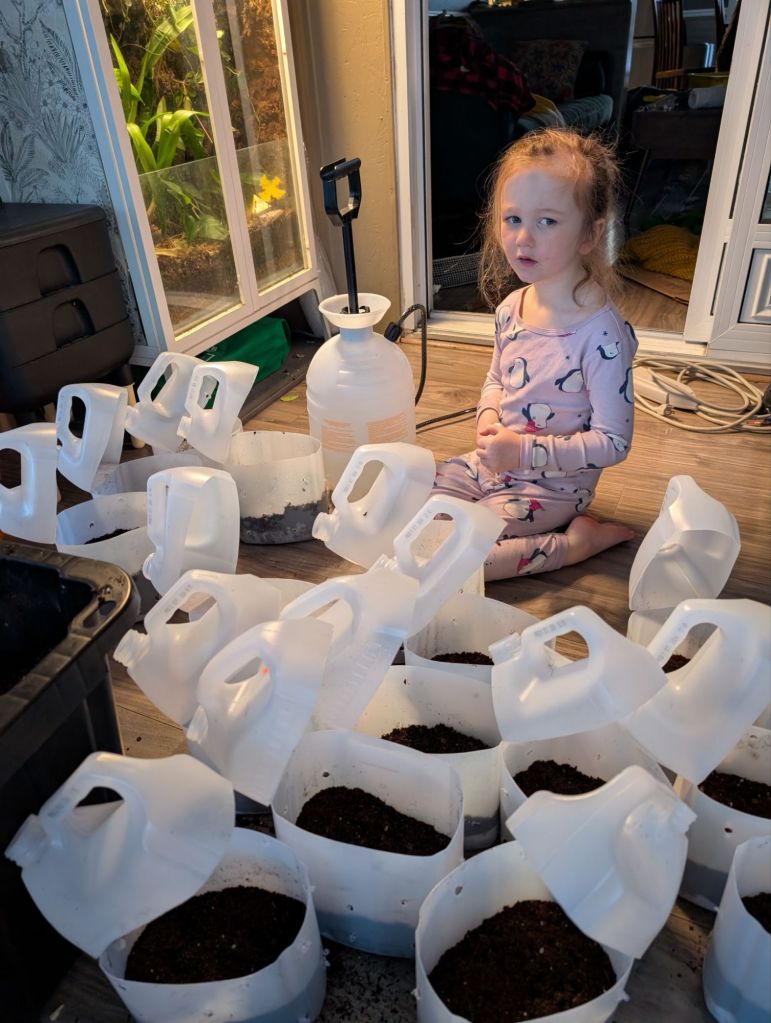
- 1. Large water jugs
- 2. Costco size milk jugs
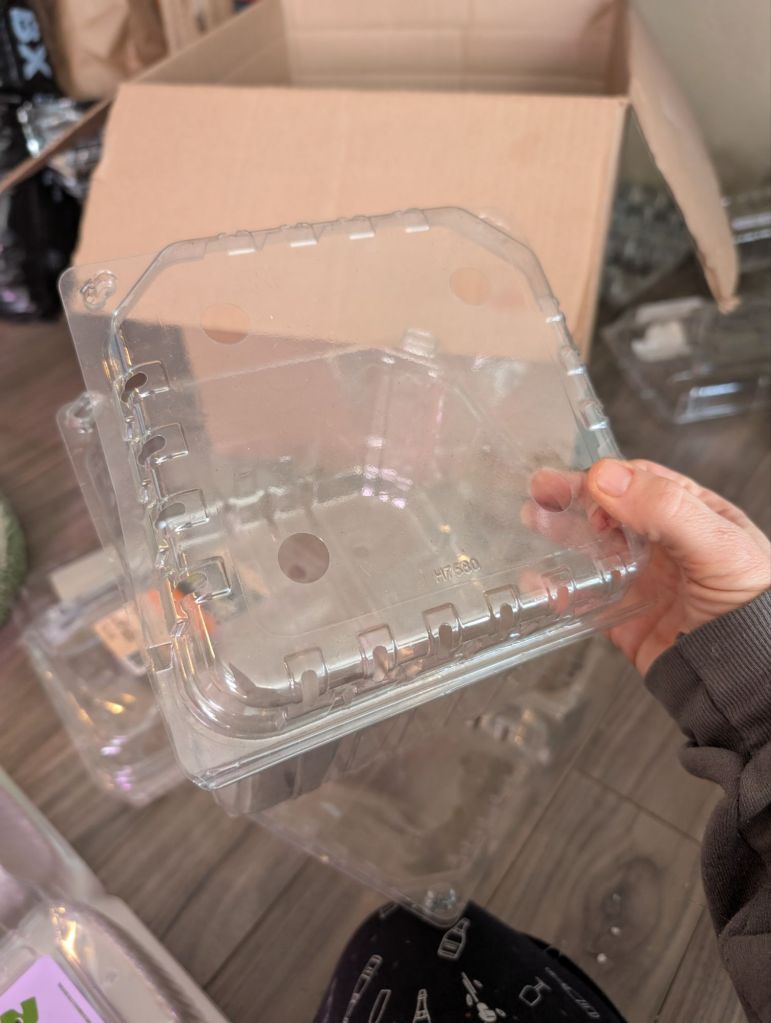
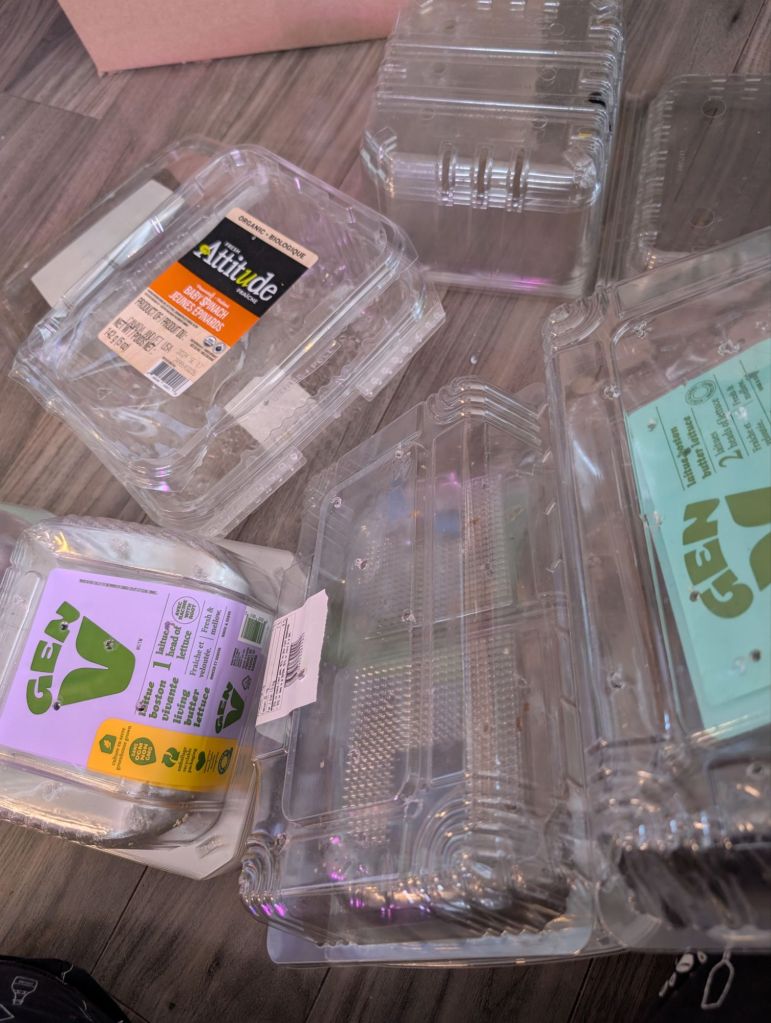
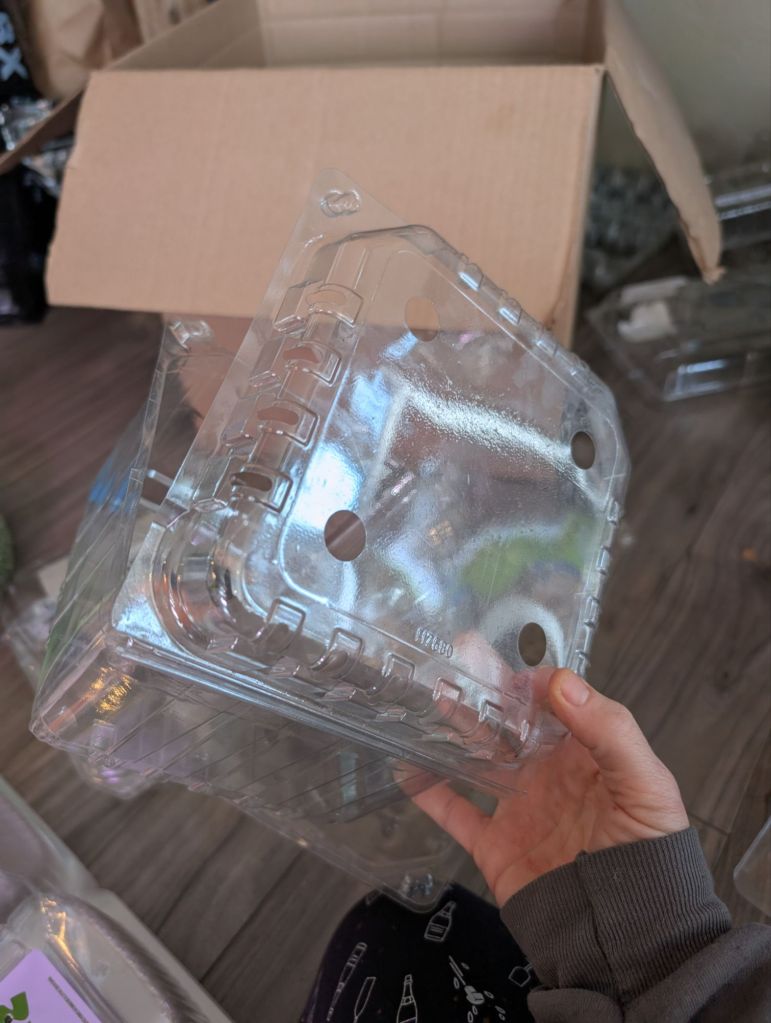
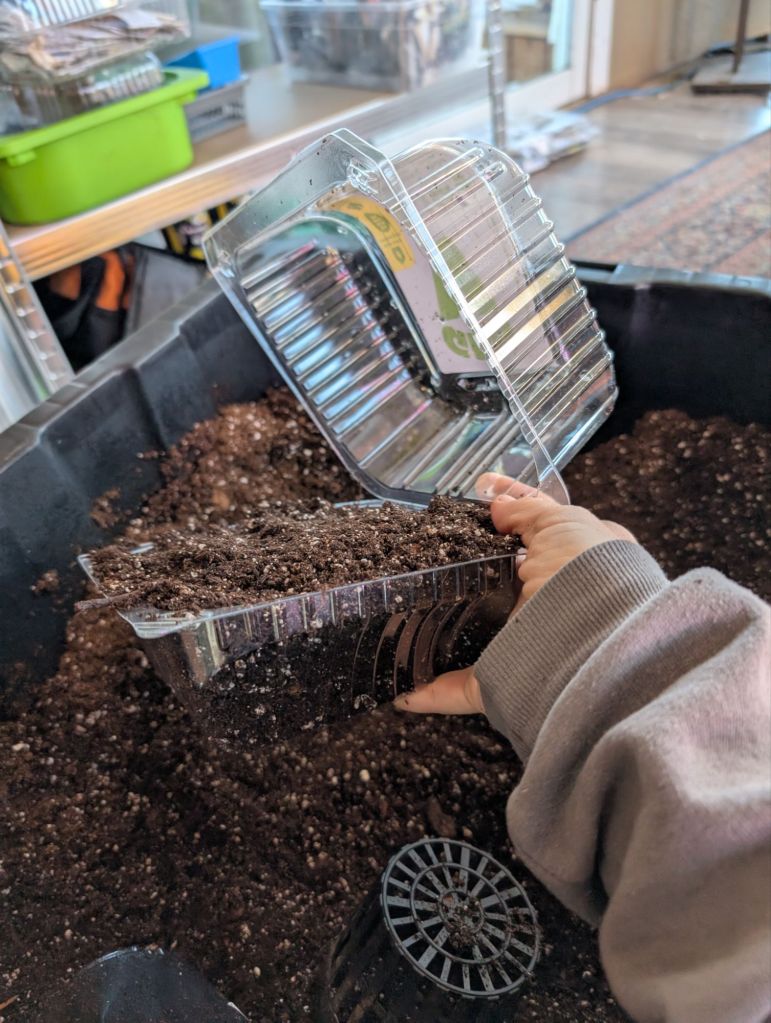
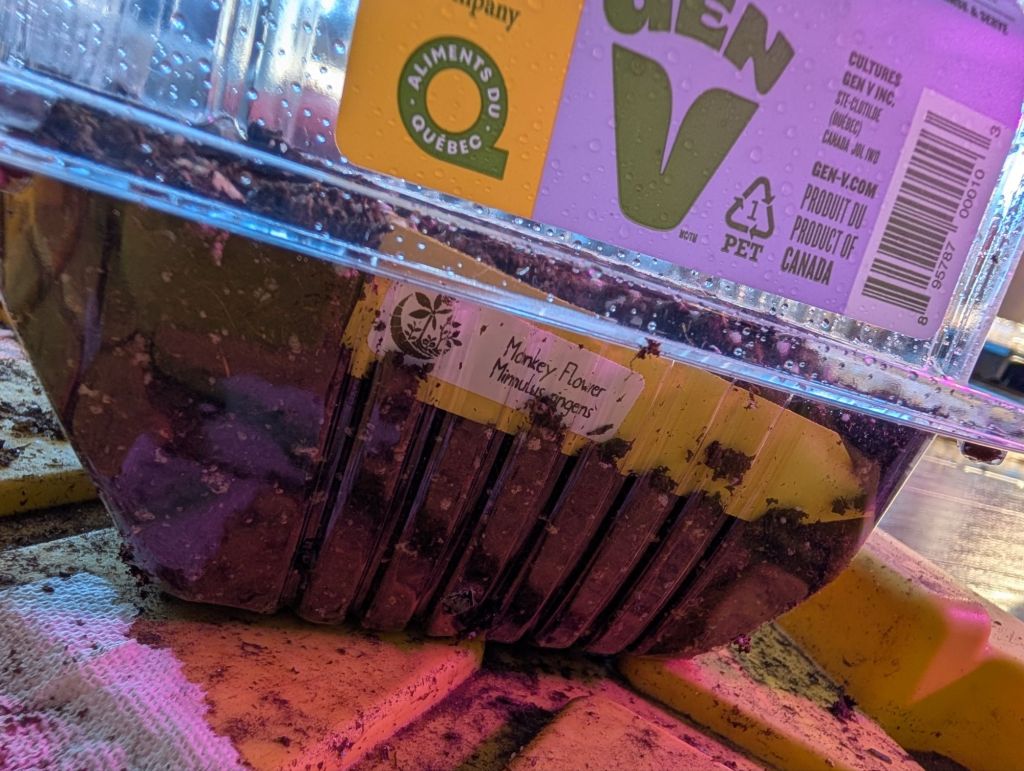
- 3. “Clam shells” ( clear saved containers from lettuce mixes, strawberries, kiwis, pastries, etc. that open and close like a clam)
- 4. Beer pong cups tucked into a larger clear plastic bin
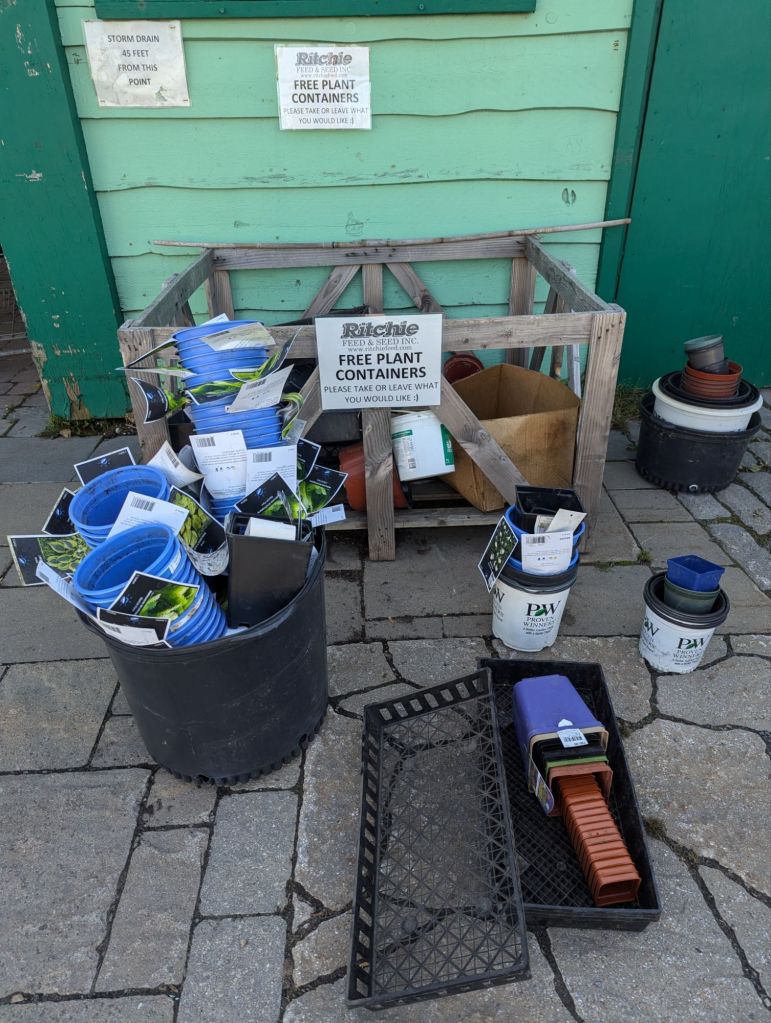
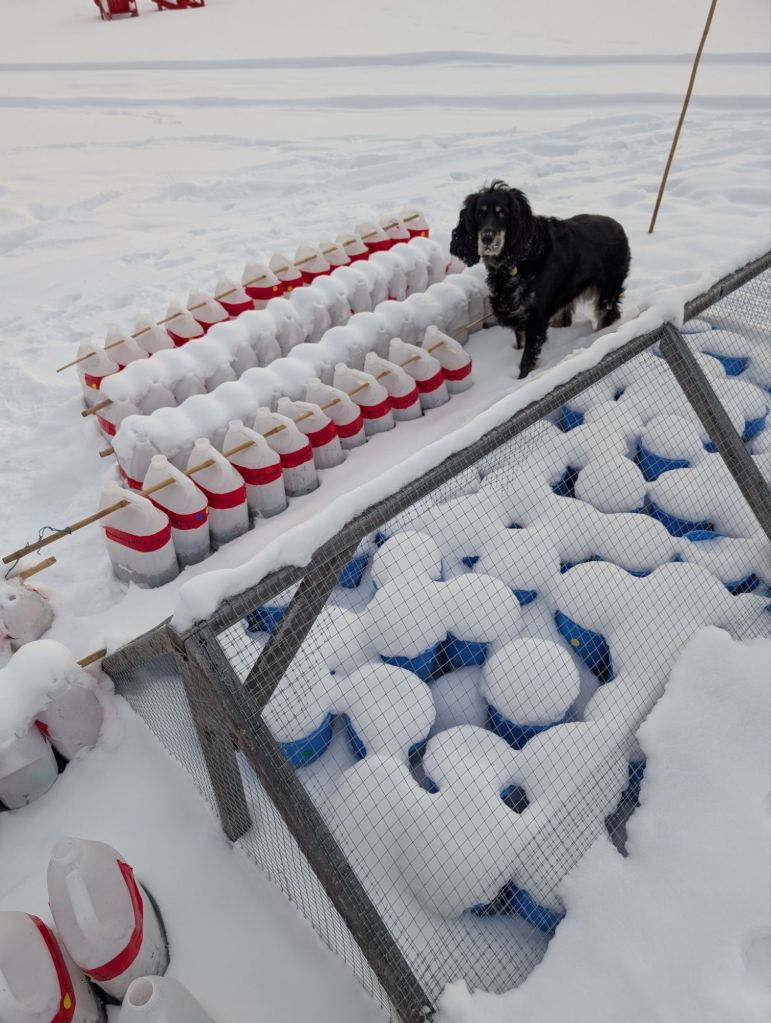
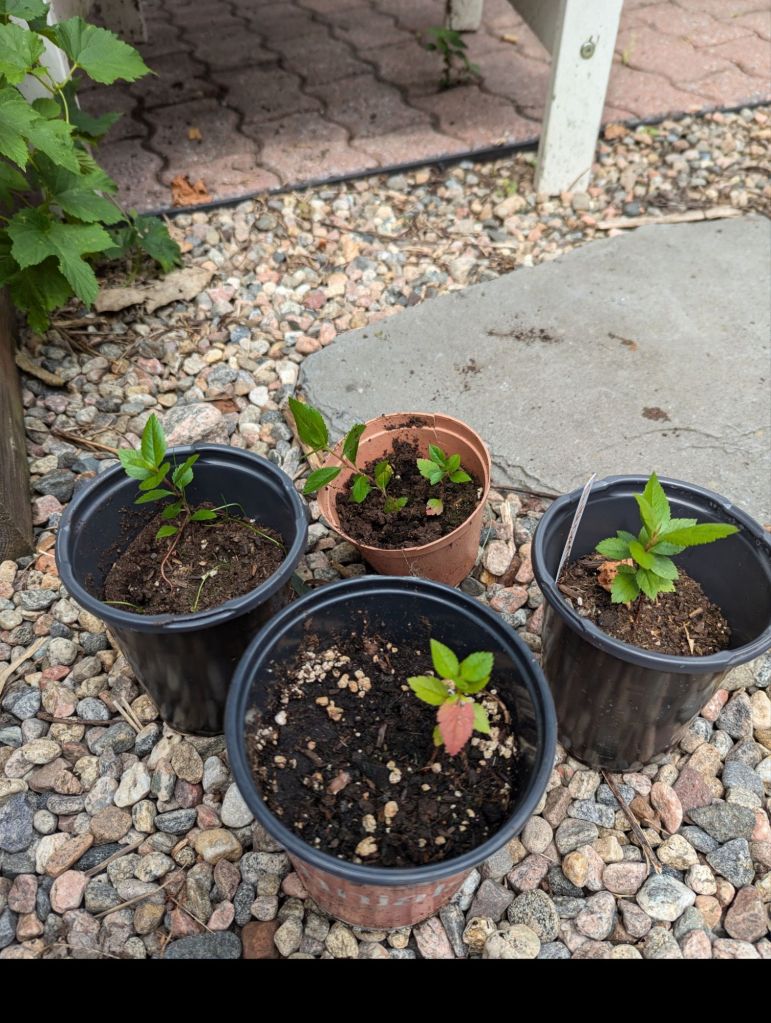
- 5. Nursery pots (covered with a screen or mesh of some sort)
- 6. Used ziplock bags
- 7. Old tupperware
My favorites are a combination of
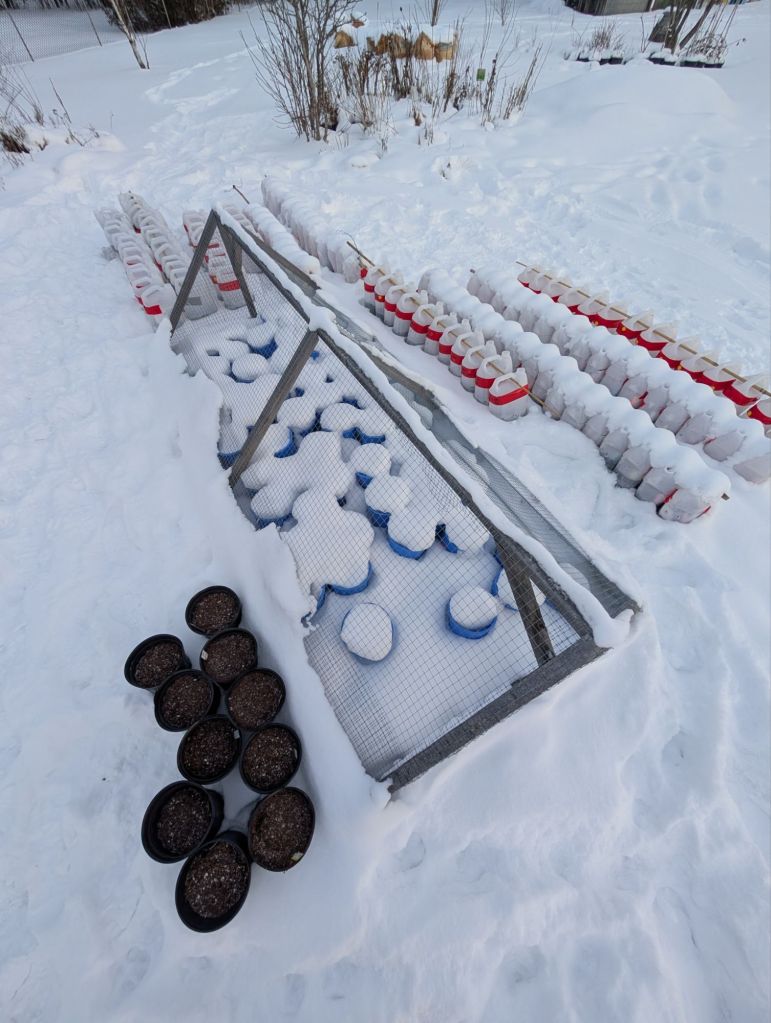
1. windshield washer fluid containers (sourced from the gas station and carefully soaked and washed in my tub)
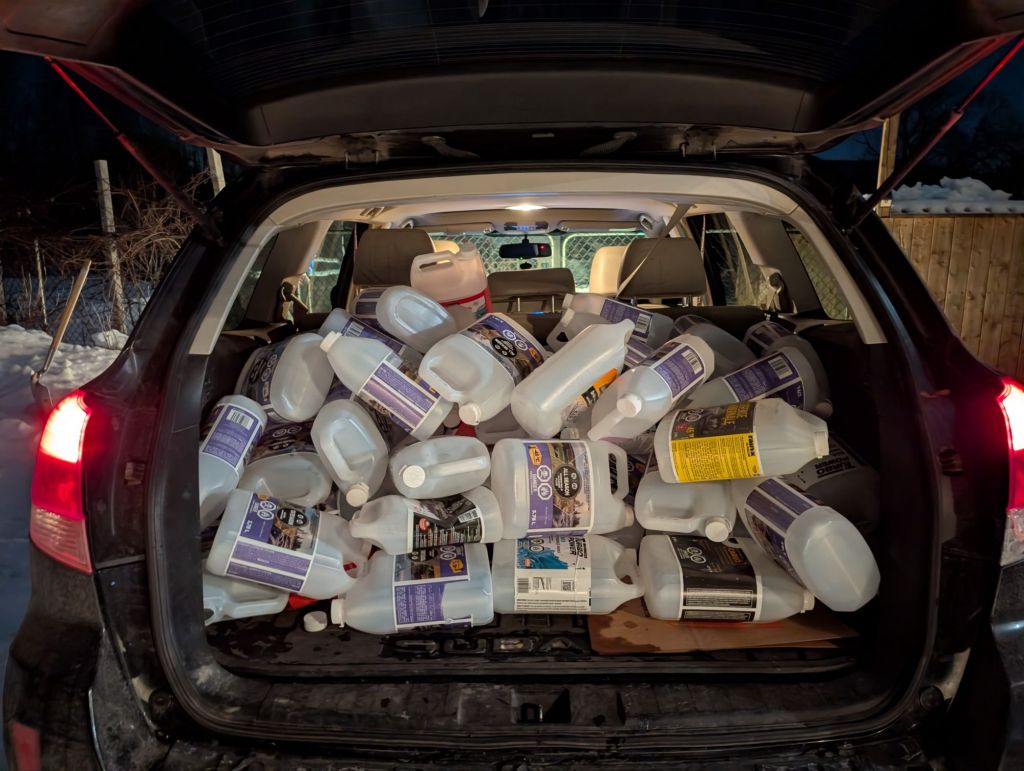
I use these because I’m terrible at pre-planning and I can pickup 30-50 of them on a whim by stopping at a couple of gas stations on my way home. I avoid sowing edible things in these containers, just in case, though they are pretty clean after I finish washing them. My family is eastern European so un-phased by this, but as we are starting to grow enough plants to share and sell it’s something we’ve become conscious of, so we now use these exclusively for non-edible plant seeds. Since we moved, we also have the capacity to store these for re-use, and they are made of pretty sturdy plastic so they are likely to last us several years.
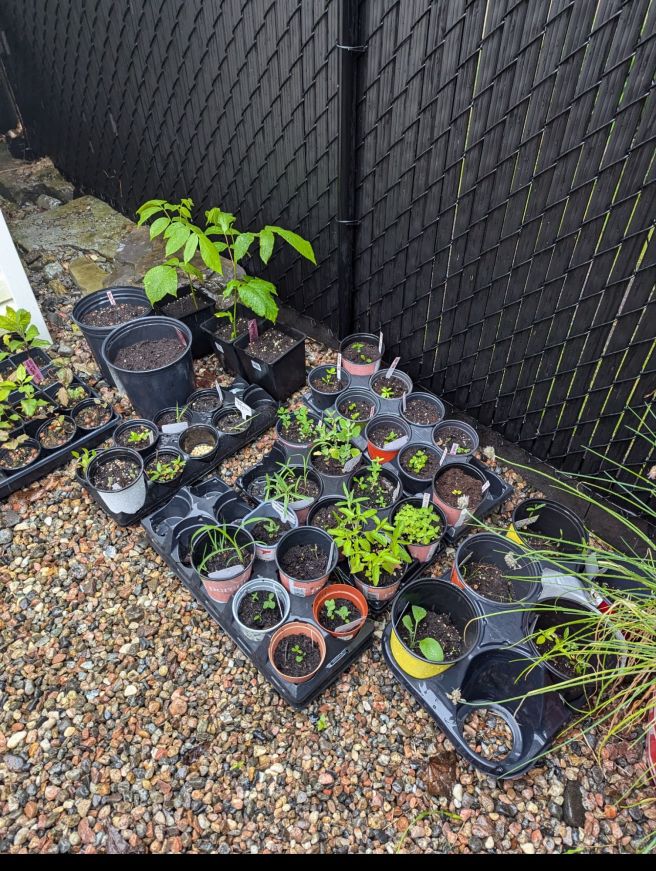
2. Nursery pots – I use these because I have been collecting them, and I have lots, so I tend to start tree seeds and edible perennials like berries in them. I love using larger pots for larger plants because their roots have more room to grow down before I get to them. They are easy to source, but harder to secure against critters, since they don’t have a protective cover.
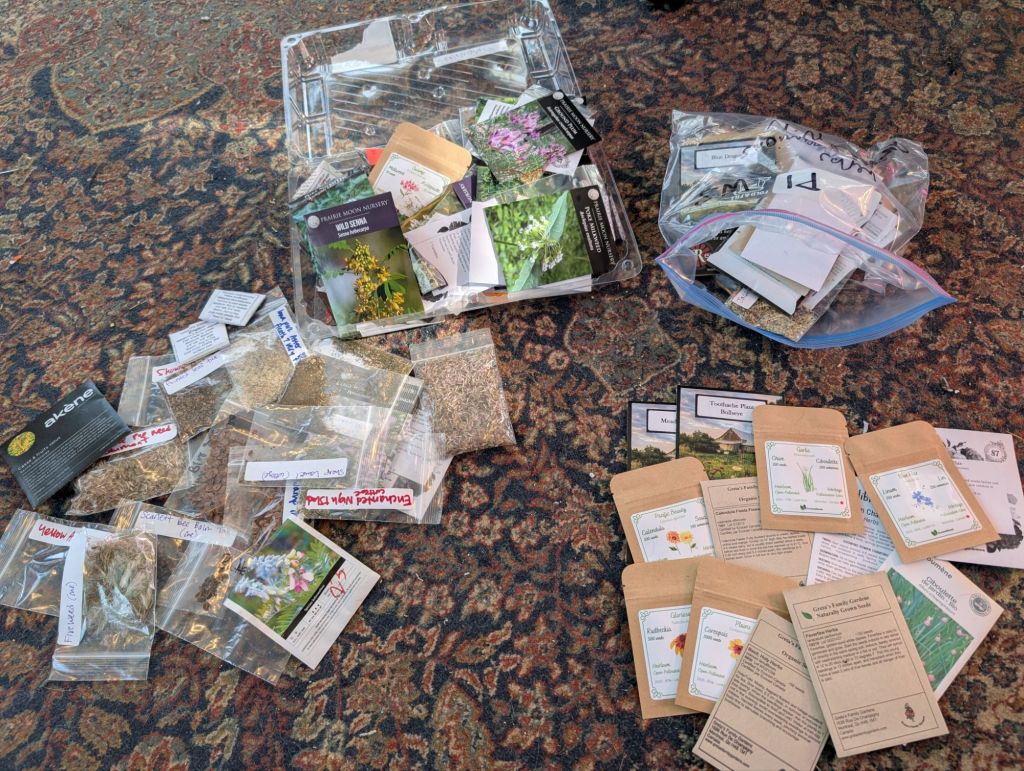
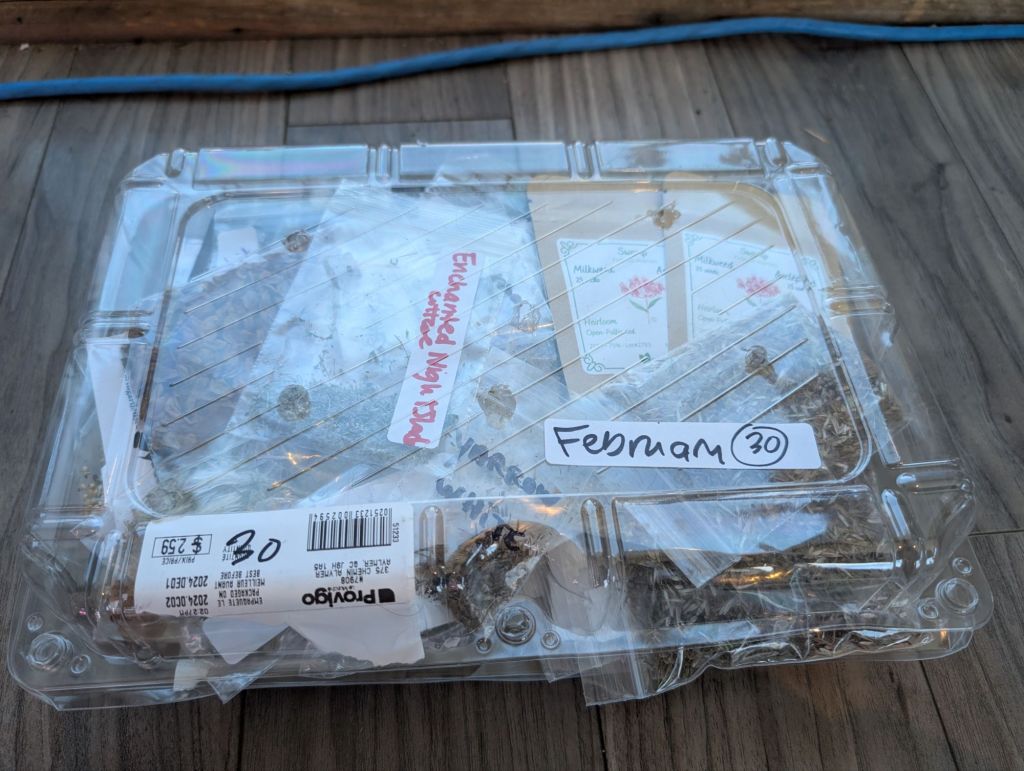
3. Clam shell containers – I love these for vegetables, herbs and companion flowers or medicinal annual plants. They are more shallow and not as sturdy as the first two types on my list, but work well for smaller plants
No matter what you use, your containers need drainage holes on the bottom, and some way of letting in both air and rain or snow on top. If your containers don’t have them, make them. I use a drill, some people like knives, scissors or soldering irons. I aim for 6-8 holes on the bottom.
Important concept: “Stratification Period”
Many (probably most) native and perennial cold-hardy seeds for our climate have a minimum “stratification period” (time they need outside in the cold). Often times you can find this information on a seed pack of native flower seeds. Some species have more complex instructions, but most just want to spend a bit of time outside in wet cold dirt.
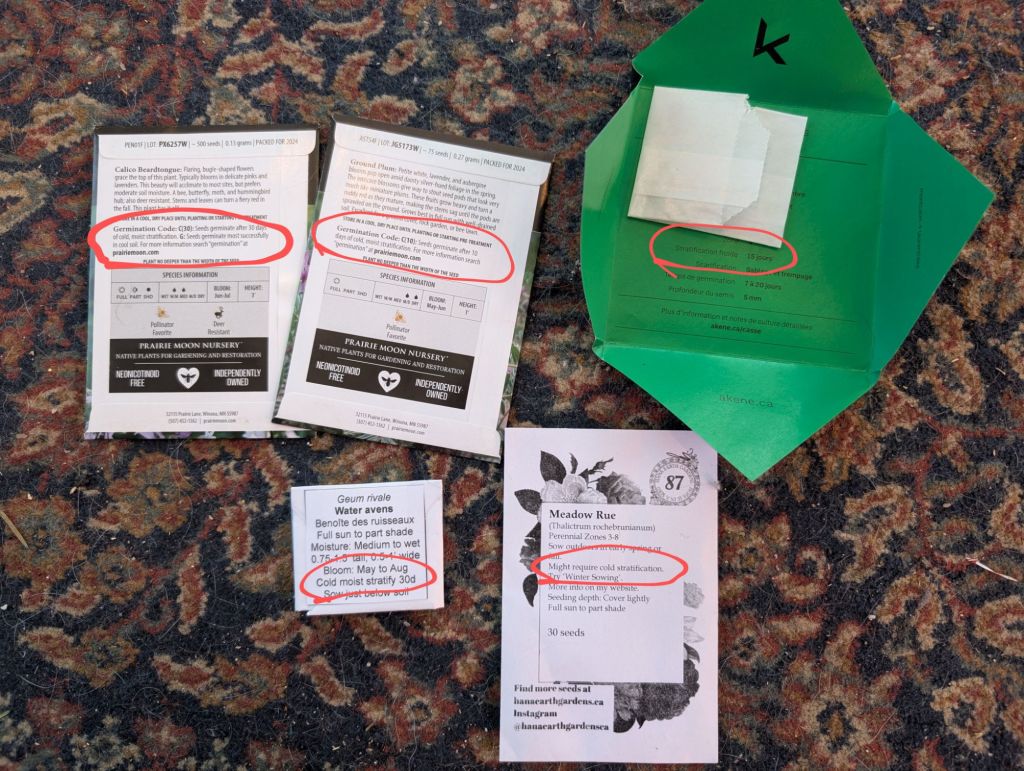
You don’t need to follow this number precisely, rather think of it as a “recommended minimum”. If one species says 60 days, another 30, and another one says none needed, you can safely put all three outside for 3 months.
If there is nothing on your seed package about stratification requirements, it means there is no minimum time that seed needs to spend outside, and you can winter sow it anytime.
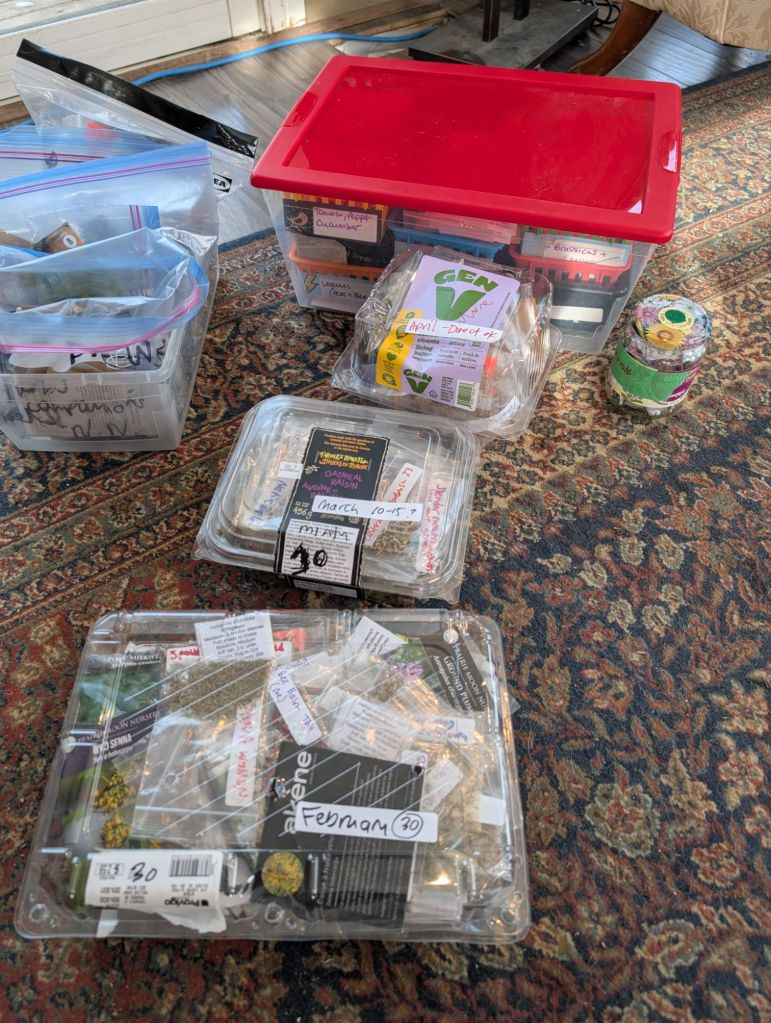
If you’re sowing too many to get to them all at once, breaking them up into batches is much more manageable, and gives you time to devote to your garden each cold winter month (which personally makes me happy so that’s an added bonus).
Winter Sowing Schedule
For those of us that take winter sowing to an extreme, the stratification period becomes important in helping us get organized.
I don’t have an exact count, but I am planning on winter sowing somewhere around 600 species this year, of which most are native plants, edible and food forest perennials, shrubs and trees. These all have different stratification periods, which actually saves my sanity, as I can organize myself, and my seeds, based on those times. Deadlines work for me so I impose this calendar on myself.
• Disclaimer: this is my schedule. It is by no means definitively and scientifically proven or peer reviewed for accuracy. I would love to hear how your differs.
Winter Solstice
Winter solstice is traditionally the day winter sowers start sowing, and celebrating in that tradition is beautiful, but usually completely impractical for us and our family so close to Christmas. I don’t tend to have time to think about my seeds until after Christmas, but the week between Christmas and New Years when the kids are home is usually the week I get the most help from them so we try to get our first batch of winter sowing done then. The following is a breakdown of what I aim to have sown outdoors by the end of each winter month.
December 31st
Seeds requiring 90 days or more of cold stratification, as well as any tree seeds (about 60 species this year)

January 31st
I still have over a week to meet this goal, but my plan for January was to have all seeds requiring 60 days of cold stratification outside, plus anything I missed from the 90 day+ pile. This month’s pile was pretty large, and though I haven’t tried to count them lately, there are somewhere just over 200 species in the ground so far.

February 28
My aim by the end of February is to sow all the seeds requiring 30 days of cold stratification, plus a good portion of my herb and annual plant seeds. I’m not sure what that volume looks like, since I haven’t had a chance to sort through all my seeds, but I do have some new-to-me sources of herbs and seeds of some favorite herbs I can’t wait to see sprouting, so I will probably break out some clam shells for those ones next.
Depending on the state of my container stash, and volume of seeds above, I will probably try to sow most of my cold-hardy vegetable seeds, if I get to them. If not they can wait until March
March 31st
My March plan is to sow and seeds requiring 10-15 days of cold stratification, plus anything I forgot about above, plus any remaining vegetable or annual seeds (this is when I tend to sow my tender vegetable seeds too, along with any winter hardy ones I didn’t get to yet).
Realistically, I know myself, and I expect I will end up picking up more seeds at Seedy Saturday this month, so I will add them to my March pile too.
April 31st
In April I usually sow direct things that don’t need stratification, that can be sown directly outdoors in spring, since there really isn’t any winter left to winter sow in by then. Most years..
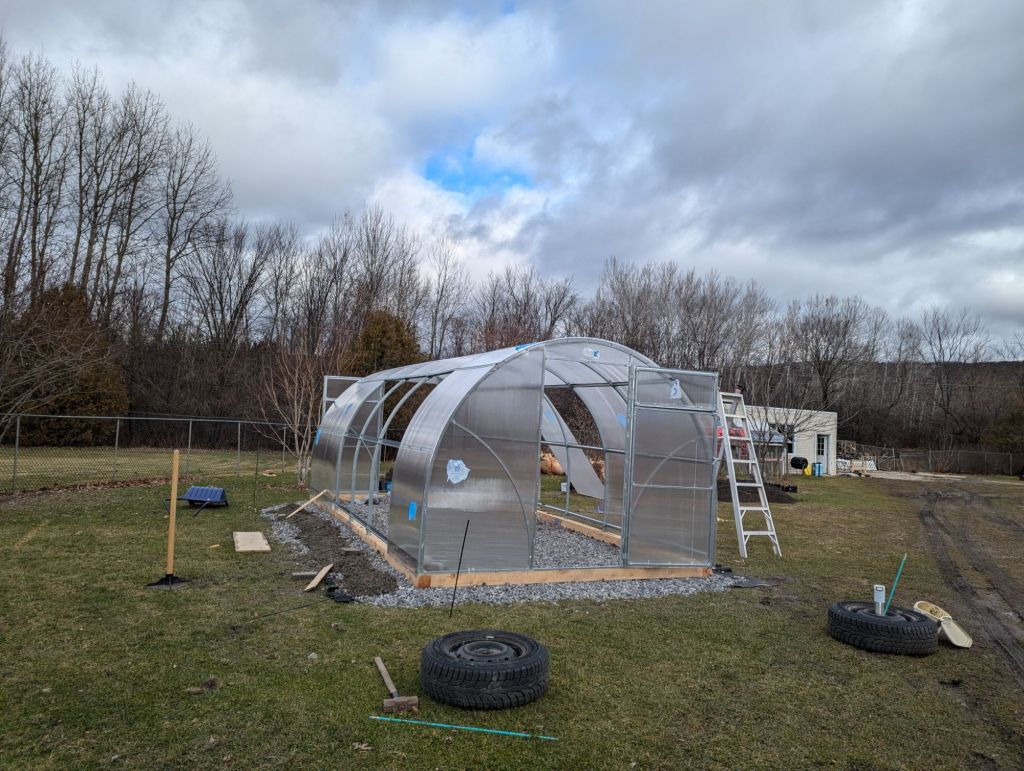
This year April will be extra special, since it will be my first spring with a greenhouse (yeeeeeeekkkk!!!!) and I hope to be using it to entice some of these winter sown seeds to come out of hibernation early.
The calendar above helps me organize my winter sowing efforts, and so my seeds are organized accordingly.
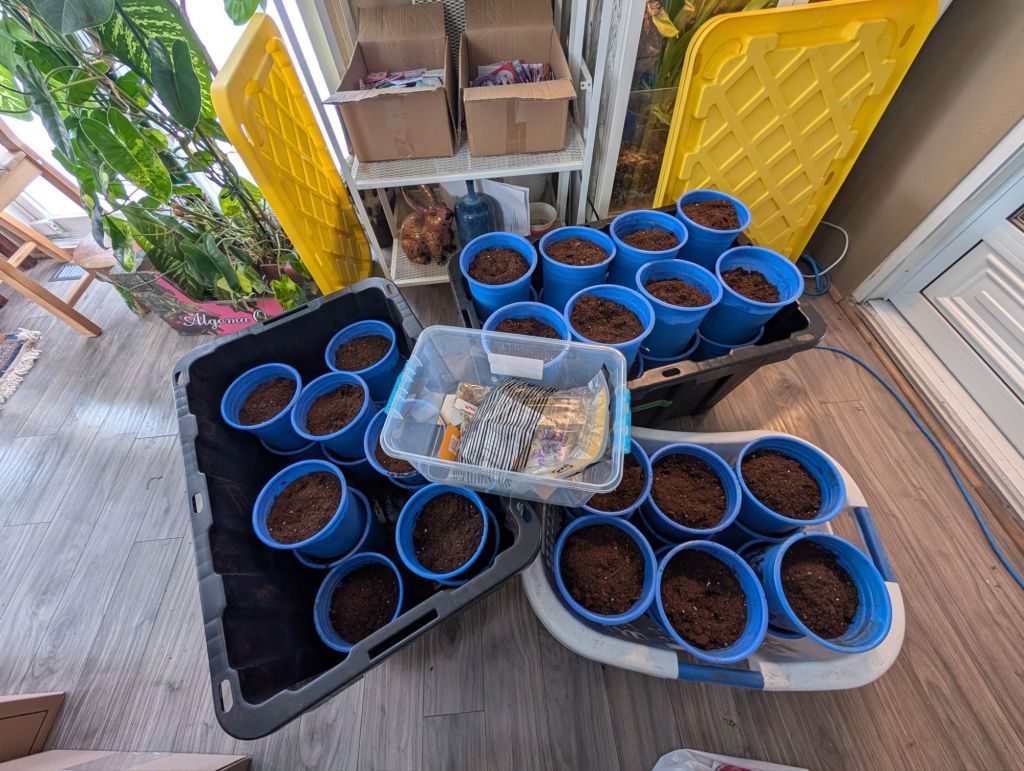
How do you actually winter sow seeds?
Instructions vary, but I have always liked to keep things simple.
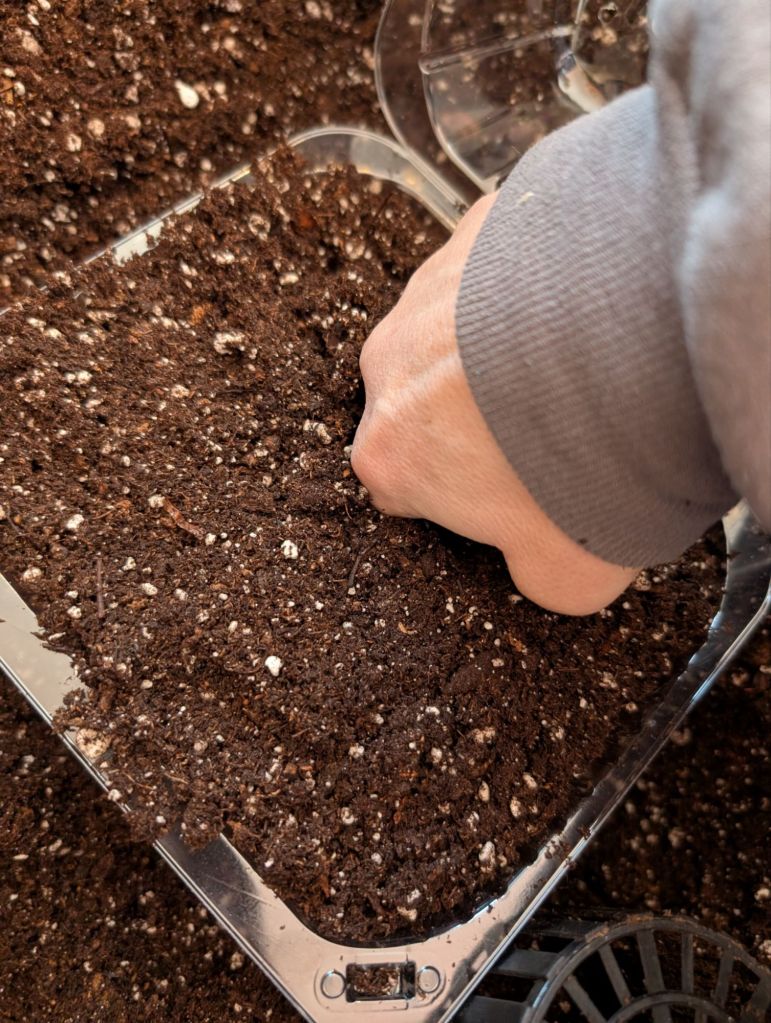
1. Fill your container with at least 3″ of all purpose potting mix. Ideally, there is also room for the seedlings to grow in your container, if it is closed
2. Wet it well
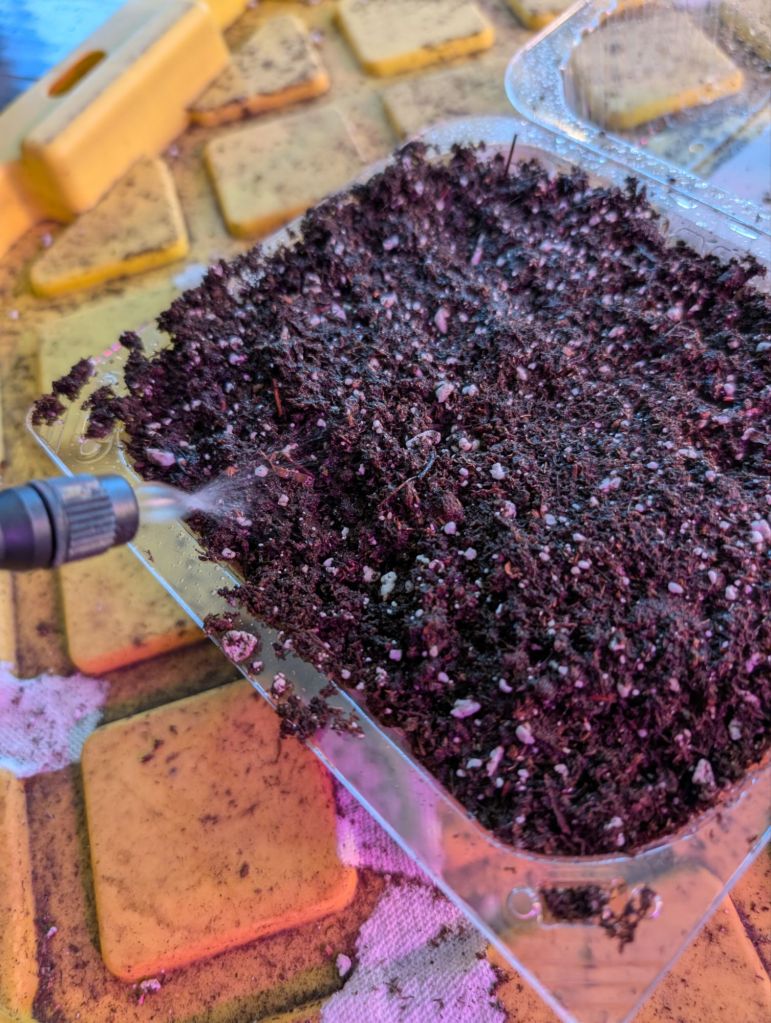
3. Add your seeds (follow depth instructions on package, or just try to plant them the same depth as the seed length, if you don’t have instructions

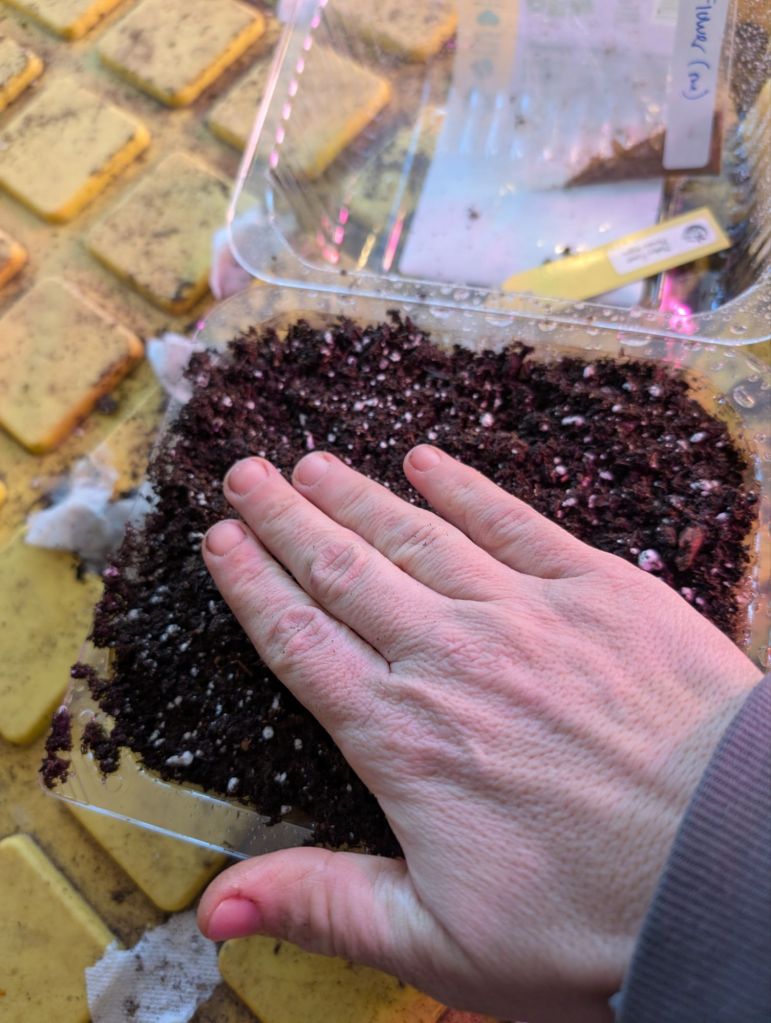
5. Cover the container, or tape it shut, and put it outside, somewhere in the open, where the snow and rain can reach it
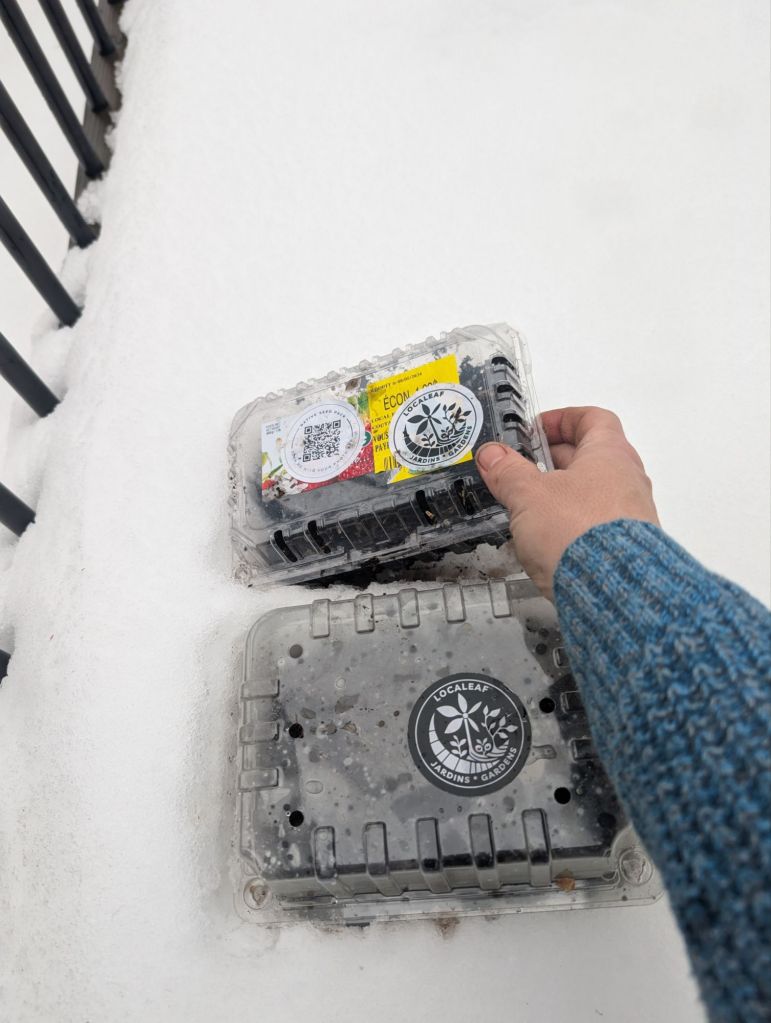
6. Come check on it in late spring. Or don’t. The seedlings will keep growing and doing their thing until you remember them


That’s it! The more you sow, the more confidence you grow, the more you’re willing to experiment, and the lessons you learn along the way help make an even more successful winter sow the following year.
Here are my lessons learned, as I remember my mistakes
Lessons and Takeaways
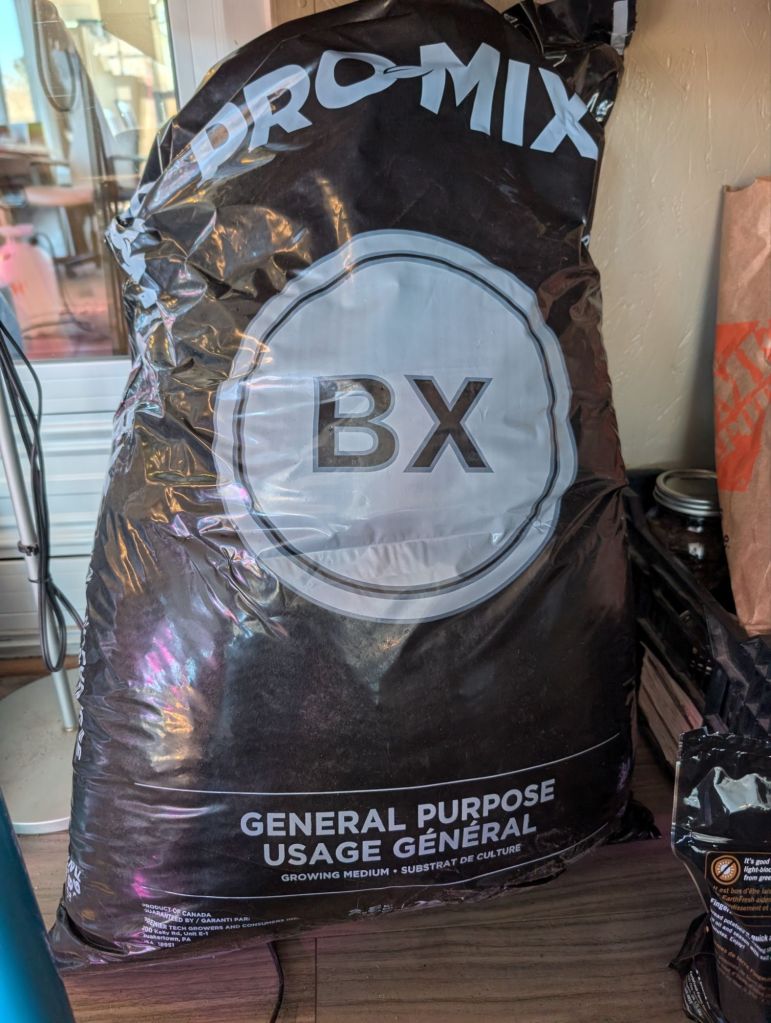
1. 3″ of potting mix is really needed, as a minimum. Anything less will dry out too quickly, and unless you’re on top of watering your seedlings daily, they will scorch in hot spells and die. Anything more just seems like a waste of potting mix, so I am frugal here.
2. Fresh potting mix goes on really really good sale toward the end of summer. Stock up then and keep it somewhere unfrozen so it’s ready with you want it. Finding unfrozen large quantities of potting soil in the winter is more challenging ( not impossible though. I buy mine at Ritchie’s when I run out, but that is far from me)
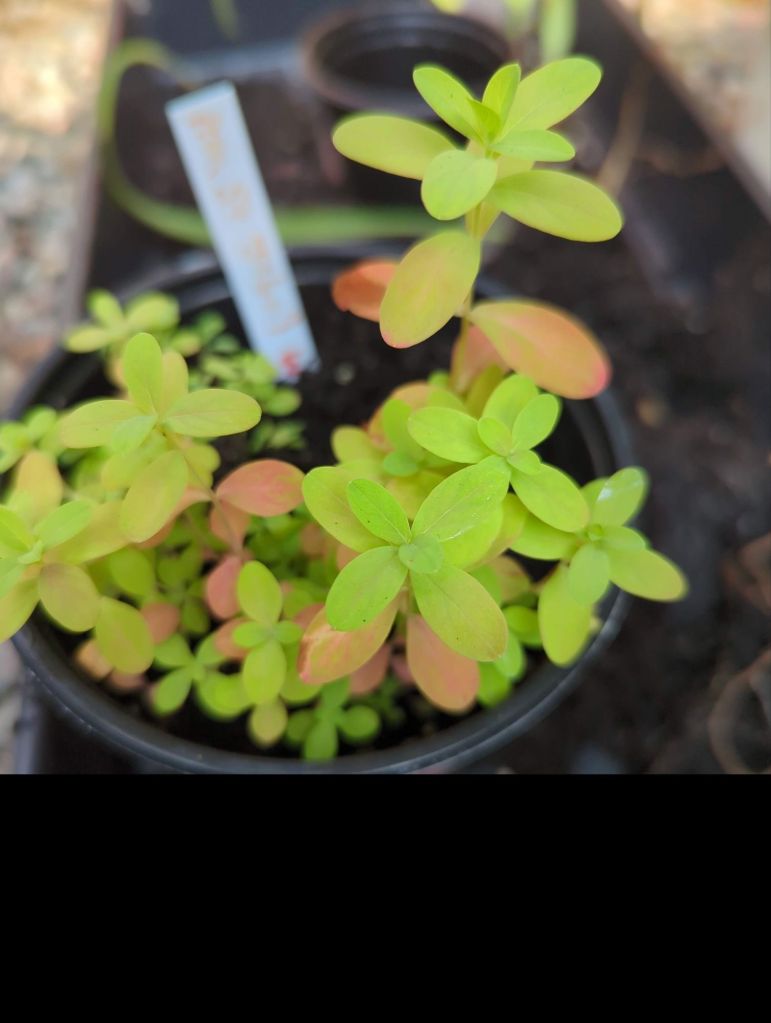
3. Species sprout at different times. Keep the containers that show no sign of life alive. They did not fail, they are probably just sleeping in. Native plants, especially, are late sleepers. Some species (not as common) take 2 years to germinate. I lost a lot of plants to impatience when I first started
3. Don’t feel rushed to plant everything as it sprouts. The seedlings are growing, they are comfortable, and can stay where they are just fine until you have time to get to them. If you sowed a lot all the green popping up can be overwhelming. Don’t let it be. Prioritize, and deal with what you can that day. The rest can wait.
4. Don’t let seedlings dry out. Check the soil often in the spring. If there is no rain in the forecast for a long stretch, make sure your seedlings don’t dry out.
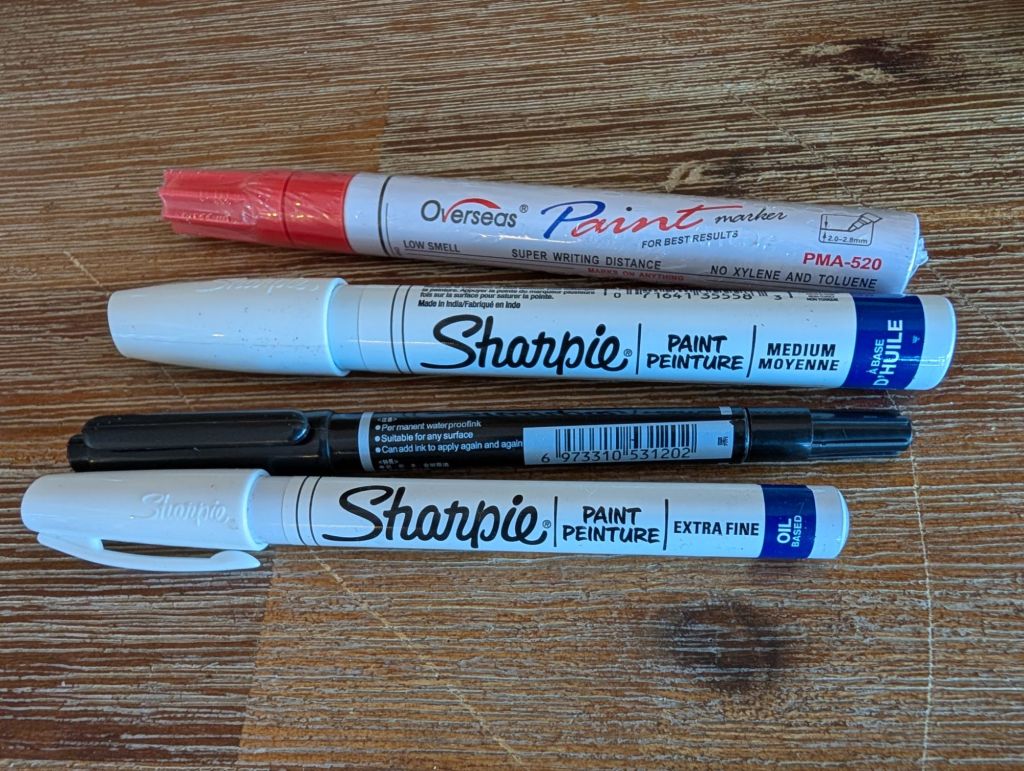
5. Clearly label containers. Regular markers or even sharpies won’t work, they wash away in the snow and rain, and without clearly labeling you won’t know what is what. I bought an oil based sharpie (garden markers seem to work well too), and I label plant names in multiple places. On a plant tag inside, AND on the container outside (just in case).
6. Shade plants still need light to germinate. Regardless of what a plant’s sunlight preference is, in my experience, the seeds themselves germinate well in the same conditions as all the other seeds. I sow everything together, and don’t worry about light conditions until after seedlings have germinated
7. Wait for 2 sets of true leaves before doing anything with the seedlings. I used to try to move seedlings when they were much smaller. Winter sown seedlings have an advantage in their strong and resilient root systems, which are strong and resilient by the time a plant has 2 sets of true leaves. Resist temptation to separate them earlier.
8. Winter sown vegetables seem slower than regularly sprouted seeds to start. That is not the case. Winter sown seedlings have put far more energy into growing roots. They will quickly catch up and surpass traditionally sown seeds. I hope to get organized enough to take some pictures to compare and contrast several species of vegetables this year grown using both methods, so stay tuned.
Want to learn more?
We are NOT experts at winter sowing. There is a whole welcoming community of people out there with amazing ideas, resources and success stories surrounding winter sowing, and if you are interested in learning more, I encourage you to join this amazing group, read their resources, see their posts as inspiration, and ask questions.
Winter Sowers – The Original (Facebook Group)
https://www.facebook.com/groups/wintersown/
Ready to try winter sowing?
Now is the perfect time to start. If you read this and want to give winter sowing a try, but are still not sure how to get started, send us a message, we’d be happy to help you out.
We still have some free native seed mix packs, and they are the perfect size for a first winter sowing experiment. If you already grabbed one from us you’re all set to try, and if you need one, send us a message and come by to pick one up. We’d love to see more native flowers popping up all over Aylmer and surrounding area this spring.
Discover more from LocaLeaf
Subscribe to get the latest posts sent to your email.

just reread your winter sowing blog and I am gearing up to give it a go. Do you need anymore clamshells?
LikeLike