We bought our new home for the possibilities, projects and experiments it afforded us, in the quiet of the countryside just outside the city limits, but where school buses still stop to pickup our 3 kids en route to 3 different schools.

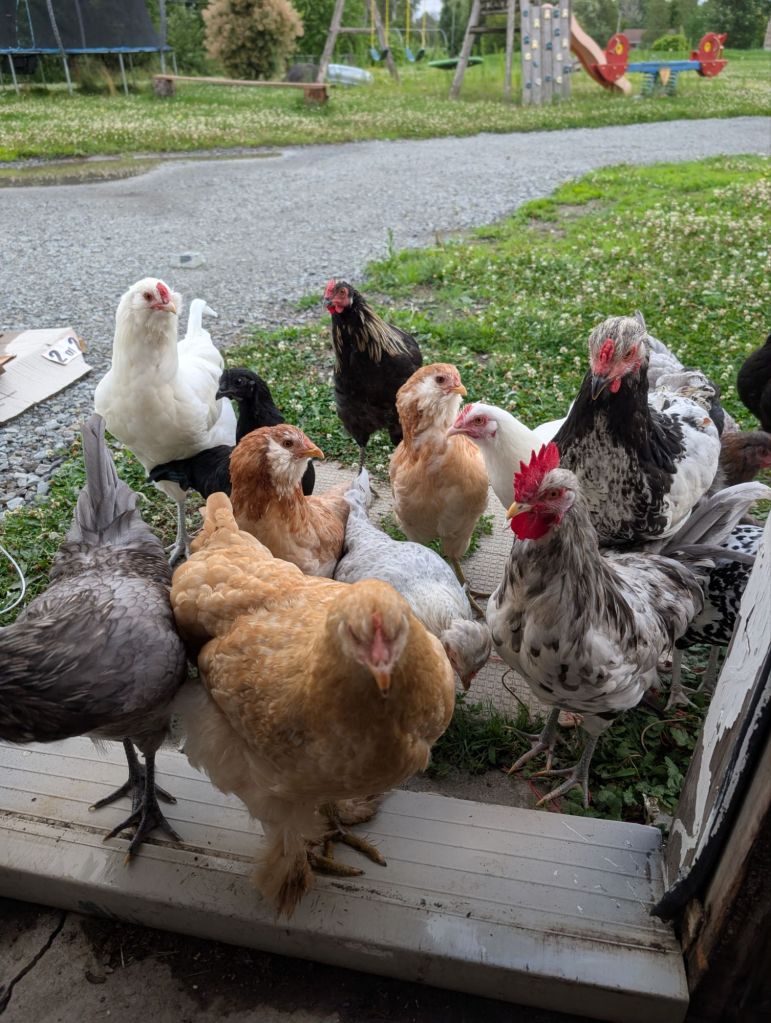
Here, our neighbour walks her horse up and down our street to graze the neighbours’ ditches, and deer and bear sightings are shared on our street’s tiny FB group. Most of our neighbours have chickens, who free range together between houses, and return to their own coops at night.
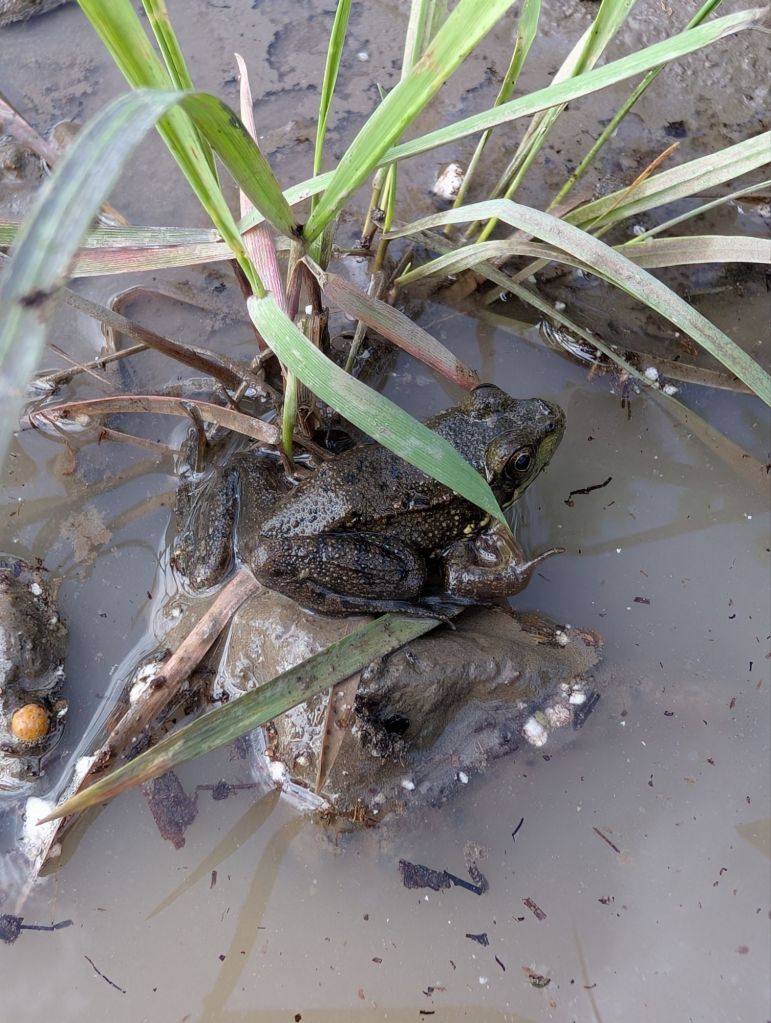
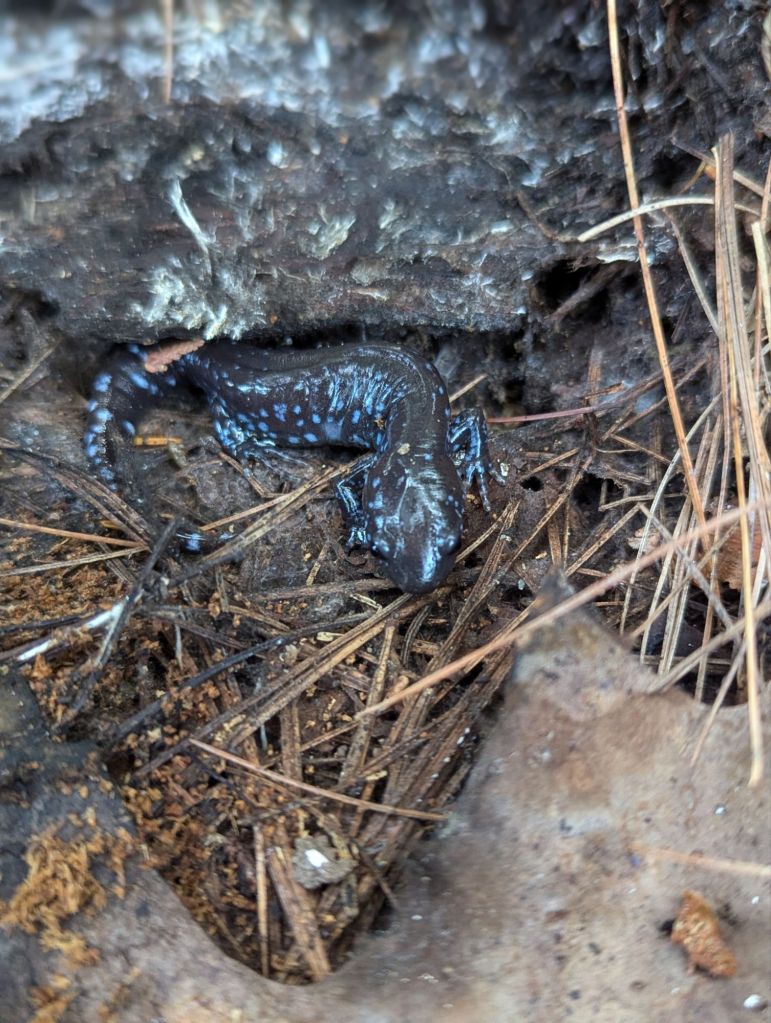
Where we are now, fireflies still shine at night, and frogs still croak in a tiny creek that runs through the forest behind us. If you listen closely, you can hear coyotes, owls and bats make their presence known.
Despite the wilderness and beauty just behind us, our new home has an expanse of lawn. Almost 2 acres of pristine, well kept, lush, moist lawn, which I am happy to chip away at, little by little, and replace with something that was meant to be here, of use to more than just our lawn-mower.
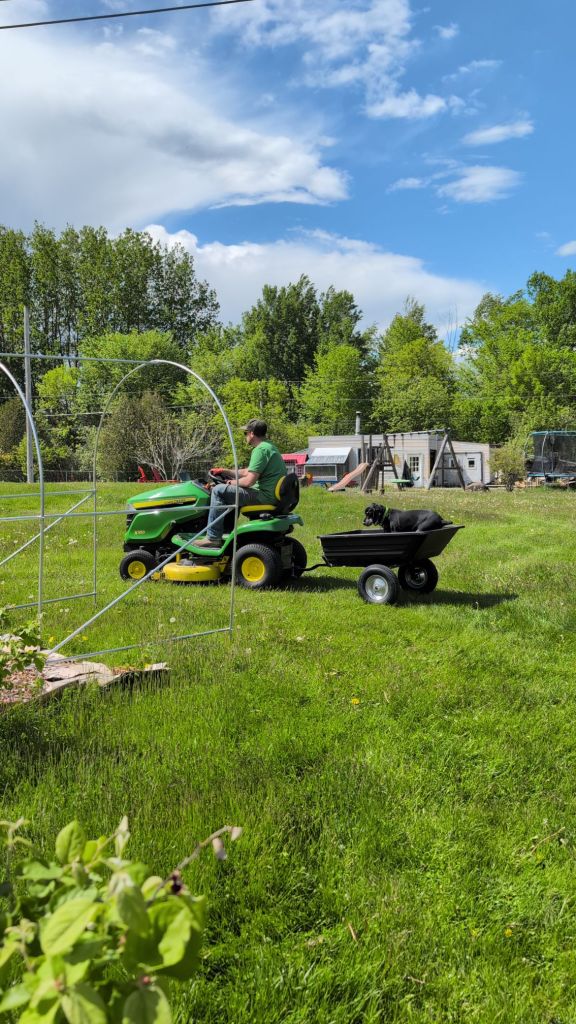
Full-disclosure: Colin bought a John Deere ride-on tractor this winter, which converts from a snowblower to a lawn mower and even though I hate lawns, I have to admit it’s really fun to ride.
One such lawn conversion project which really excited me was the idea of creating a ‘Tiny Forest’ in one part of our yard, to start, using a method of urban forest planting known as a Miyawaki forest. I have been increasingly learning more about this method of planting, and began dreaming of creating one in this space from the moment we first visited this home of possibilities.
If you feel inclined to read the details of how we did this, grab a coffee, and some quiet time, this is not going to be a quick read.
What’s a Miyawaki Forest?
The Miyawaki method of planting a mini forest (also frequently referred to as a Tiny Forest) offers a blueprint of sorts that allows regenerating a native and diverse forest system within a small urban space, at a pace said to grow 10x faster than a traditional forest’s growth.
I am not writing to pretend to be an expert in this method of planting, and if you are interested in learning more than my overview I highly recommend doing some additional research into the growing method, and its results, as I have, which is where my interest began.
For the purpose of background here is my simplistic summary.

A botanist (shockingly named Miyawaki) in Japan was looking for ways to increase the rate of growth of trees after WW2, as Japan was a small, very populated island with some significant air quality concerns lingering after Hiroshima, and not enough trees. He invented and tested this method that has been proven extremely effective since, and he alone has participated in over 3000 implementations of his method worldwide.
Essentially, the premise of a Miyawaki forest is that the simultaneous and very dense planting of a wide variety of native trees, shrubs and other layers of a healthy forest ecosystem, using specific site preparation, maintenance and protection guidelines encourages competition among plants. The close proximity of planting encourages competition for resources, and forces trees to grow upward at exponentially faster rates in order to ensure their survival.
Never one to take a blueprint for anything and apply it verbatim, I have been fascinated not only by the method itself, but also several documented implementations, loose and strict, which I have come across over the past few years, since I first heard about the concept.
Below is a write up of how I approached the creation of my own Miyawaki-inspired forest. It is a very recent planting and a work in progress, taking far longer than what I’ve read it should take, but a process I’m enjoying none-the-less. I can’t offer many lessons learned or things I would do differently yet, but I’m sure that will come.
Site Preparation
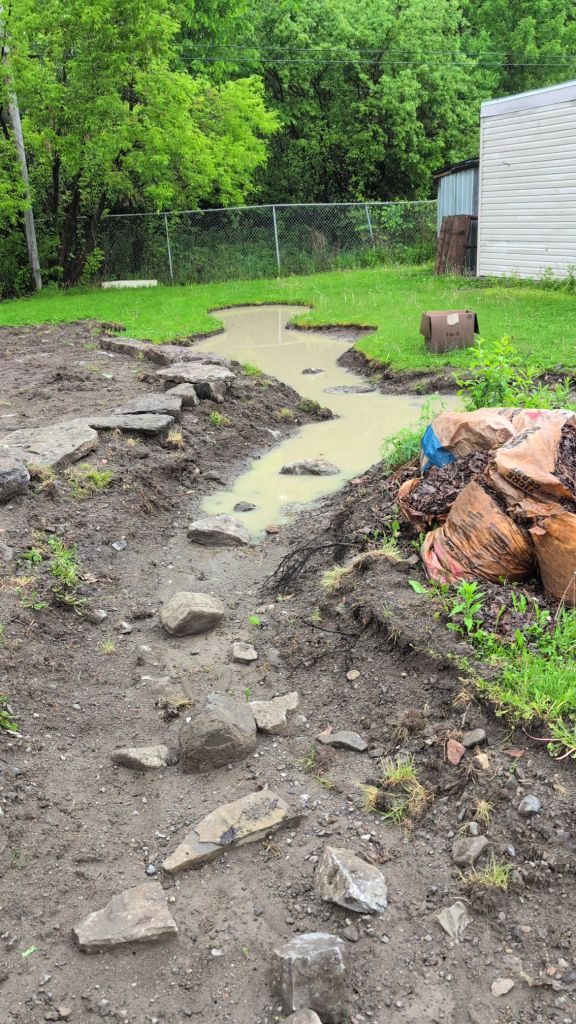
If you read my blog, you may recall we built a drainage moat / rain-garden to divert our rainwater toward the natural slope at the back of our property.
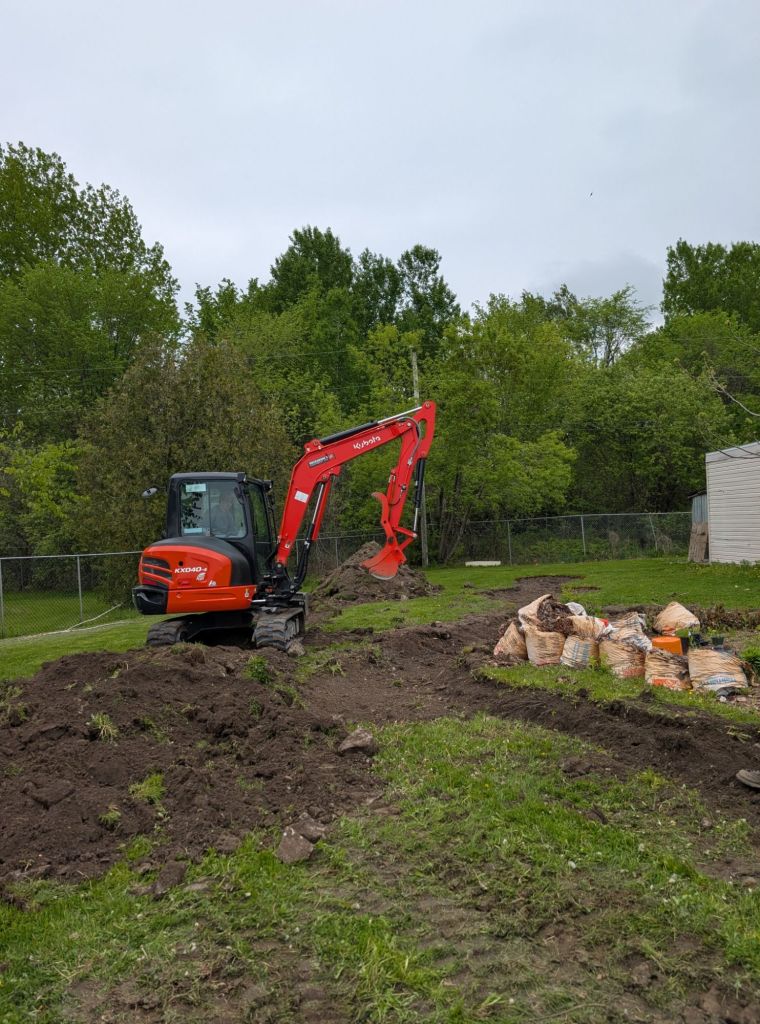
We contracted Ottawa West Excavation to dig out this ‘moat’, as well as a double basin to catch excessive rain water, and had them divide the dirt they removed.
The very rocky scoops they dug up went to the back of our yard, forming a future epic winter sledding hill for the kids (hopefully).
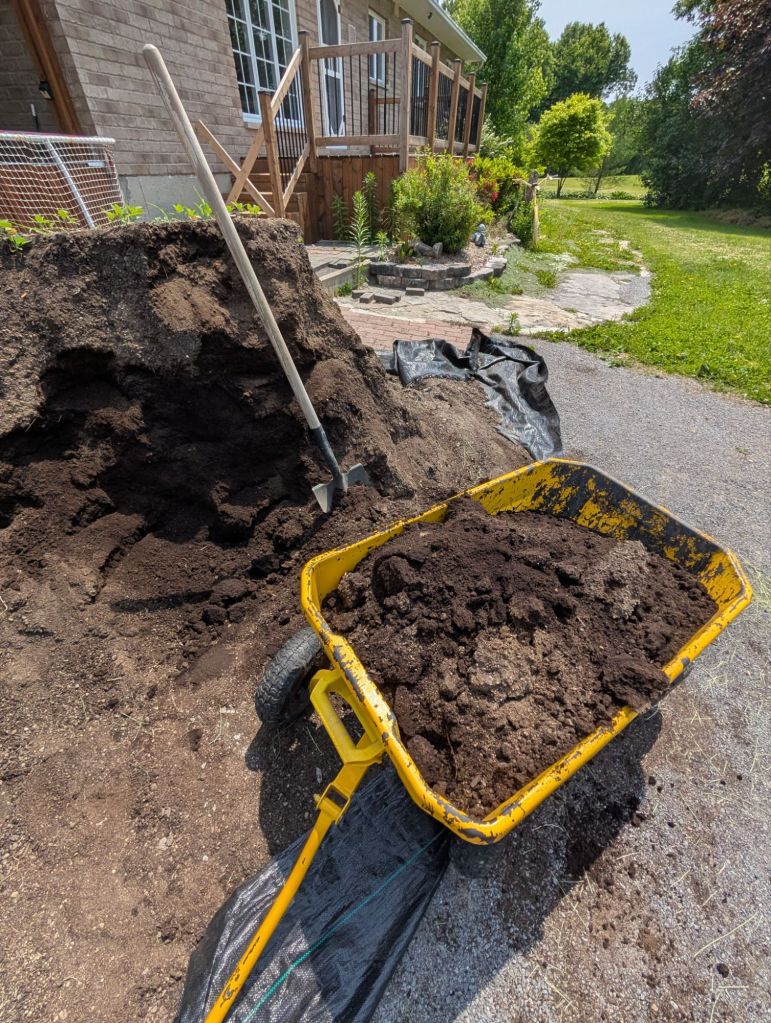
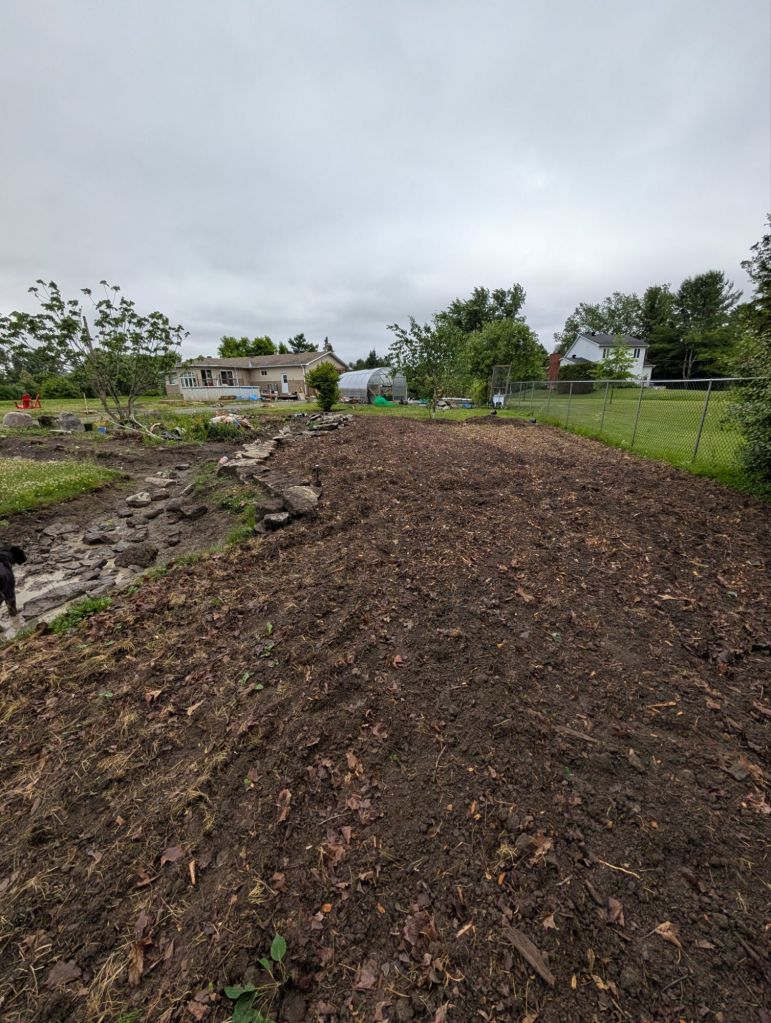
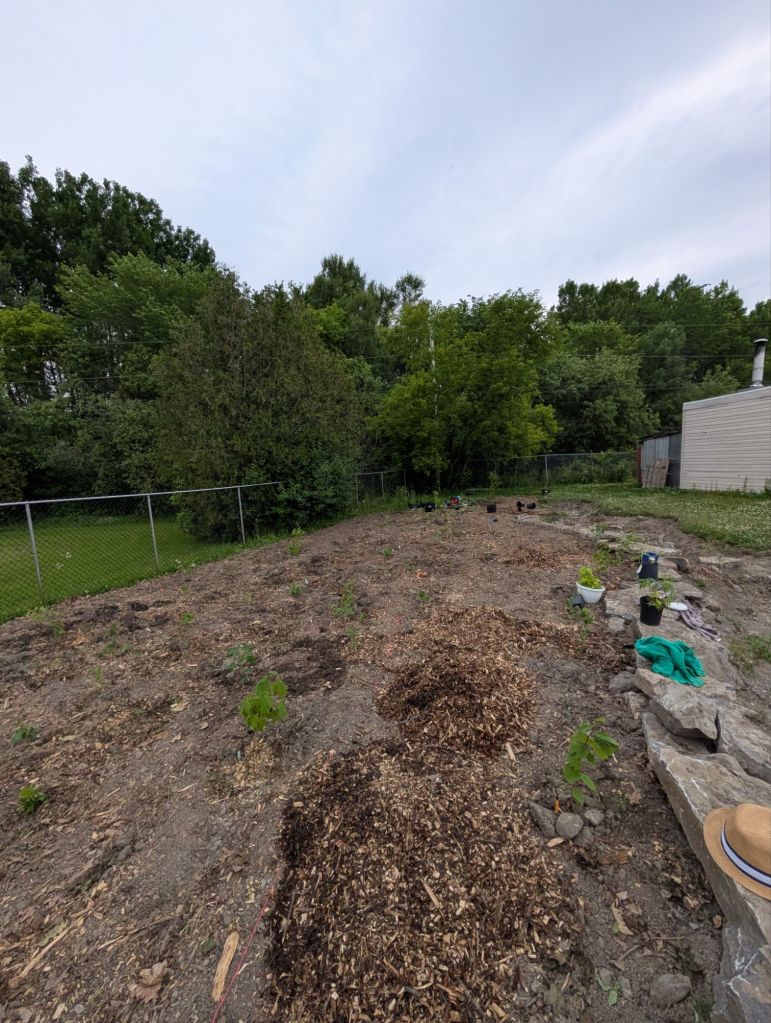
The rest of the dirt was lifted and spread out flat over the grass to the left of the basins, bordered by the large rocks we also encountered during the dig, as you can see below.

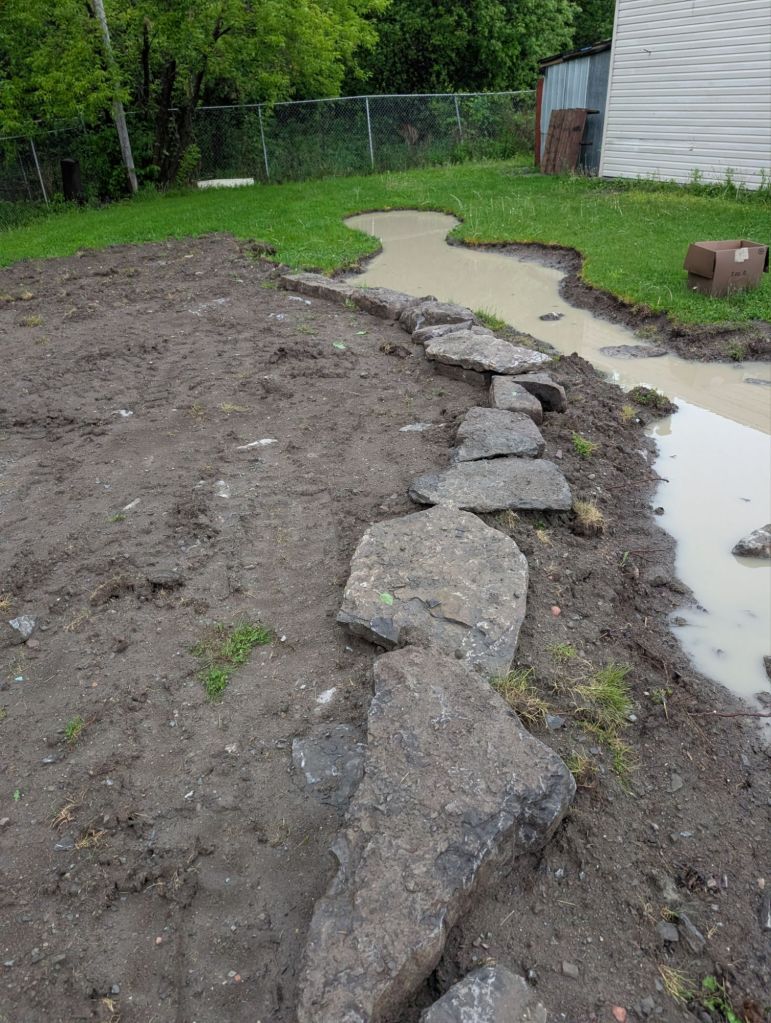
This flattened pile of dirt became the planting site for the Miyawaki forest.
Making Hundred Year Forest Floor Soil – the Miyawaki way
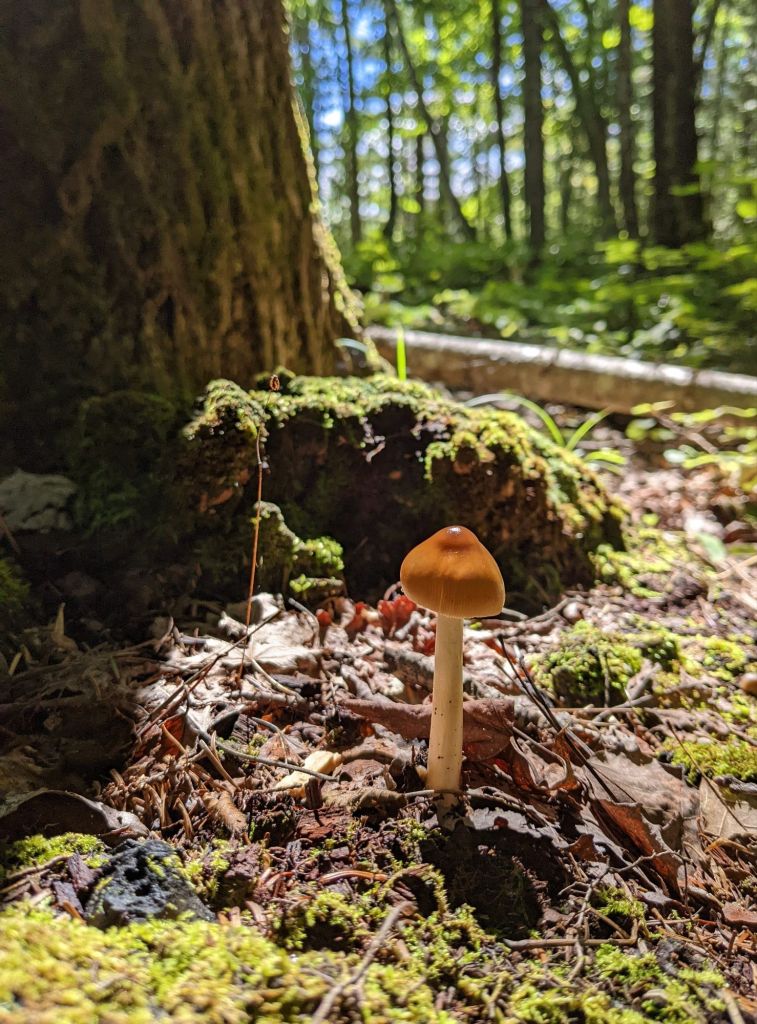
One of the reasons the Miyawaki method resonated so much with me was for its emphasis on soil health. A forest takes hundreds of years to form the richness of its natural floor. Things need to grow, break, decompose, and layers of leaves and branches and logs and lichen and mushrooms and and life and death are added and incorporated year after year in a forest setting, in order for the soil to become what it is.
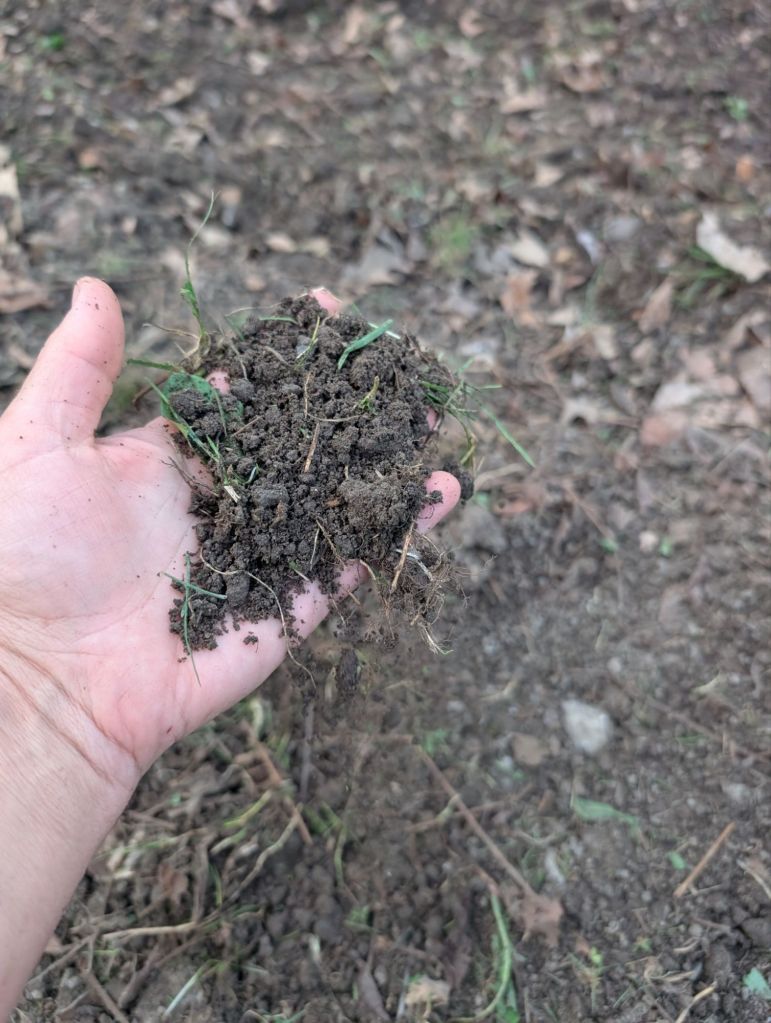
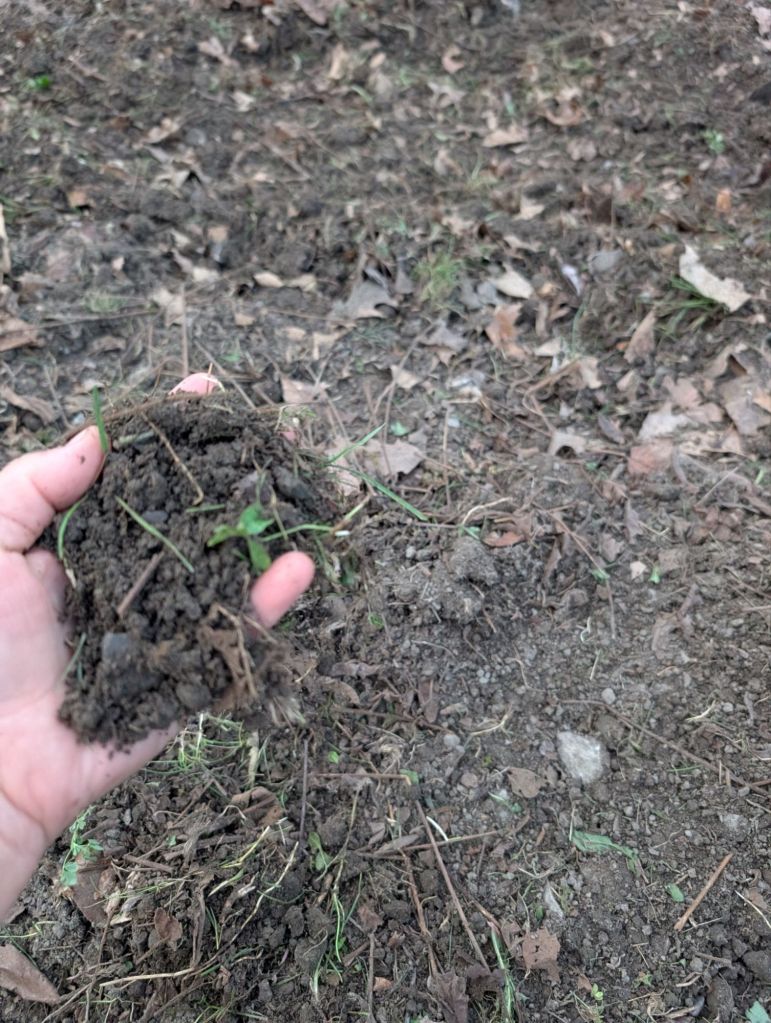
Crouch down and dig into the soil of a forest next time you’re breathing in its air, and take a moment to really feel what you pick up between your fingers (I assume you’re not grossed out by dirt. If you were, you likely wouldn’t be reading this blog).
Millions of micro-organisms have lived and died and been absorbed and re-absorbed into your hand, and if you close your eyes and breathe it in, you will smell the smell of each and every one of them.
That is the soil and richness which a Miyawaki forest needs to try to replicate.
I can never hope to do it justice, but we tried. Essentially, what we could and decided to do was to aerate the soil as much as possible, hope to kill the weeds and grass still growing in the process, and do our best to add thousands of years’ worth of organic matter to the soil as a starting point, and work on improving it over time.
Colin rented a tiller and spent a weekend tilling.
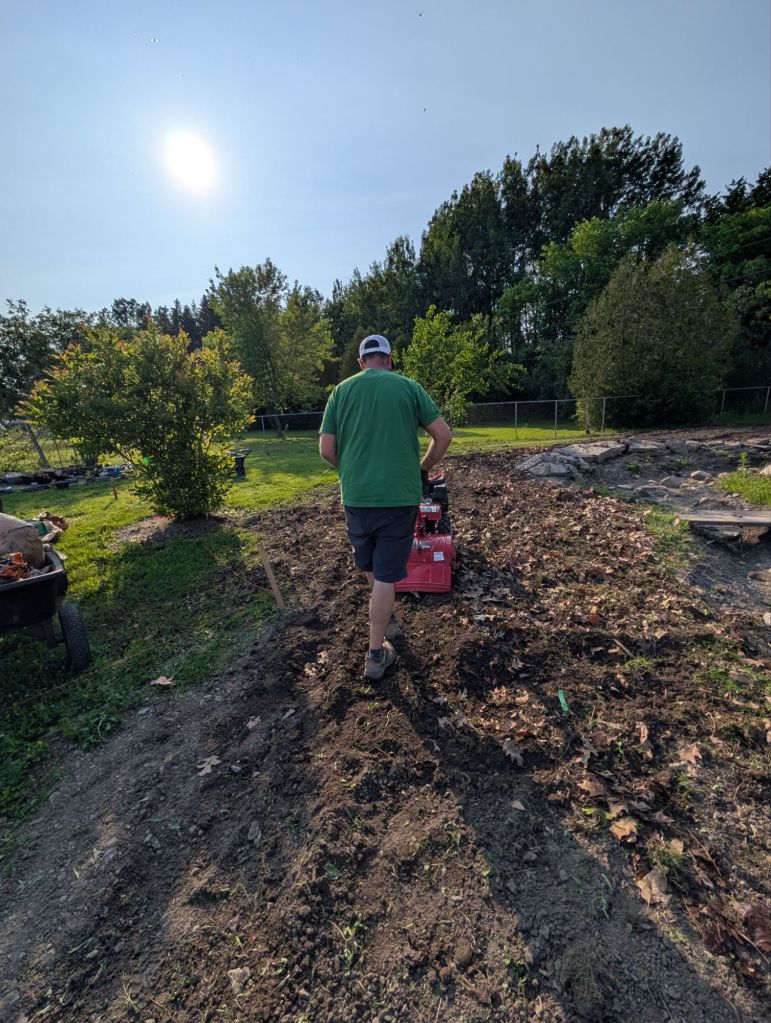
First he tilled the soil. Then, we added bags and bags of spring raked leaves.
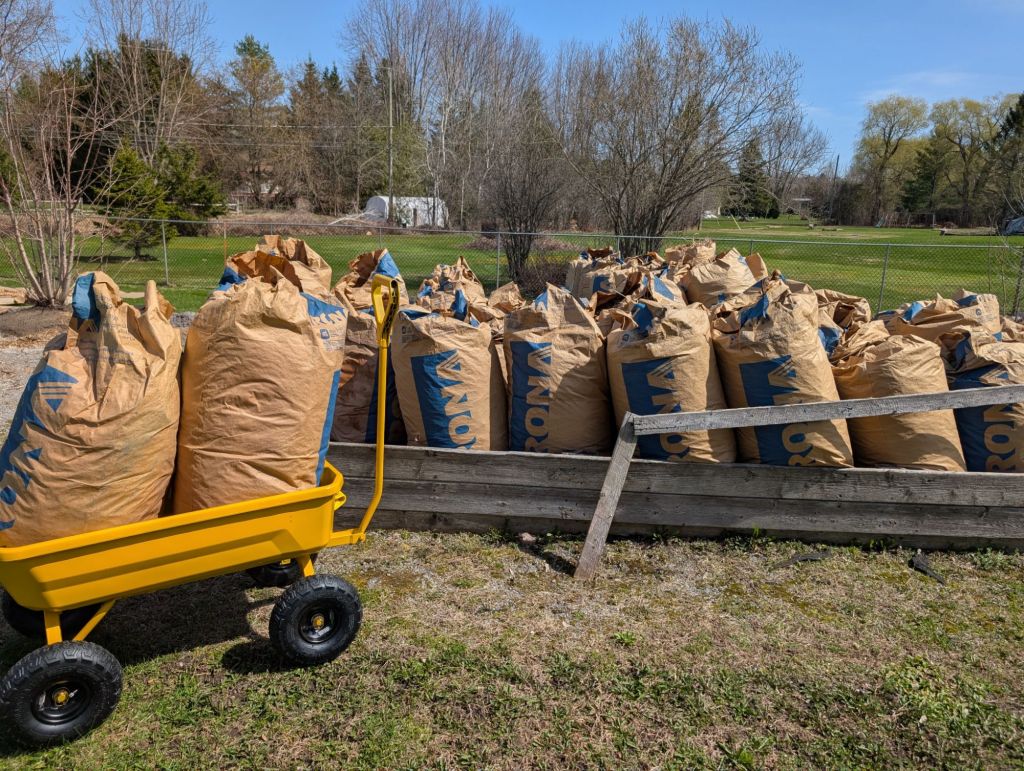
He tilled again. Next, we added bags of fall collected leaves, wet and slightly decomposing.

He tilled again. Next we added all of the remaining mushroom compost soil mix from our new vegetable and herb garden beds (another topic for another day).
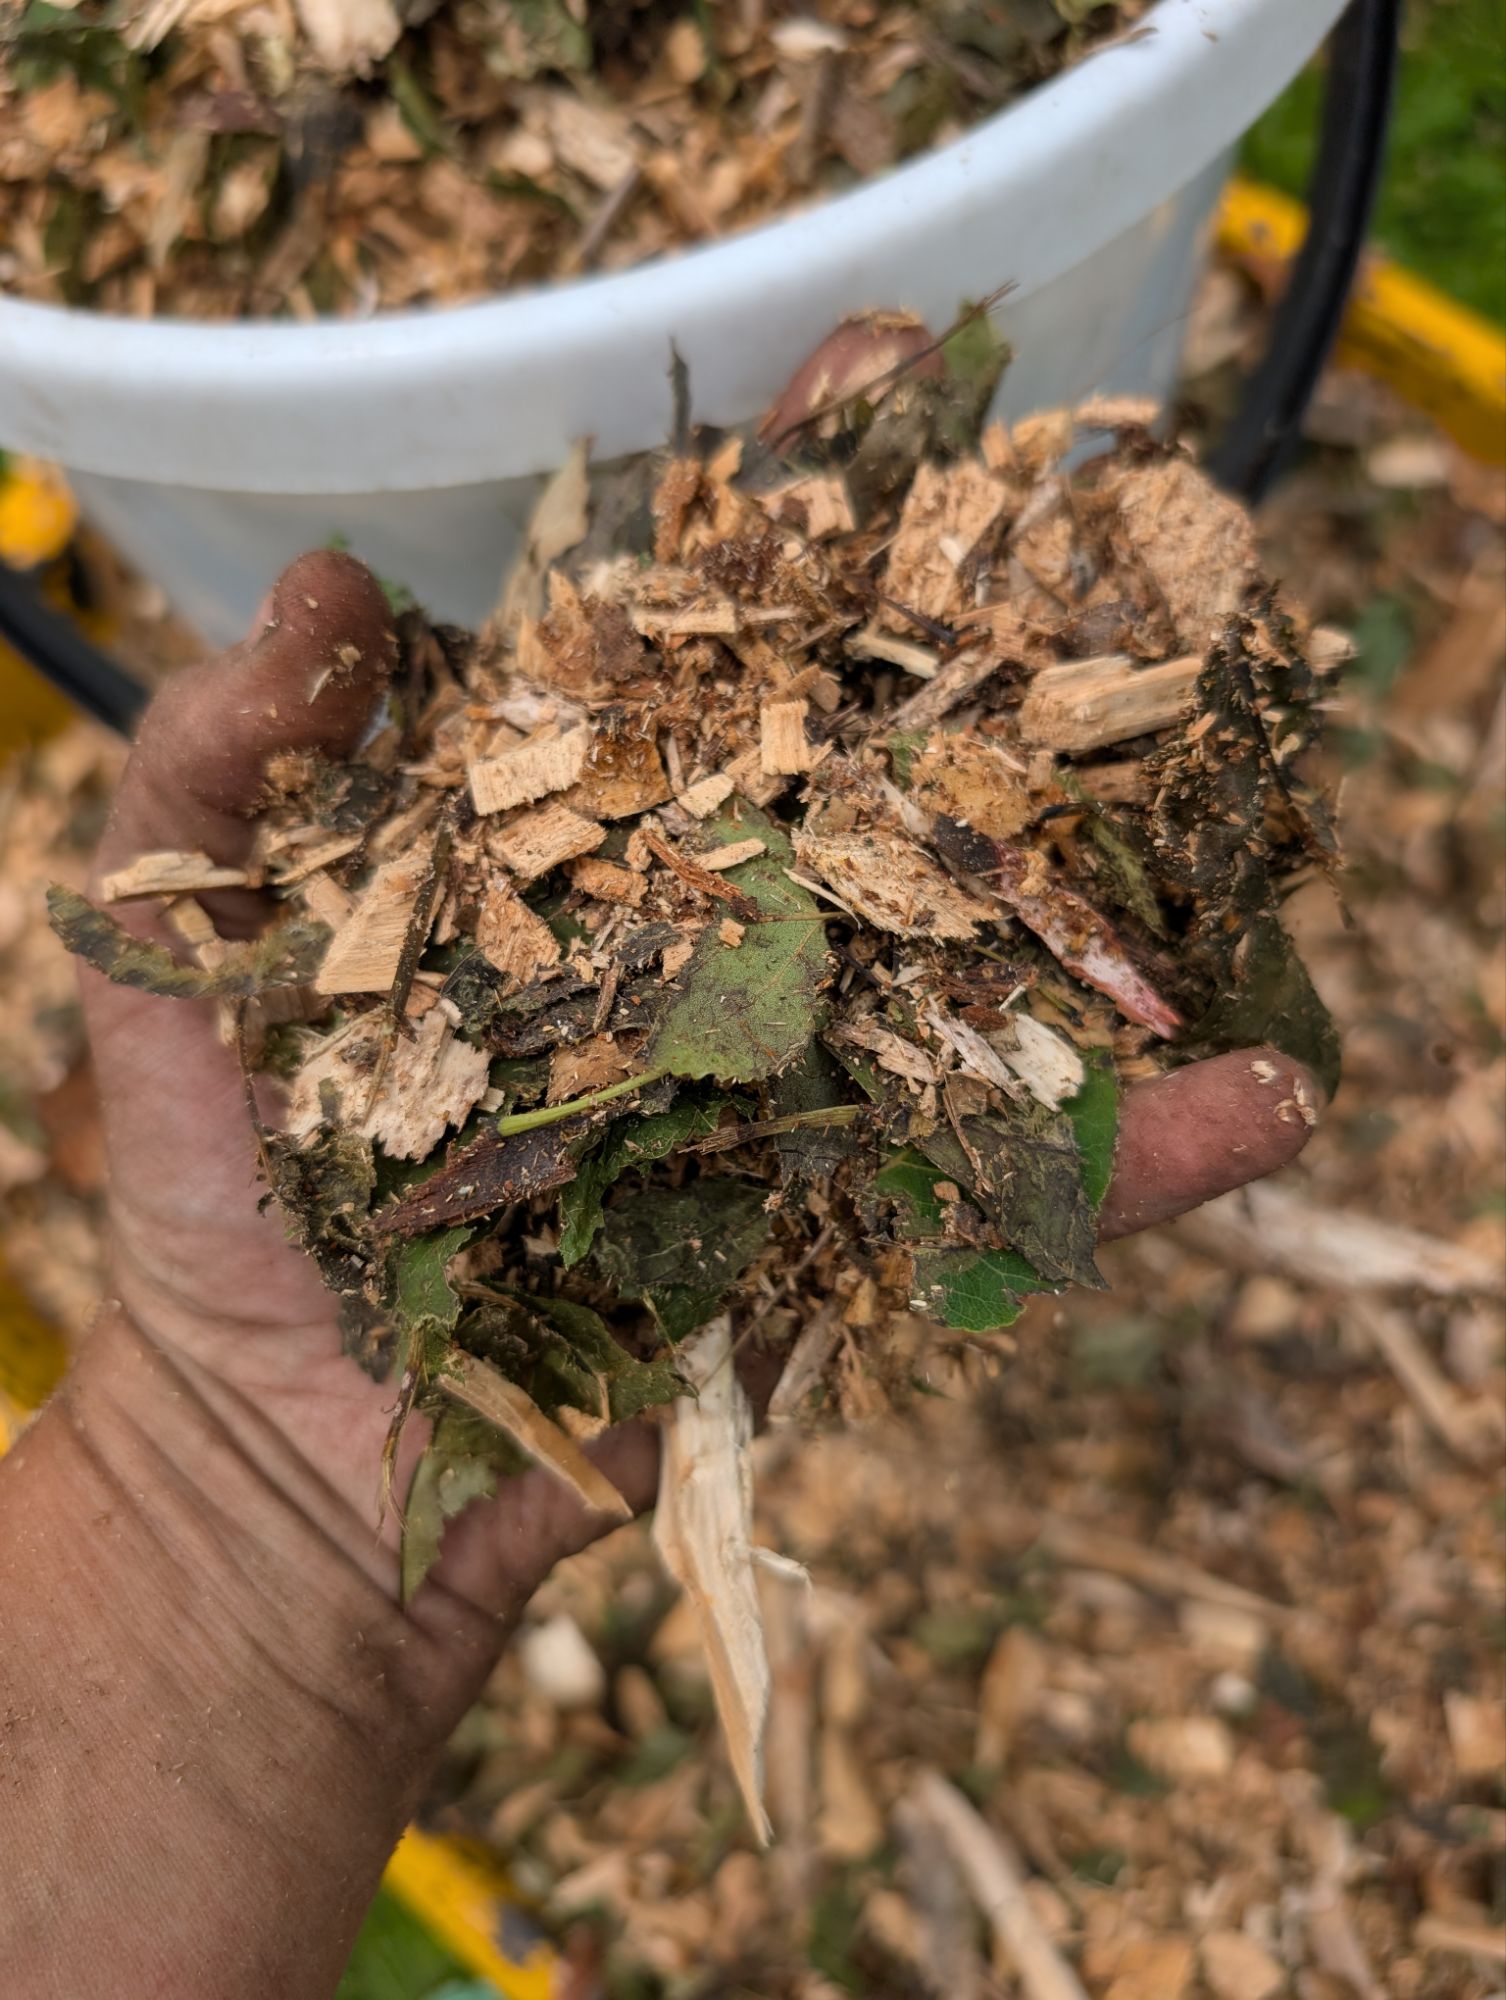
Finally, we added several wheelbarrows of arborist woodchips, a few bags of very potent aged rabbit and chicken poop compost mixture courtesy of the lovely Cole at The Good Shit, along with some of our own vermicompost castings, and several bags of pine leaves we had gathered from our cottage for this exact purpose.
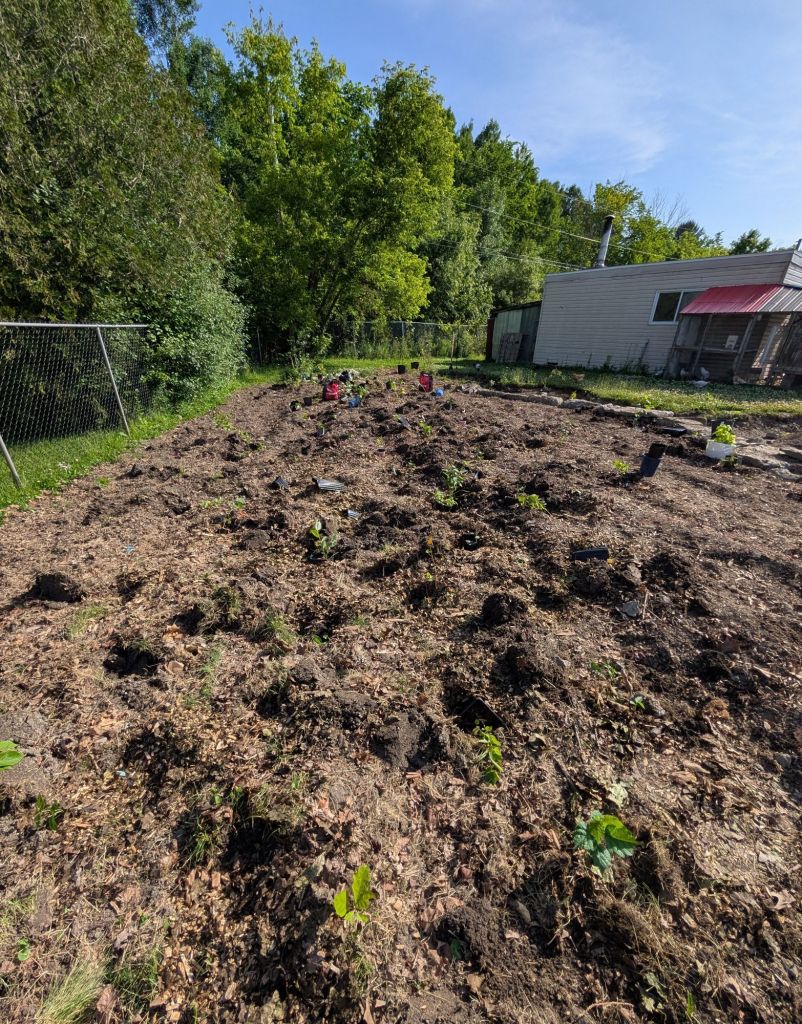
That also got a final till, and before the end of the weekend, our previously packed nutrient-void lawn soil was suddenly a rich, somewhat fluffy and moist texture, ready for planting.
As per my usual modus operandi, somewhere between the first tilling and the end one, I made Colin increase the site of my little forest by a good 30% to the original intent.

I hope to continue finding creative ways to add beneficial organic matter to the soil, to continue enhancing it, and promote growth, but we felt this was a pretty good starting point, and hopefully with time an underground network of roots of trees and plants and mushrooms (called mycelium) will establish, cooperate and communicate with each other as they would beneath the dirt of an undisturbed, naturally formed forest floor.
I’ve learned a bit about mushroom foraging over the past few years, but I know nothing about growing and inoculating them. Rhis is going to be a learning focus for me this winter. If you’re reading this and can point me toward some concrete information sources, I would greatly appreciate a message.

Tree and Shrub Selection
The Miyawaki method relies on a very close planting of young, naturally-occurring and adapted species of trees, shrubs and other plants in a region. The plants selected should account for all layers found in a mature forest, including the tallest trees (canopy), understory trees (those happily growing in the dappled-shade of the canopy), shrubs, grasses, ferns, vines and ground-covers, etc.
As the plants are young, and the soil easy to penetrate, their roots should quickly adapt to their new environment, building a beneficial inter-tangled web below the surface of the soil.

It just so happens that I’ve been growing a wide variety native trees and shrubs from seed over the past 3 years, and despite some casualties, I had many happy tree seedlings as a starting point.
I really wanted to focus on planting as large and biodiverse of a variety of native trees and shrubs as I could source. I wanted to plant berries and nuts for wildlife especially, but also, if some remain, for us.

Many native and near-native trees are becoming increasingly rare, particularly in urban spaces, where tree selection often involves trees planted for ornamental, rather than environmental reasons.
Unlike flowers, trees and shrubs take a long time to establish. Our climate is changing, and with this some scientists anticipate we will see a migration north of species previously found further south than us. This theory makes sense to me, and I plant and source seeds and seedlings to include native and near-native species as a result.
If I’m right, planting trees from further south than us will be a good idea 10 years from now, and I will have correctly proven the cliche
“The best time to plant a tree is 10 years ago”
If I’m wrong, those trees are likely to die off, and I am assuming any casualties will simply die off and help further amend the forest soil, so little would be lost.
This brings me to the most important criteria I used for choosing species for my forest. Wildlife value.
Species Selection for Wildlife Value
I read a lot, in giant size print, on my Kindle, when my eyes let me. I listen to audio books when they don’t, and despite all of the challenges my brain increasingly has with memory and attention, there are ways I have found to retain information and learn. It’s slow, challenging, and requires making lists of notes, then revisiting them in pure silence, without any distractions, because something as small as the beep of a finished dishwasher cycle breaks my concentration and unravels any progress I had made in storing something in a retrievable part of my memory.
When it comes to plants, and wildlife, my notes are organized and categorized in ways that make my trapped knowledge retrievable. I challenge myself, and my mind, to do just that, often through writing these posts, other times by removing tags from plants and forcing myself to look them up again and again.
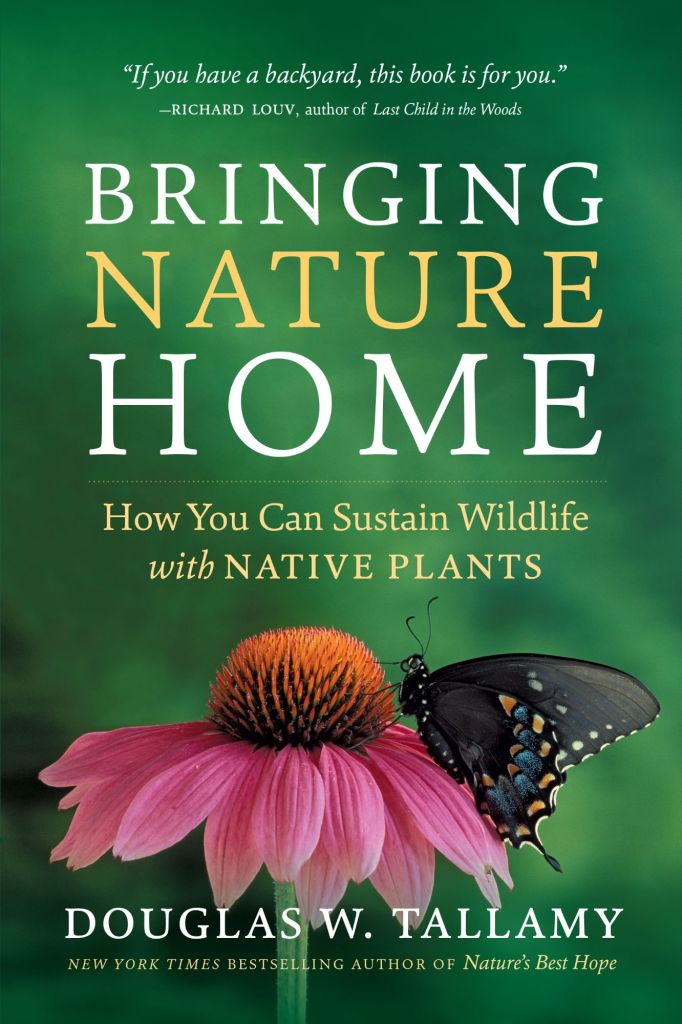
When planning, and choosing species of trees, in particular, I borrowed from the wisdom of Doug Tallamy, who prioritized native tree species by their value to the greatest overall number of native species, in his first book, Bringing Nature Home.
I made sure to include as many of these species in my tiny Miyawaki forest tree selection as I could grow, and where that failed, source.
This is a poster from Doug Tallamy’s book, Bringing Nature Home, highlighting the top 10 native trees he ranked by their overall value to wildlife.

Source: https://www1.udel.edu/researchmagazine/issue/vol2_no1_enviro/pdf/top10natives.pdf
I included almost all of these trees, and still more, selected for their value to specific pollinators, even if they are not considered keystone species. The ones I couldn’t source this year I will try this winter.
I chose several types of willows for their value as a very early pollen source for pollinators, particularly those emerging from beneath the leaves and forest floor nests for the first time, looking for a nearby food source to strengthen their wings and ability to forage further.
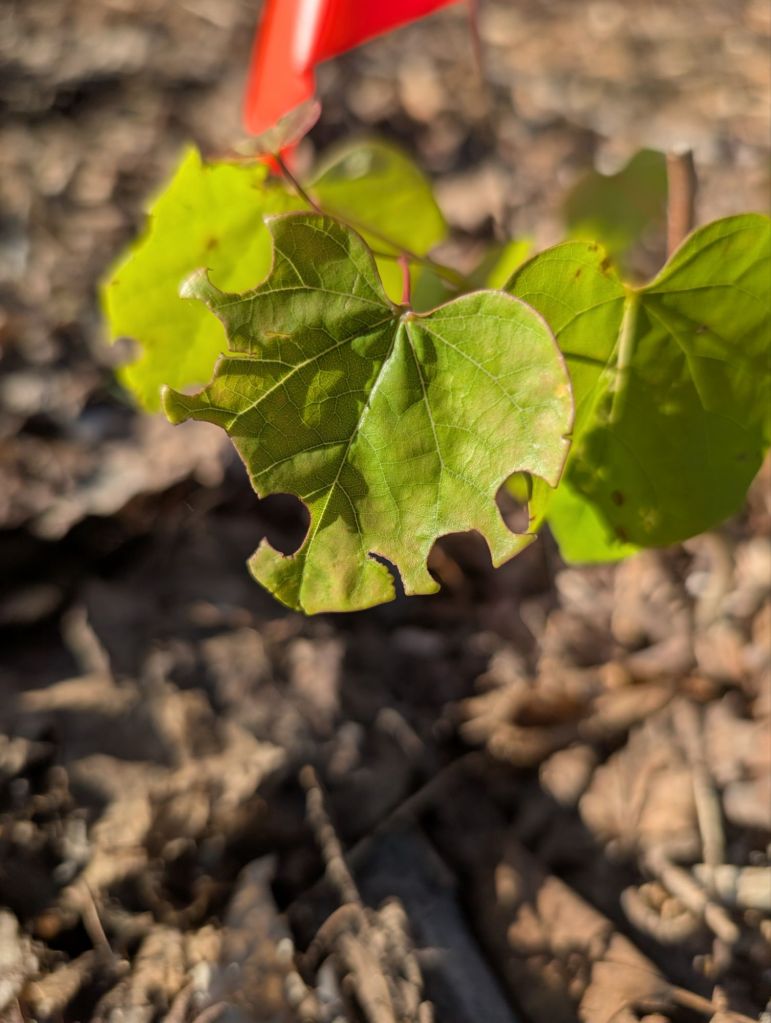
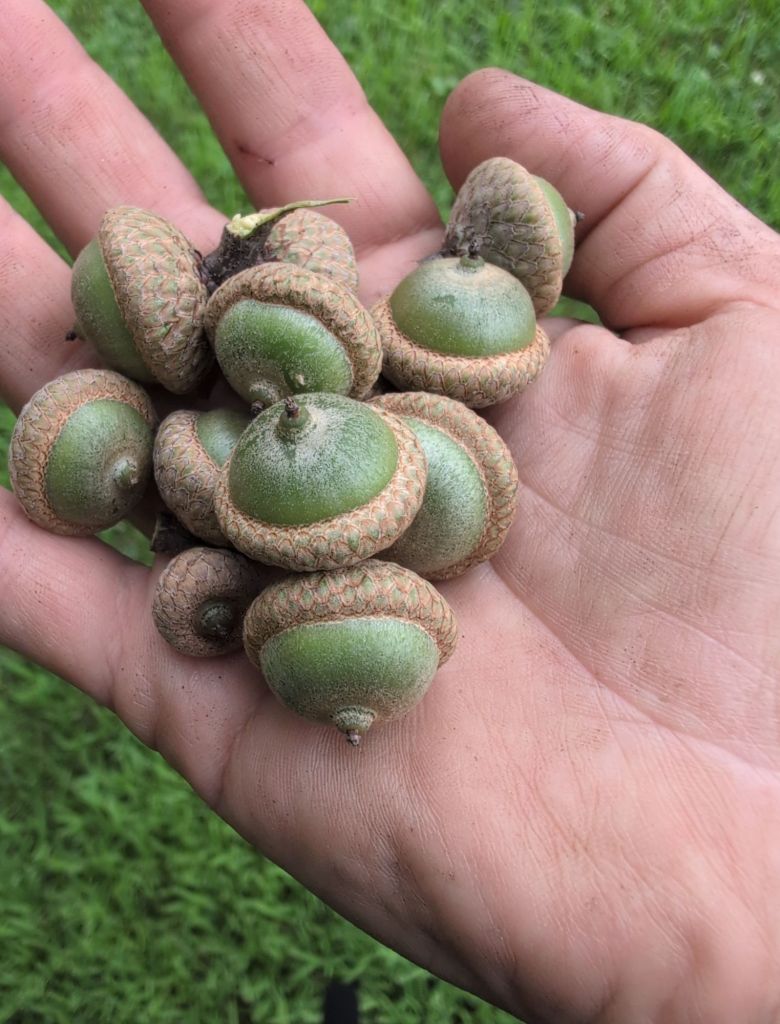
I chose several species of oaks because I trust Doug’s writing, and his compelling arguments that oak trees are the single largest wildlife benefactor tree one can plant in our region. I find their majestic spread unparalleled, so I planted any oaks I could get my hands on, even the random, tiny swamp oaks gifted by squirrels in random parts of our yard.
I included several native berry bushes and shrubs, crab apples, elderberry and cherry plums, as well as some understory nut trees like American Hazelnut, because I know how much I enjoy eating them, so it’s quite logical to me that birds and other wildlife will as well. These were also my most successful germinations, so sourcing them was easy.

I added some birch, and elms, and poplars and maple trees, along with several small pines and a couple of baby cedars, for their value to so many species of butterflies and moths, but also because these are quite easy to come across in small sizes. To me this makes the competition among species in my Miyawaki forest fair, as all the species have a similar starting point.

I added Tulip trees for enjoyment by long tongued bees and hummingbirds, Witchhazel for its fall blooms, several native berries to feed birds in winter, as well as specific host plant trees and sought after food sources like the Eastern Hop Tree, Eastern Redbud and the Kentucky Coffee Tree.
If you’re interested in a full list of the plants I planted in my Miyawaki forest, you can find it here.
Native Tree Seedling and Seed Sources
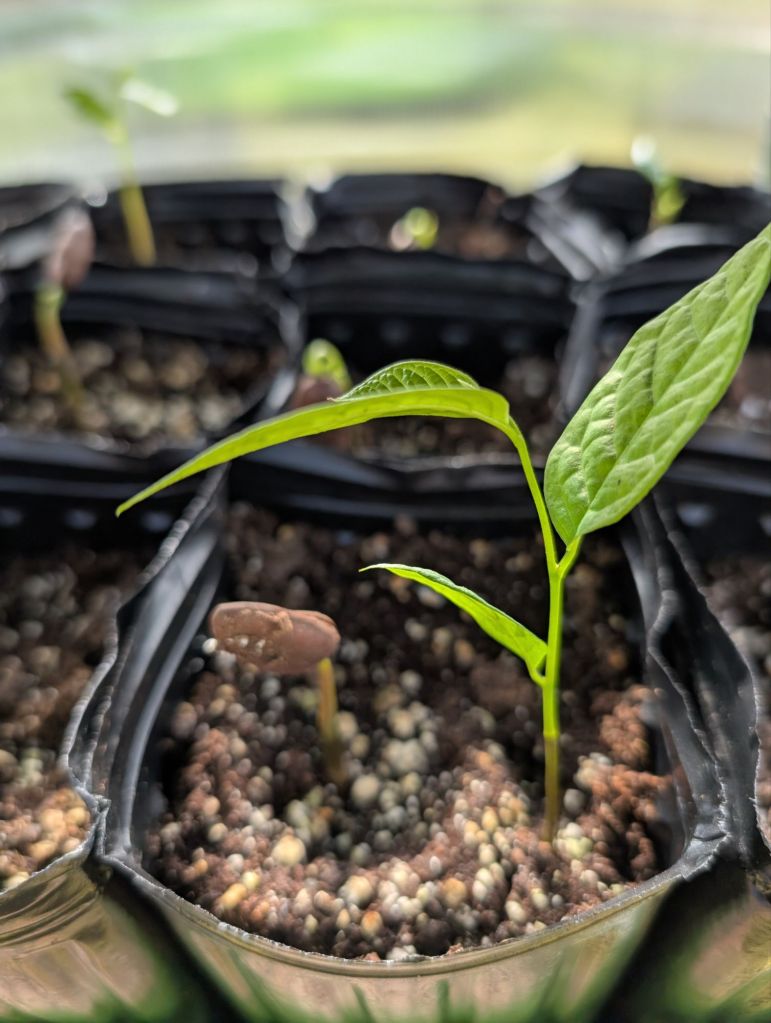
Most of the trees planted in the Miyawaki forest I grew myself. I feel an enormous sense of pride watching seeds buried with my own fingers in soil rise from it as young tentative seedlings in the spring, and find their strength from the sun, and wind, and rain under my watch.

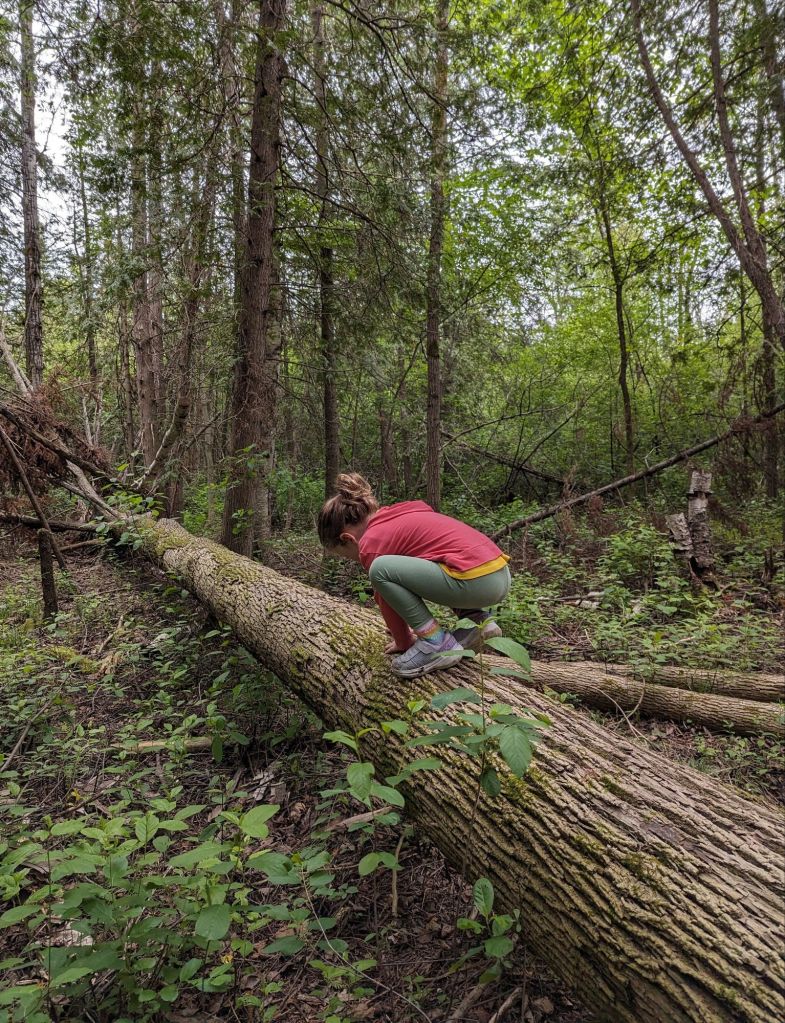
Many of the seeds these trees came from were collected by me, as well as Remi, who loves helping me find and identify seeds on our walks, particularly in the unspoiled forest at our cottage.
Other seeds came from the Ottawa Wildflower Seed Library, the North American Native Plant Society (NANPS), as well as specialized native seed vendors like Semences Akene and Arboquebecium .
A few of the seedlings were carefully moved from the understory of undisturbed decades, and maybe even century-old parent trees in Blue Sea, where we are lucky enough to have a cottage.
Where I was not successful in germinating some of the species I was hoping to grow myself, or couldn’t find the seeds, I also acquired young seedlings from other semi-local nurseries like Ferguson Tree Nursery, Trinkets and Thyme, Nursery for the Earth and ONPlants.
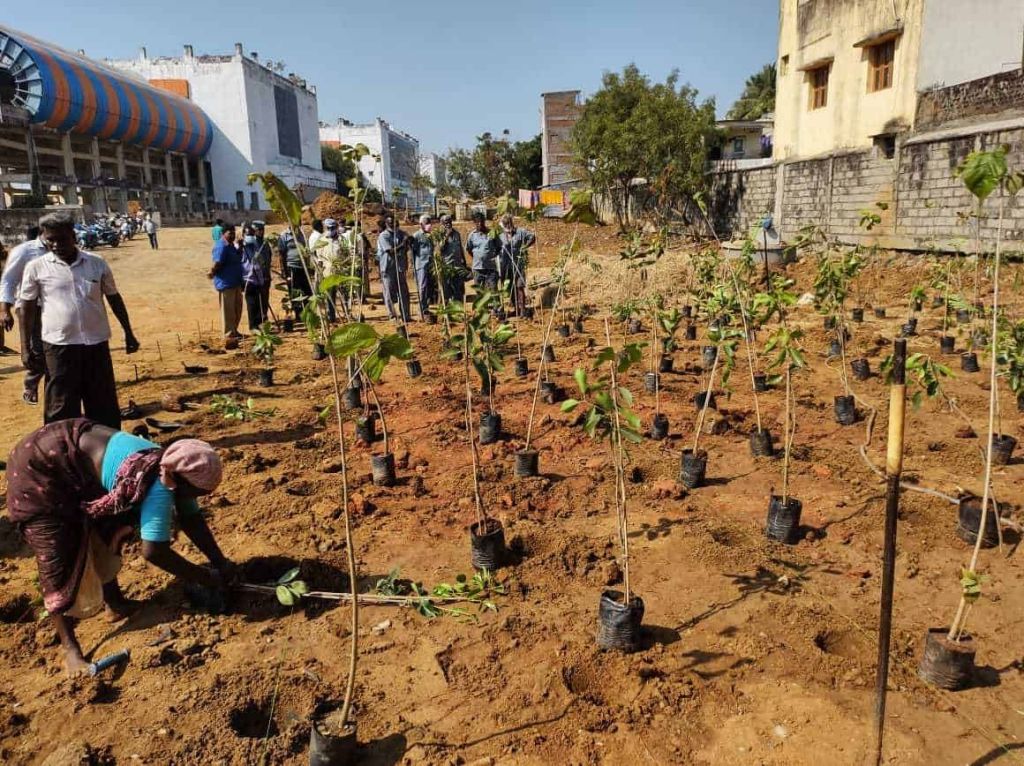
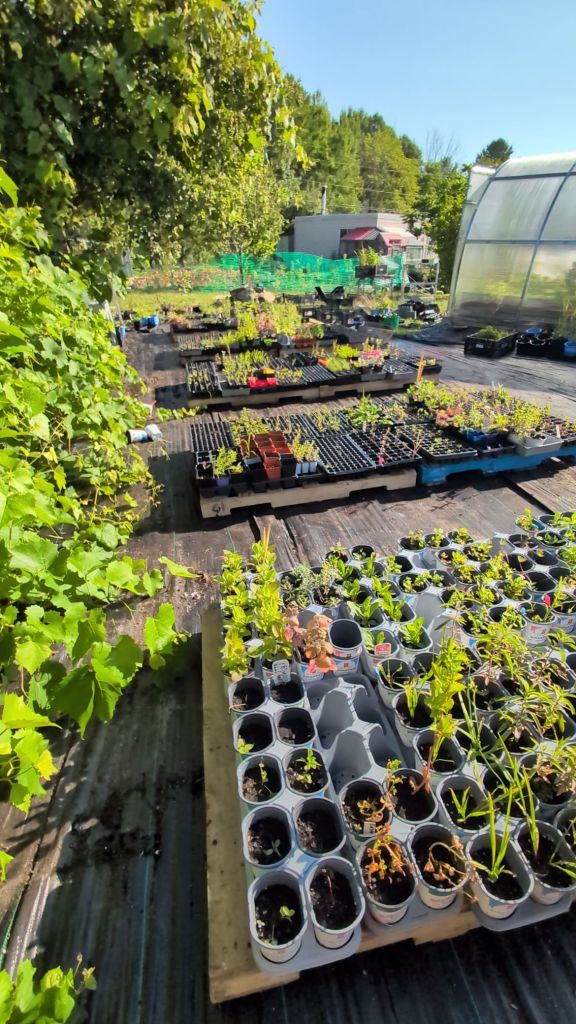
As I’ve been planning for this tiny forest for some time, I ended up with close to 200 young trees and shrubs, of various native species, ready to plant into our prepared planting area. Most of the trees are 6 months to 2 years old, max, and largely look like sticks with little leaves.
I’ve kept track of the planting inventory so far, and if you are interested, you can click here for a full list, which I hope to remember to keep up to date as I begin to focus on planting the other layers of my forest this fall.
Beyond Trees and Shrubs: the lower layers of the tiny forest
The Miyawaki method assumes all plants, including canopy, understory, shrubs and ground covers are planted at the same time.
My reality has not been that, because I have so many simultaneous projects happening, so all I could commit to planting before fall were the trees.
I have all the plants my forest could need, since I didn’t open the nursery to the public this year.
I lack time, but when I find some, in the fall, after a much needed family vacation, I will plan for and plant the lower layers of the forest, and I will likely write another excessively long post about that too. I’m not there yet, but if you read this far and you are interested, stay tuned.
Planting the Miyawaki forest
This was the easiest, and quickest part of the process. My reading and understanding of the Miyawaki method is that trees and shrubs should be planted closely, between 3-5 plants per square foot, and in a random pattern.
One common criticism of the method I have read is that once grown, the trees are so dense that there is no room for a person to walk inside the forest and appreciate it. To mitigate this, I wanted to include a path.
Alex gave me the idea of making a path with the forest, rather than one side of it, so eventually the canopy can bend to form a tunnel above the path. I loved this idea, and decided to plant a single row of trees bordering the new rain garden, with a path between this and the test of the forest itself.
Anyone who’s seen my gardens, plantings, or even my kitchen or bedroom knows that I thrive in kaos and randomness, so this approach worked well for me.
I started off by digging holes. Lots, and lots of holes, what felt like several per meter square, starting from one end of the designated planting area to the other. As I got tired, I forced my family to join in and help. When the teens started complaing, I got tired of listening to them complain and I went back to doing it myself, until I had what I felt were enough holes.
I thought I was finished until Colin flew his little drone above my to-be-forest and told me the holes looked like they had been purposely lined up.
I couldn’t have that, it went against the kaos and randomness I was aiming for, so I dug more, purposely random and kaotic holes. I ended up being gifted some additional baby birches and white pines, so the additional holes were useful afterall.
After finishing the holes, I added a mixed handful of wood chips, compost and decomposing leaves in each hole, planning to mix that in with the dug up and potted soil for each tree.
Satisfied that my forest site was random and prepared enough for planting, I began bringing all the trees ready for planting, in small batches, and placing them as randomly as possible throughout the site, one species at a time, in the pre-dug holes.


The actual planting was the quickest part. The whole family helped, only somewhat begrudgingly at first, and enjoying the process as we went along, because planting trees is far more fun to them than digging holes to plant them in.
Remi walked around each of the ones she planted, using her feet to tighten the soil around them, which she calls giving them ‘a foot hug’.

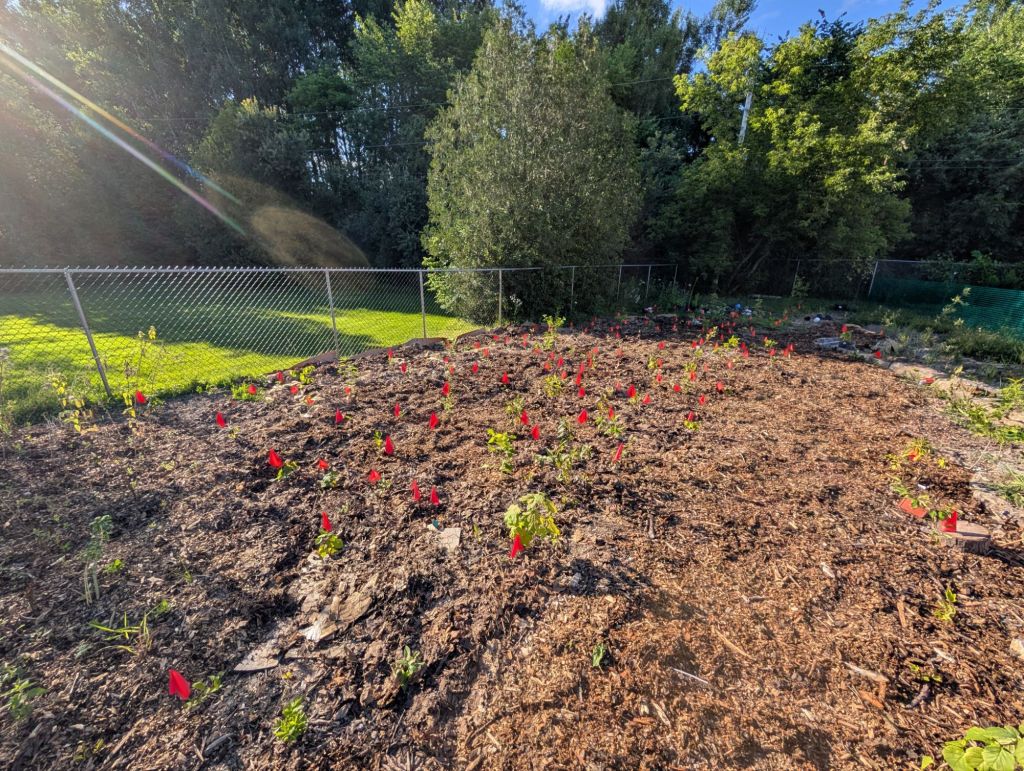
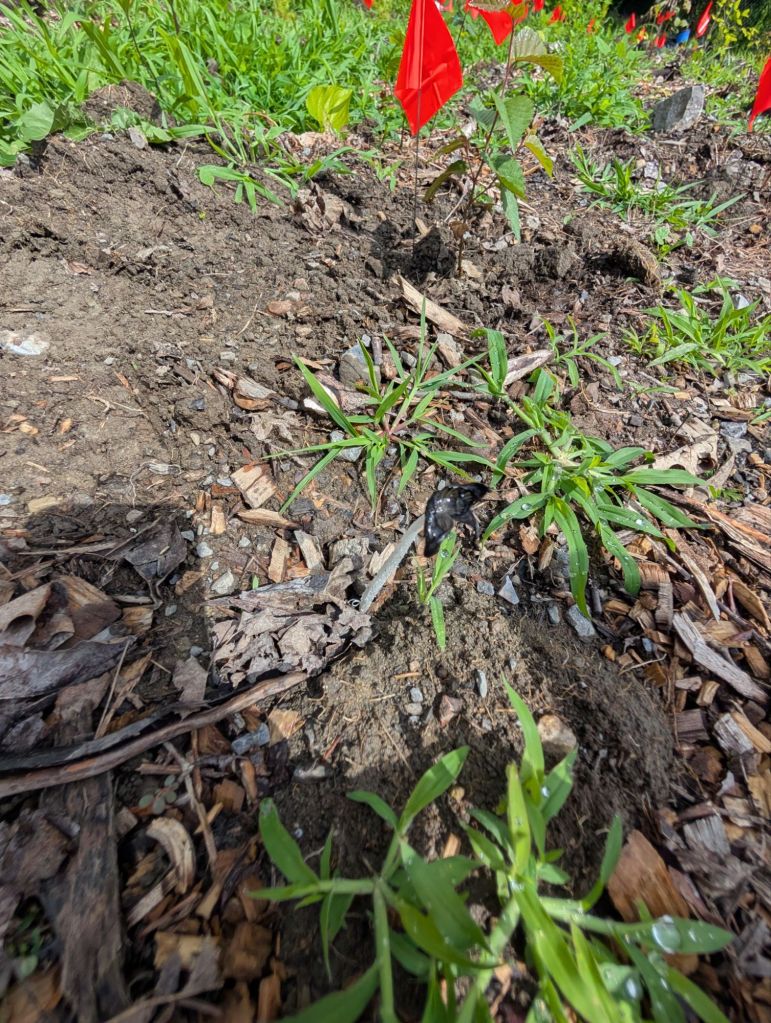
Just like that, after all the preparation work, in one afternoon in July 2025, our little Miyawaki forest was planted and born.
Protecting the forest
The larger woodland creatures in the forest behind our house don’t tend to come closer to us because of a large fence that encloses our property.
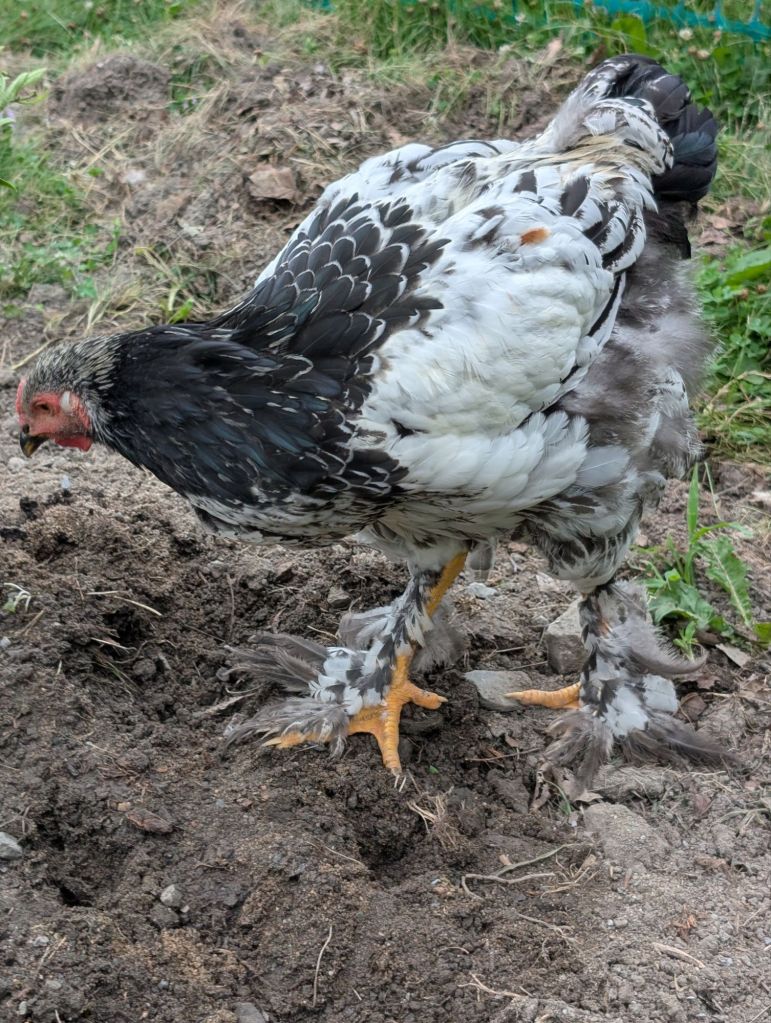
My little forest, however, still needs protection from the smaller creatures that would otherwise enthusiastically dig and chew the baby trees, as well as our own chickens and clumsy dog.
Tree stump protectors are cost prohibitive at this quantity. Colin wrapped the forest area in a temporary fence, which is doing a decent job of keeping out the creatures we need to protect the young forest from, for now, but it likely will not be enough in the winter.
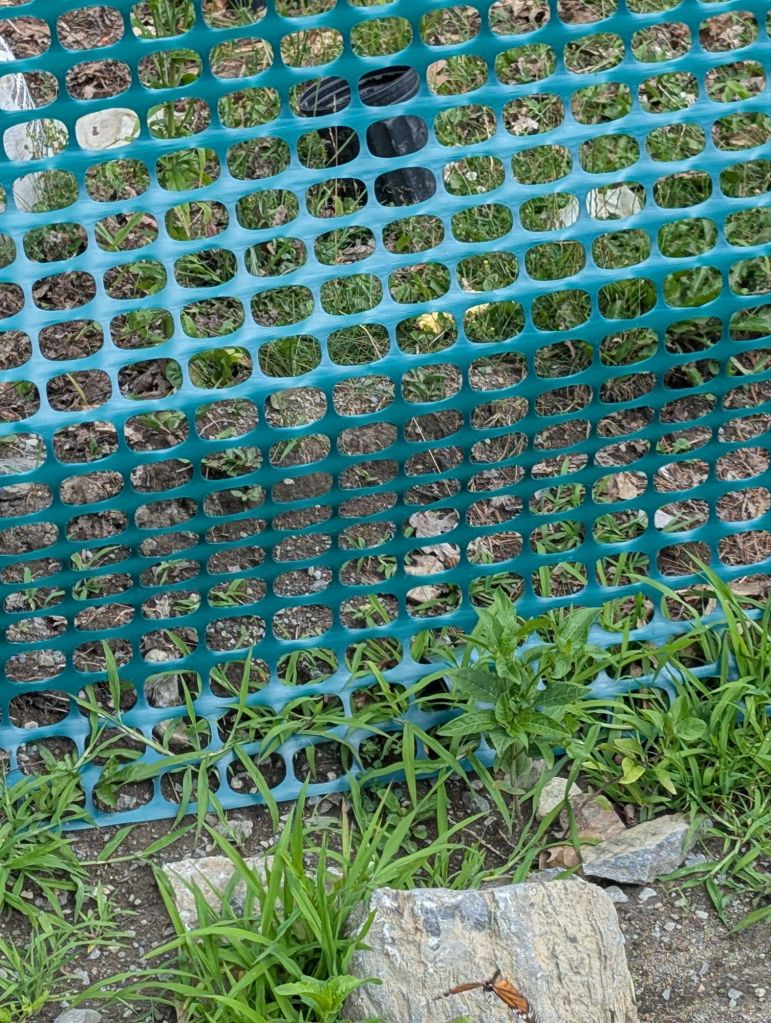
If you have ideas for how to effectively protect the trunks of around 200 very young trees from bunnies, and smaller creatures capable of breaching our fence this winter, please reach out, I’m still at a bit of a loss.
Weeding
I had read how important weeding is to a Miyawaki planting site the first few years, and I’ve rewilded plenty of spaces, so I expected this.
I did NOT expect what actually occured. I planted, then left the baby trees and shrubs to their own devices over the past month or so, to adapt to their new home, as I do with nearly everything I plant at first.
I underestimated the resilience and tenacity of the roots of the grasses and alien plants which we had tilled, as well as the dormant seeds beneath the soil which we disturbed and awakened in our tilling process. I have never tilled to prepare a site for planting before, and I’m not sure I would do that again.
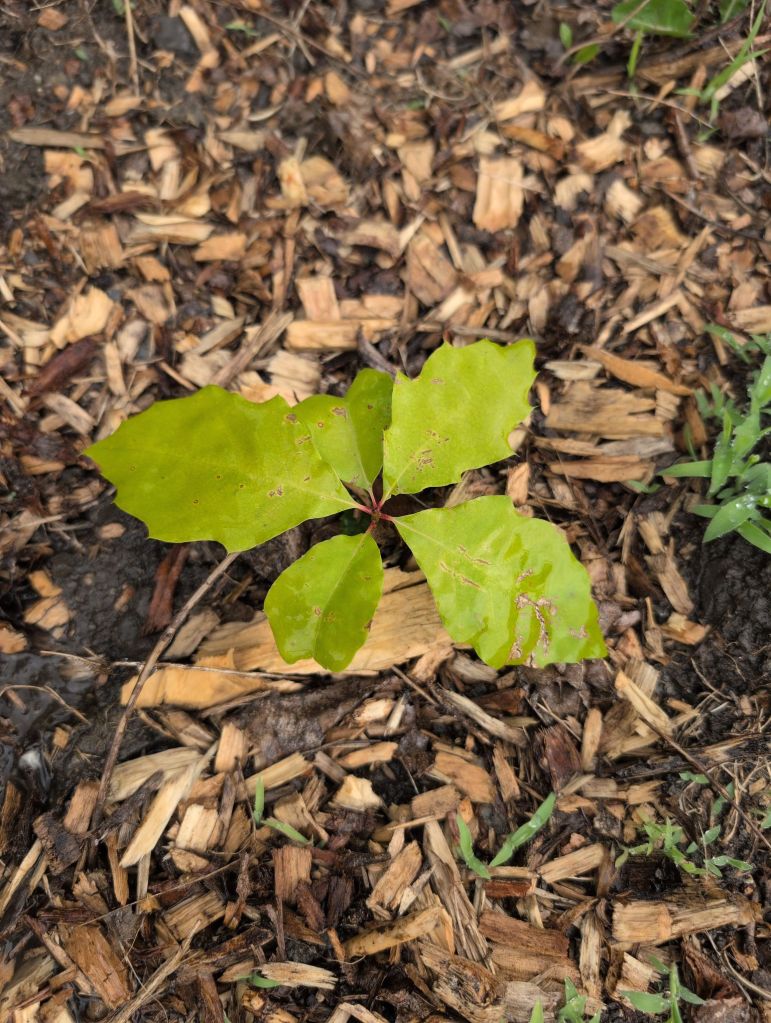
A month or so after the planting, the trees were doing great, and showing signs of vigorous new growth in their new soil, even if it’s not at the rate they might otherwise be growing at if I had planted the lower layers at the same time.
Unfortunately, the weeds in the area are growing just as quickly as the trees. I did not have it in me to hand weed or re-till the area, and I won’t have time to plant the rest of the forest floor until the fall, so I have opted for the familiarity of my tried and true method of weed suppression, adapted for a forest floor.
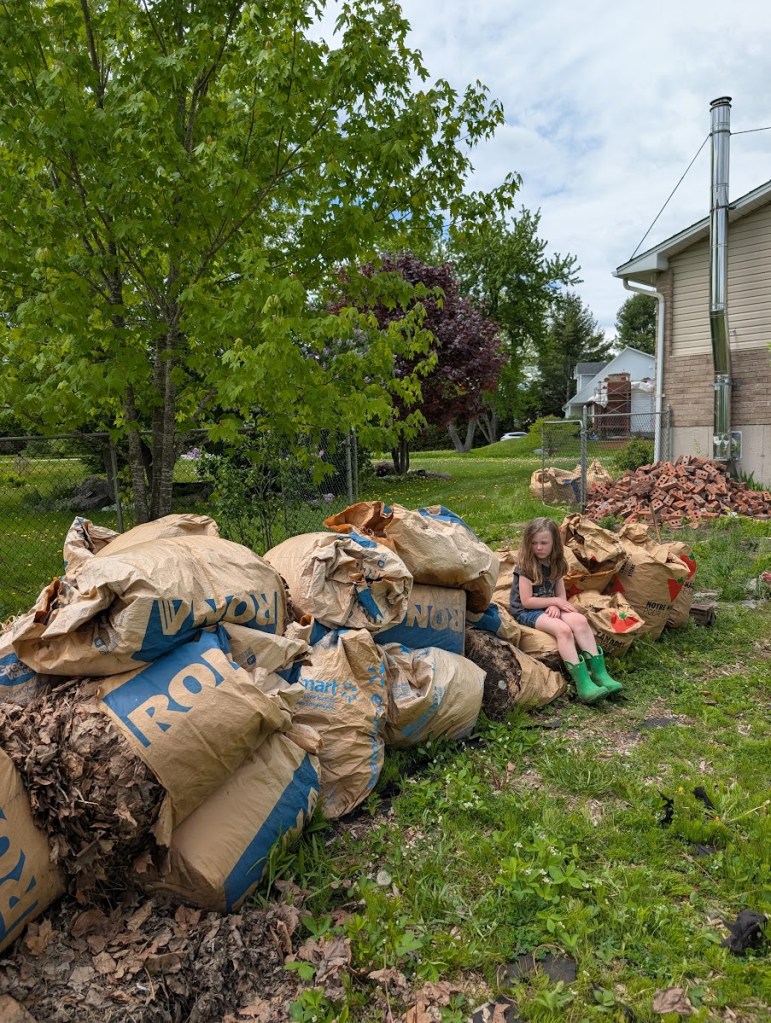
My answer? Bags and bags of old, wet leaves, collected late last fall from our neighbours, with the foresight that winter, snow, spring rain and passing seasons would help decompose them until the time came when I needed them. That time has come, and time did not disappoint in the decomposition process. The bags were wet, musty and missing bottoms. Perfect for my needs.
I have now addressed the current weed problem in our establishing tiny forest temporarily, at least until fall when I can find the time to properly plant the floor layer of the forest with appropriate sedges, grasses, ferns, vines and forbs.
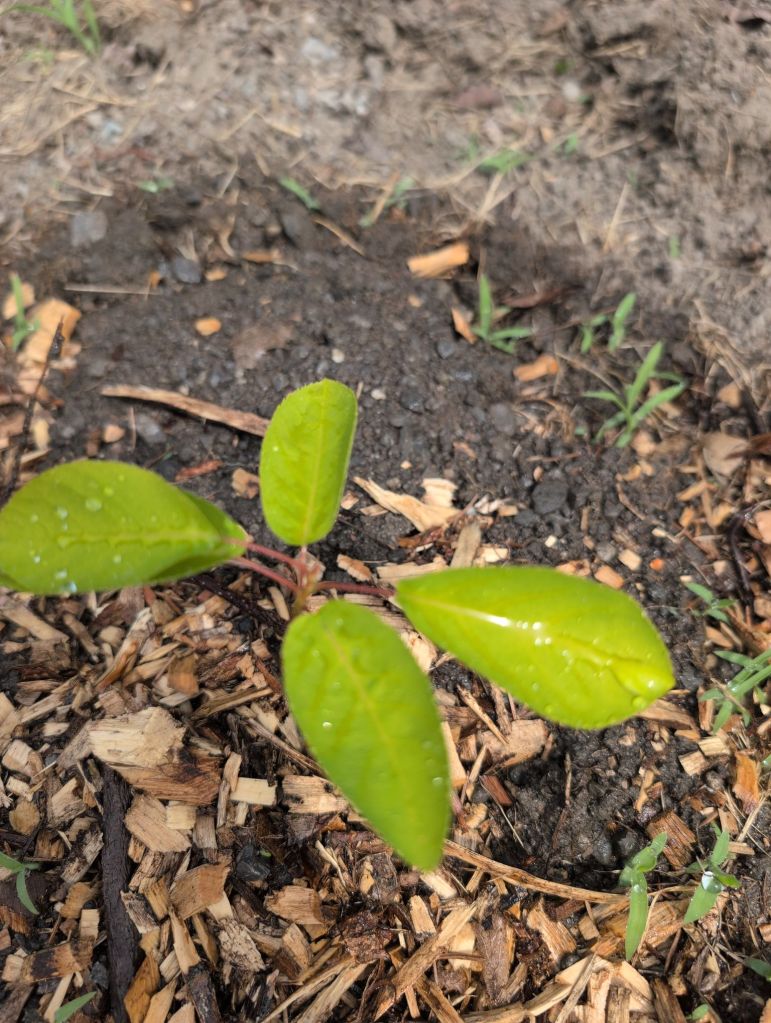
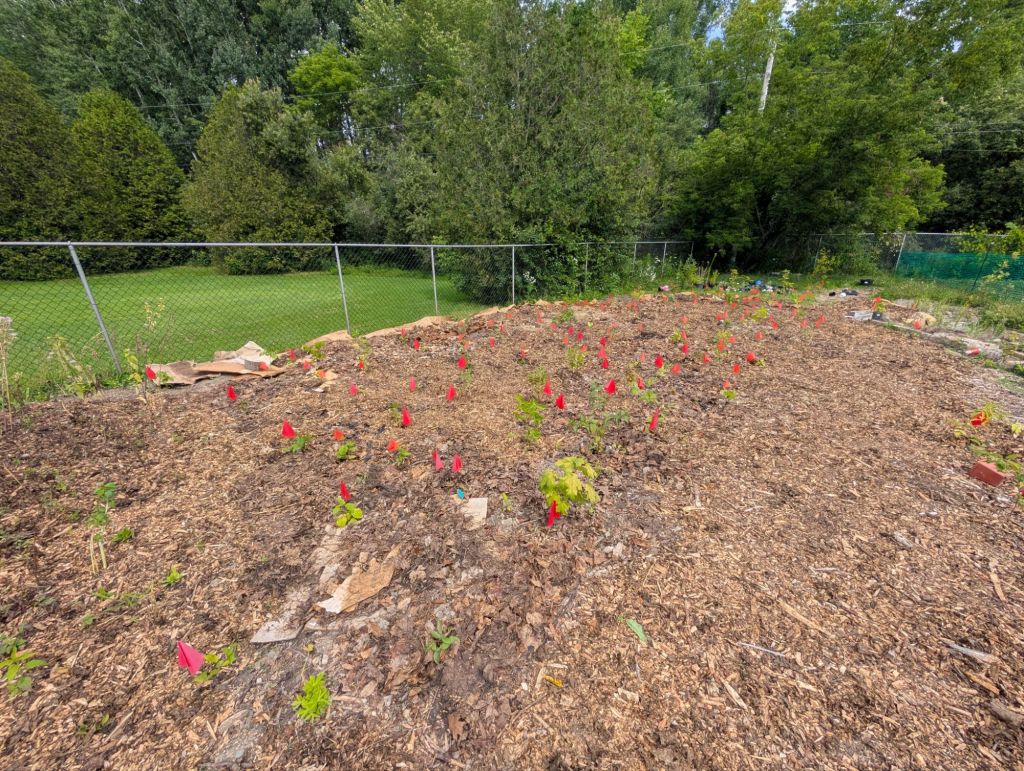
In the meantime, this is where my current Miyawaki forest is, and waits for me. I can’t wait to watch it grow.
In the meantime, this is where my current Miyawaki forest is, and waits for me. I can’t wait to watch it grow.
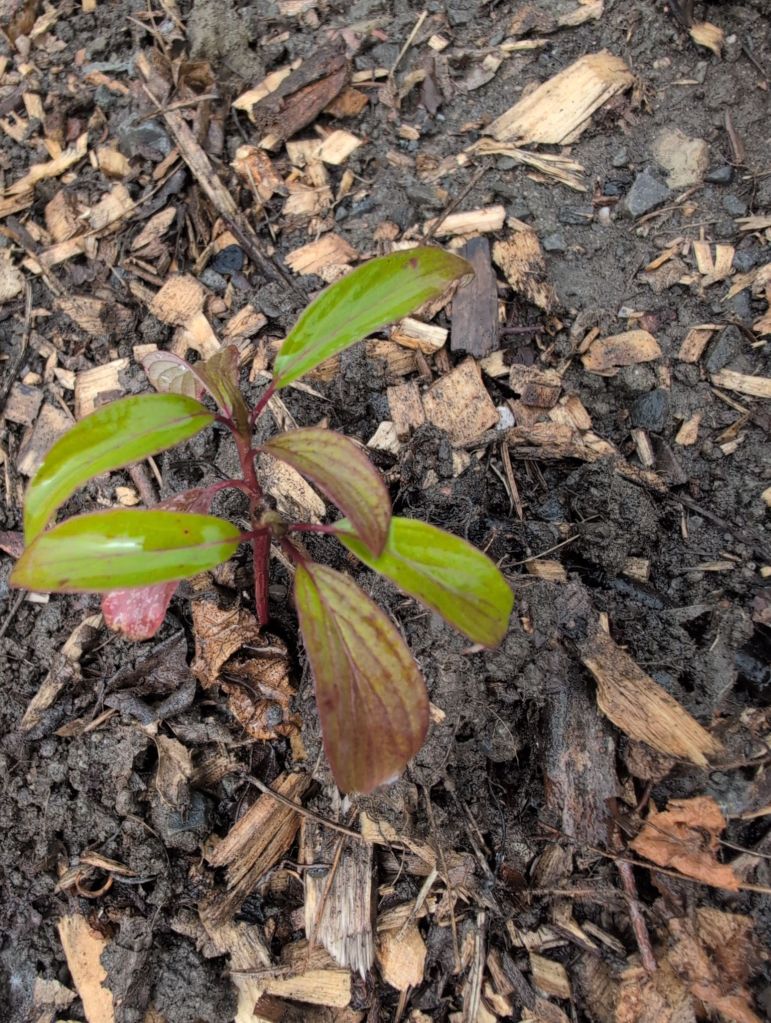
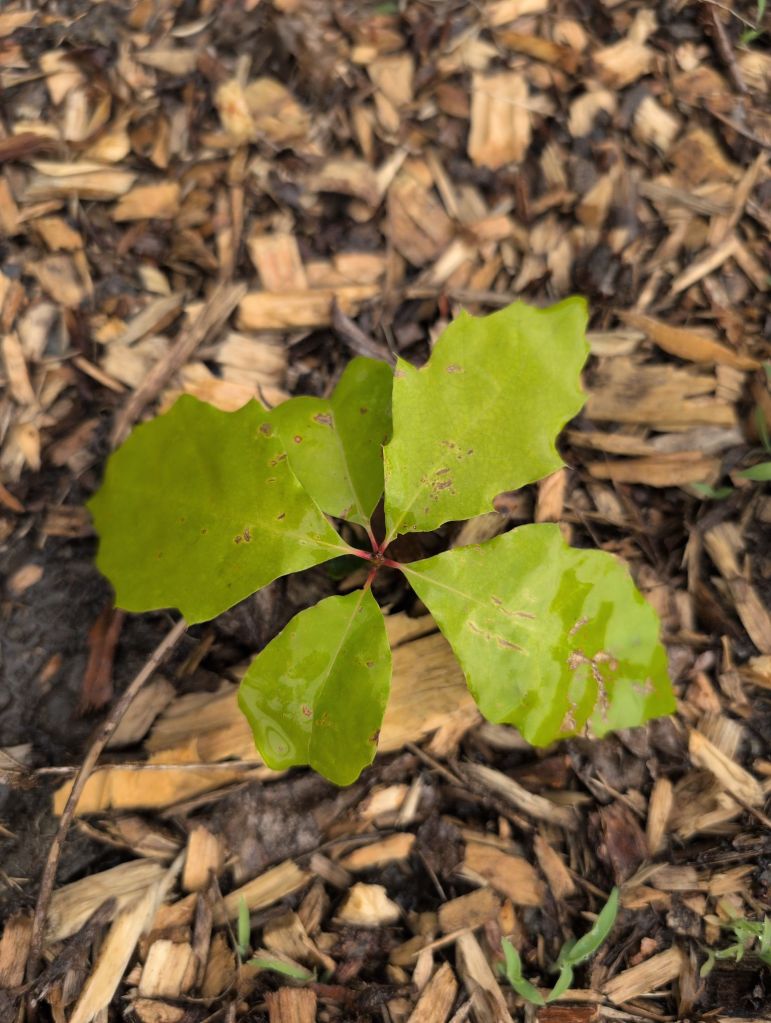
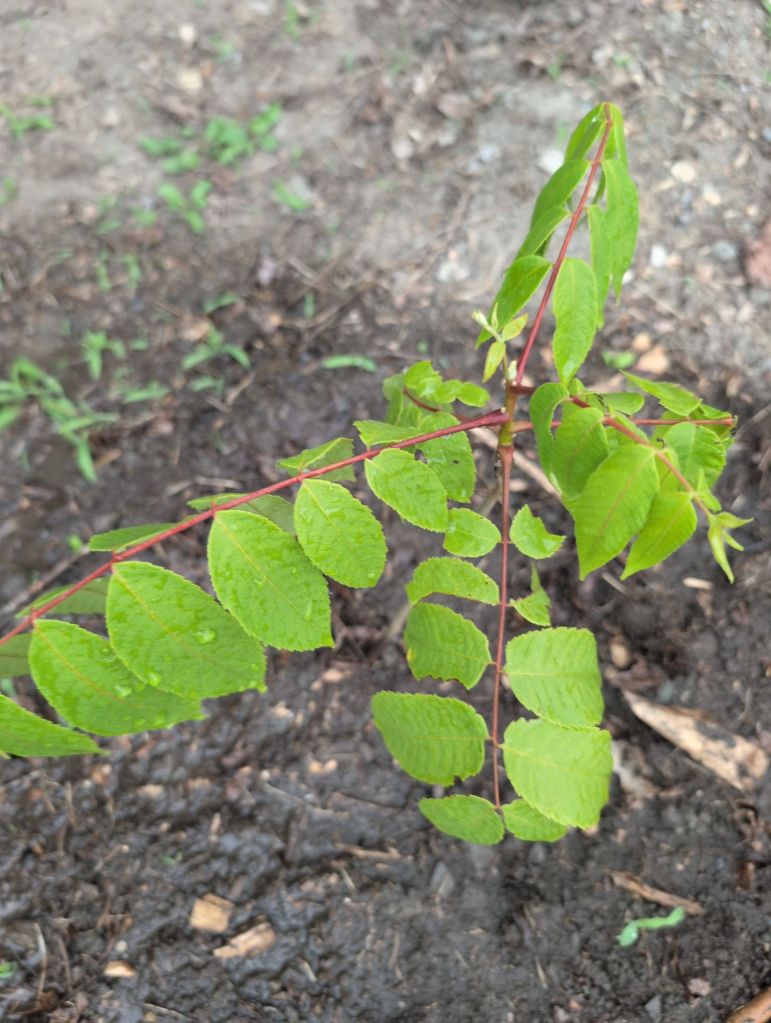
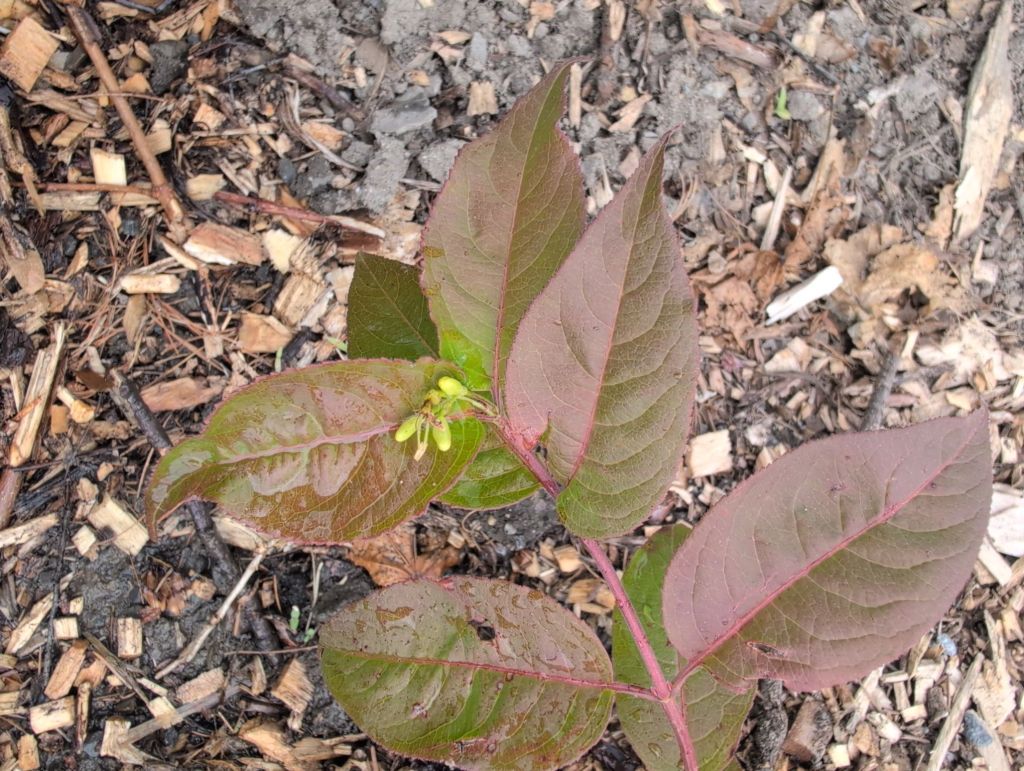
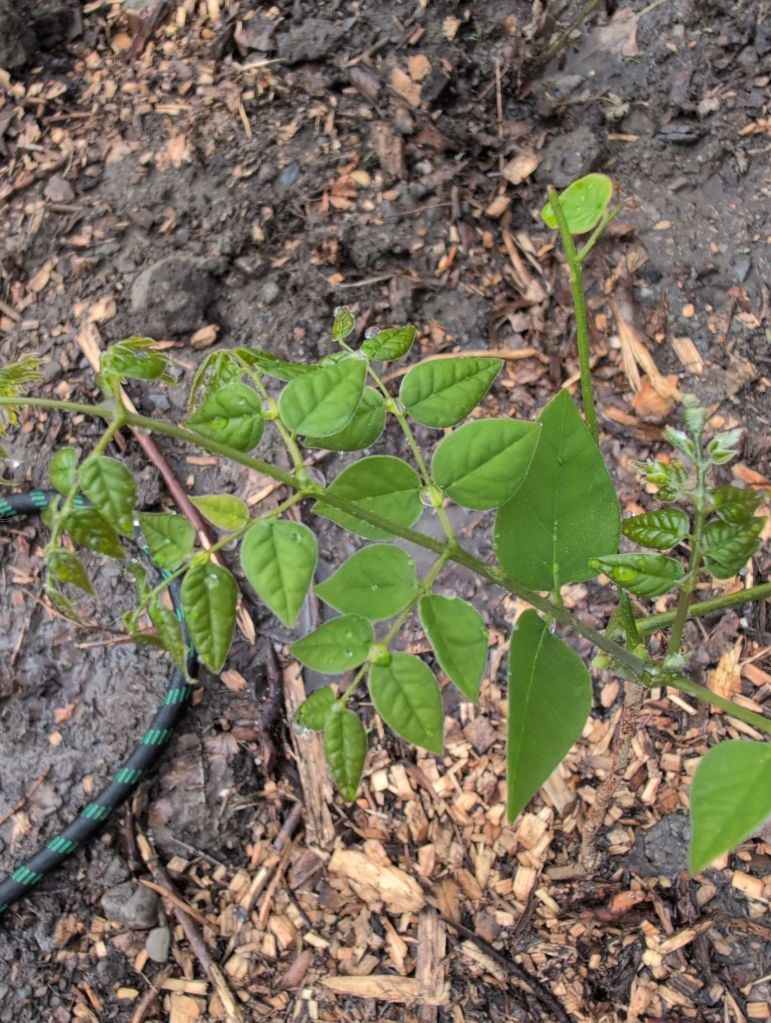
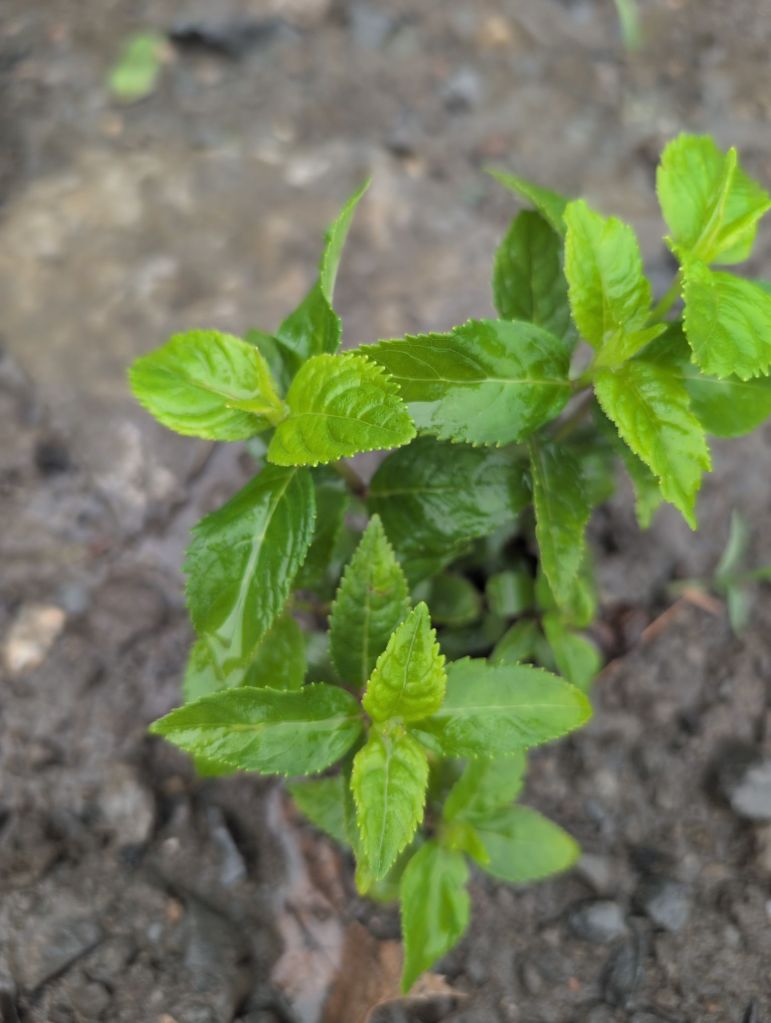
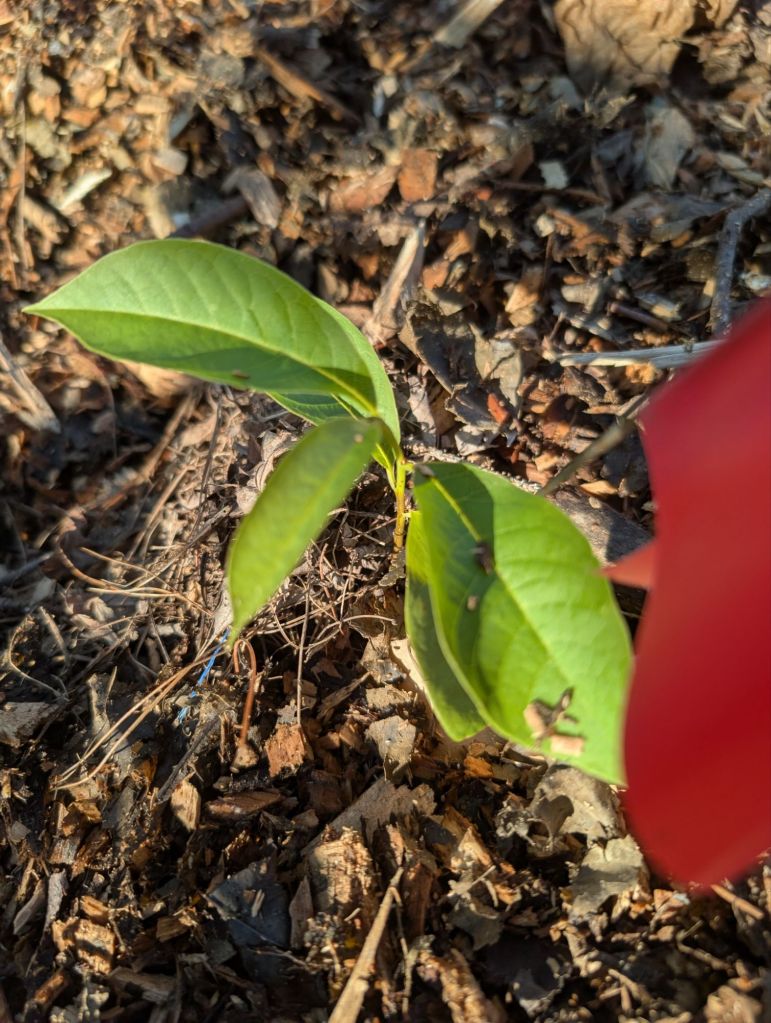
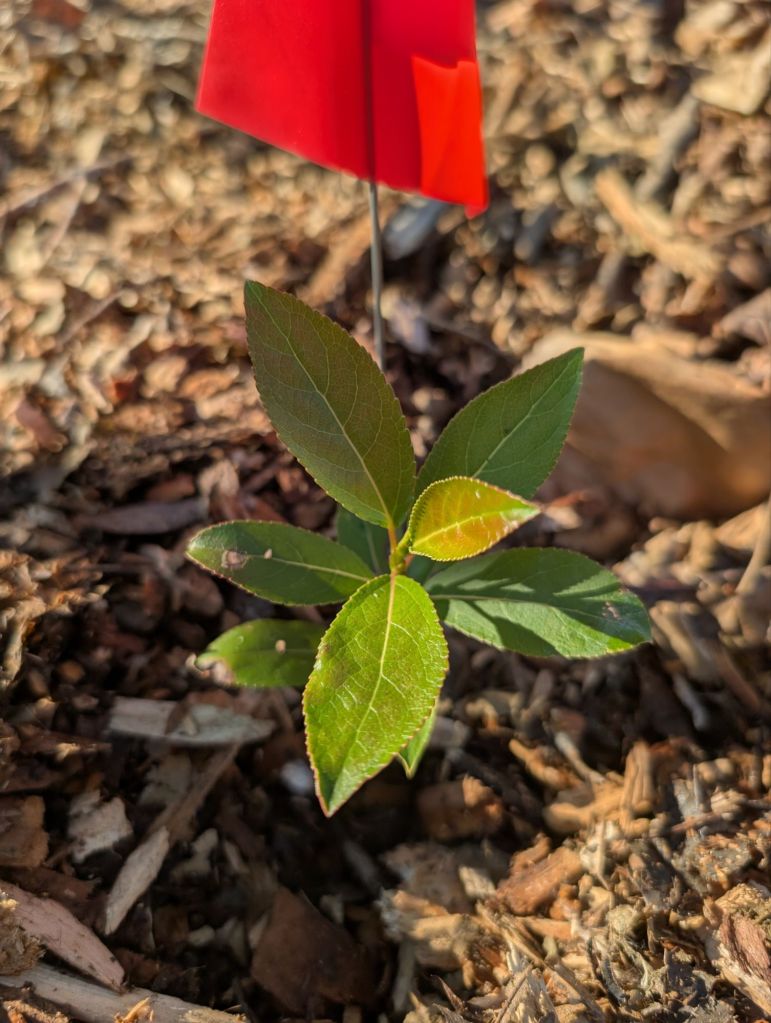
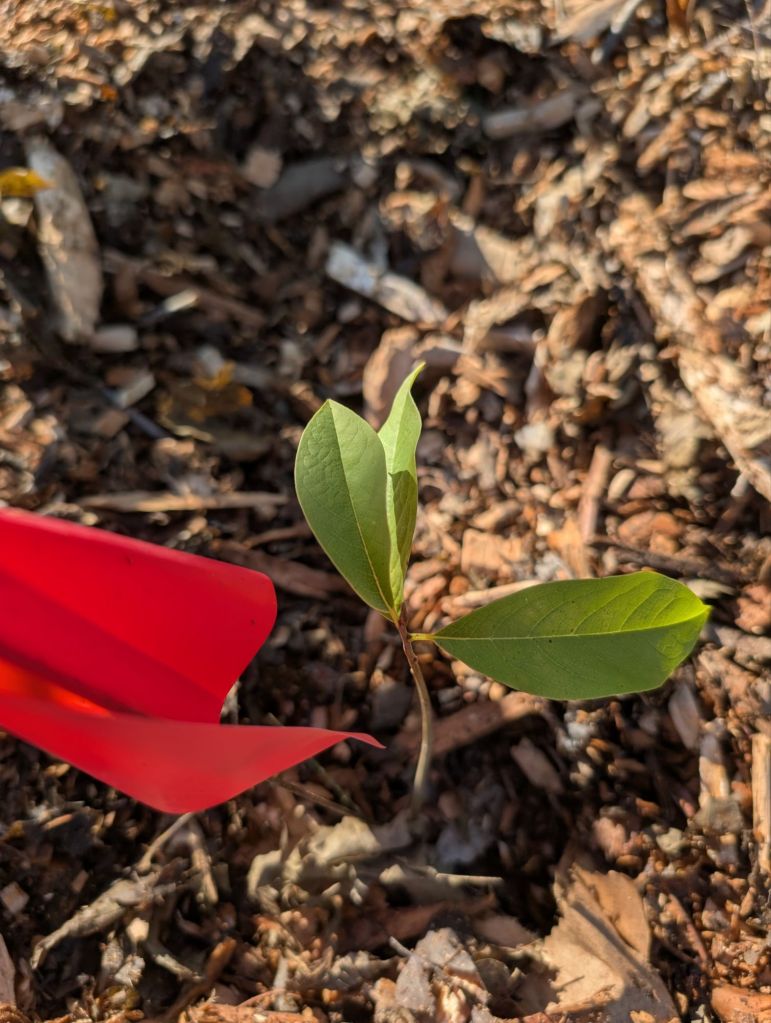
Some of the baby trees at planting


Discover more from LocaLeaf
Subscribe to get the latest posts sent to your email.

5 thoughts on “Making a Tiny Forest, the Miyawaki way”