

So I did a thing today. It was a pretty big thing as it was the first time I’ve planted anything in our new place.
As you may recall, or maybe you have no idea and that’s okay too, we moved late last fall, and I brought divisions of a lot of my plants with me.
Most of the plants survived winter, and have been getting by okay in pots until now, and I look in on them most days, as I really enjoy seeing new sprouts. I’ve been working on building up some demonstration garden beds for many of my plants, and it’s a slow process. I have my work cut out for me in doing that, as most of our yard is full or mostly full sun.
My shade plants had sunstroke
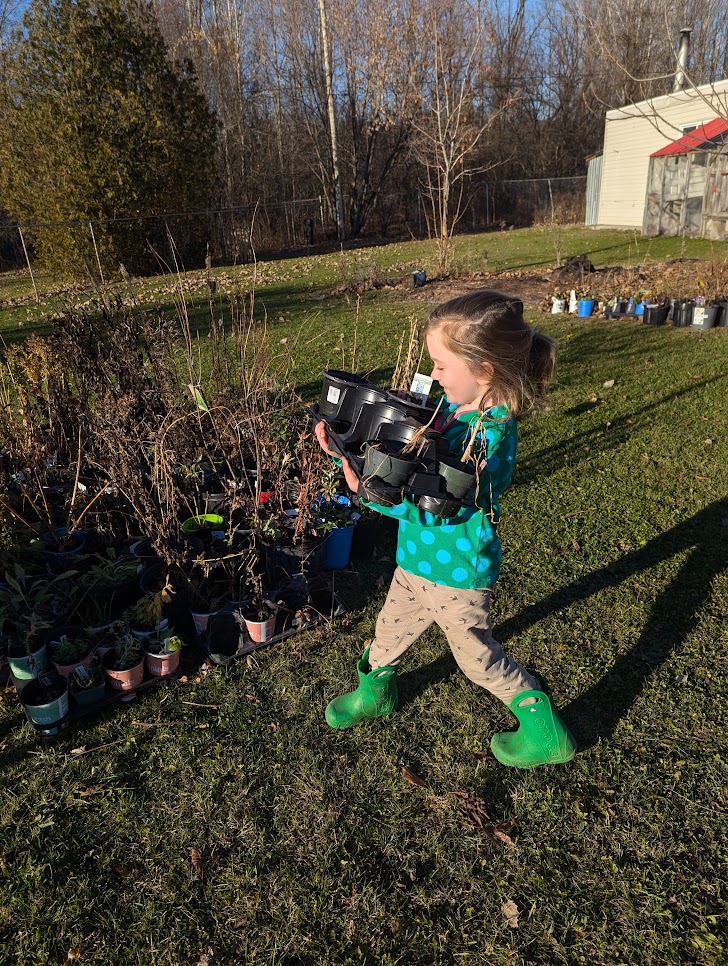
Today I took a break from that because many of my shade plants were starting to dry out in the sun, and not looking too happy.
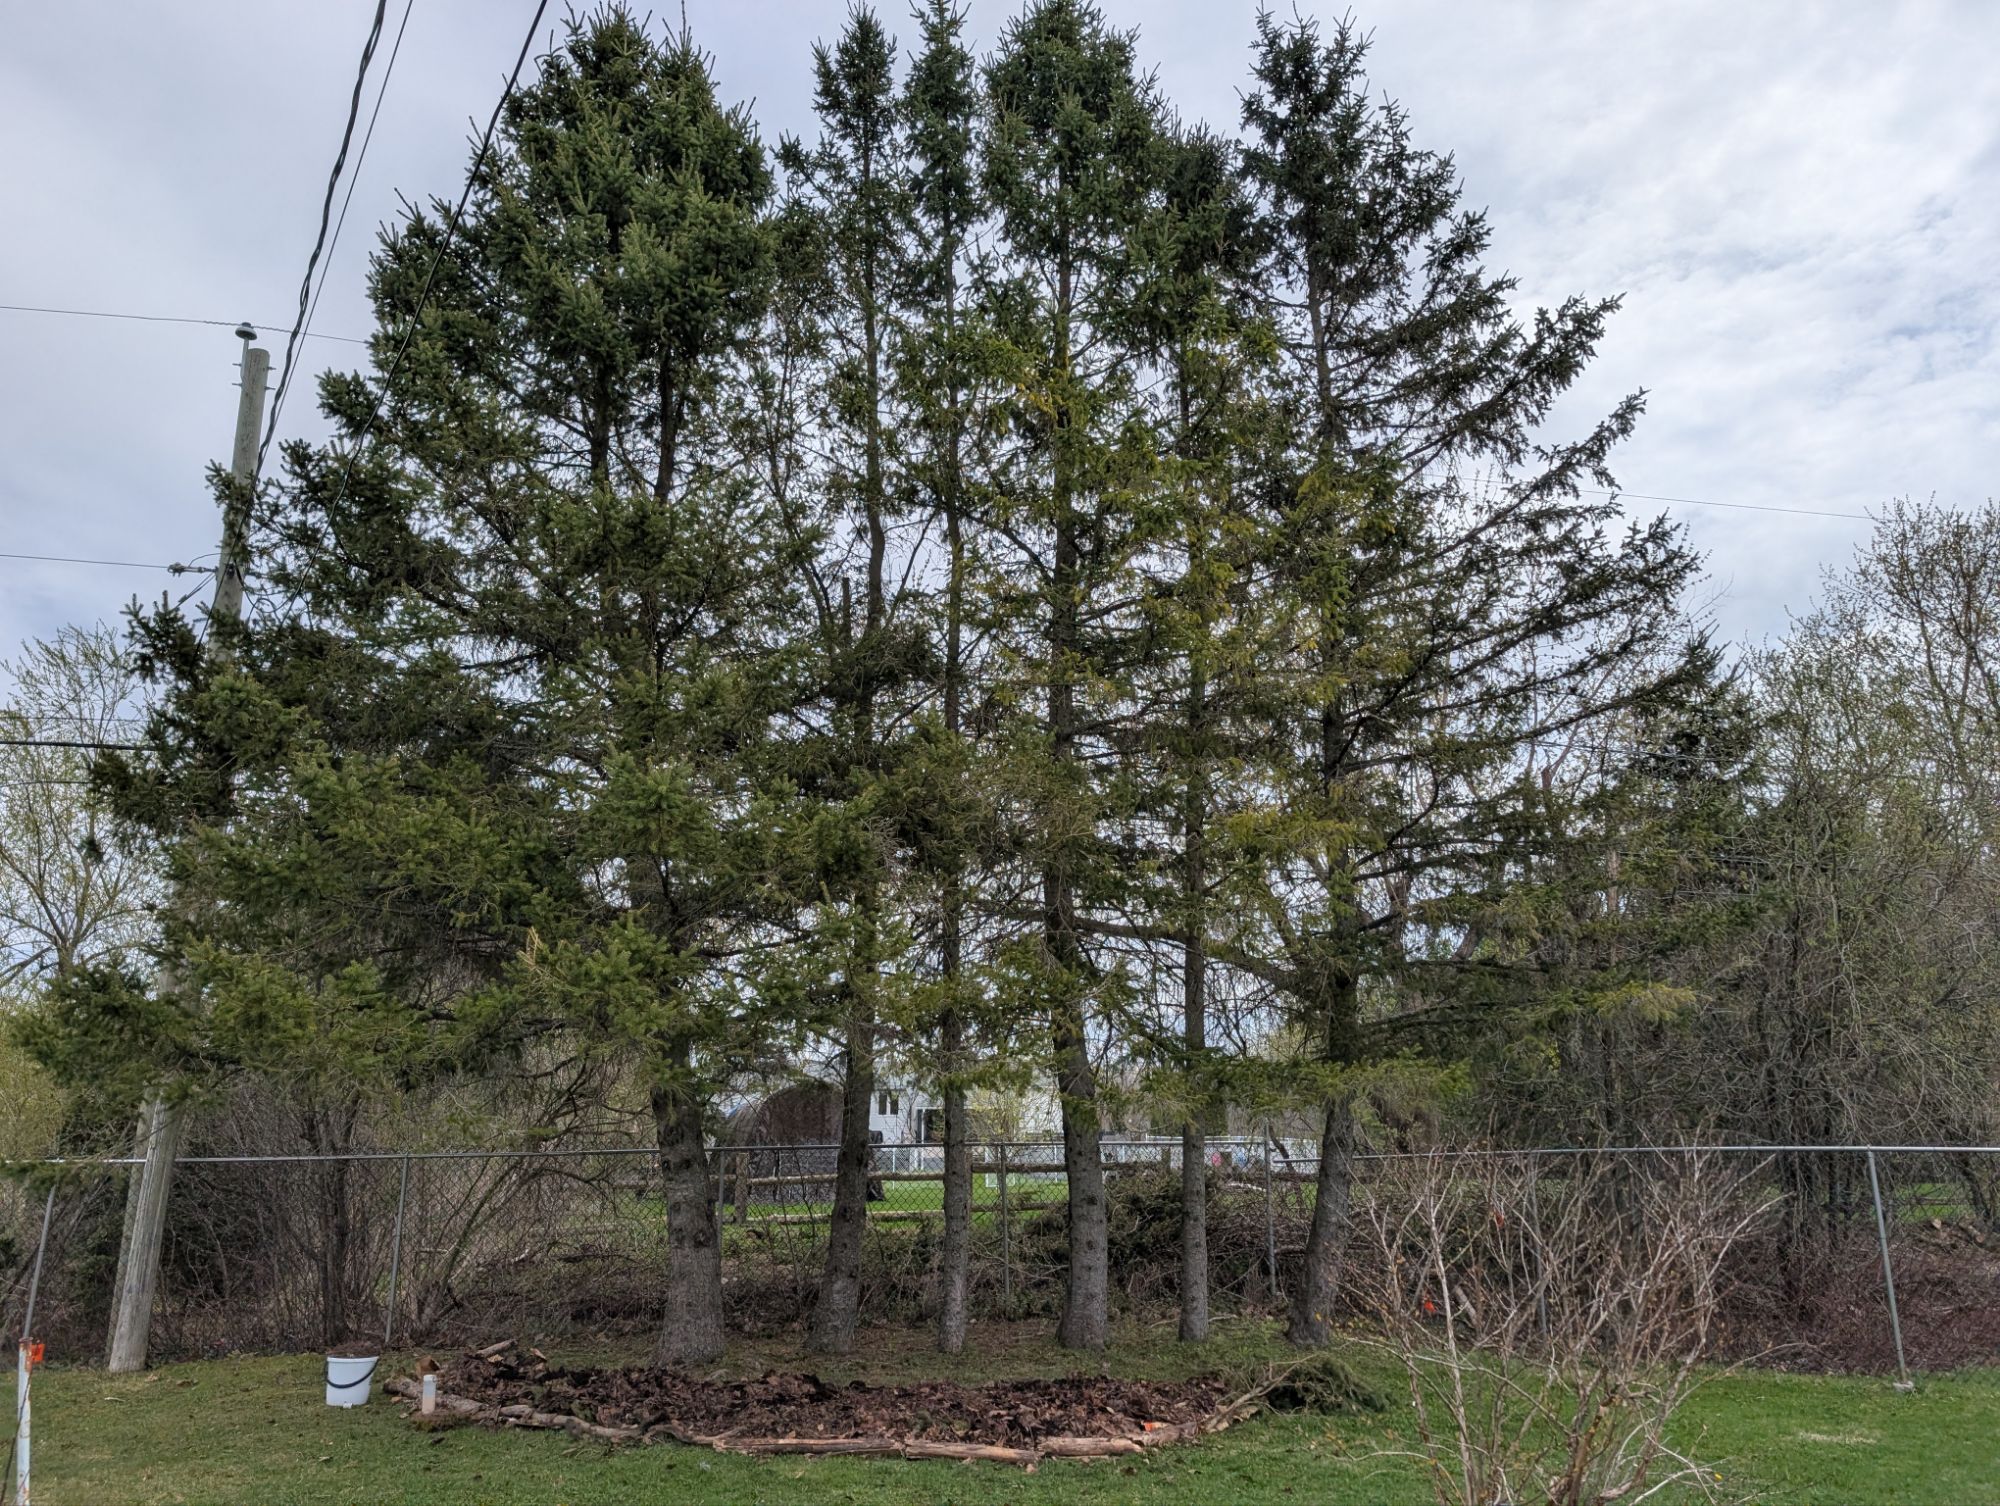
On a whim, this morning, I decided to plant a bunch of them today. I’ve been eyeing one shady spot in the yard, under a line of 5 large evergreen trees (spruce, I think).

I have 5 baby white pine trees I will also plant near there sometime this year, and though it will be years before they are grown, I’m hoping today’s planting will continue to thrive and fill out into an eventual dense forest understory.
Quick planting area
I used a few random barkless logs as a loose outline of the planting place I wanted to work with today.
I found a bit of leftover cardboard, and laid down a layer of wet leaves over it, to help kill the grass and keep my plants moist until they figure themselves out in their new space. Bags of leaves are probably my favorite thing to kill grass with because they are freely available from my neighbors, and I can use the bags instead of having to scavenge for extra cardboard.
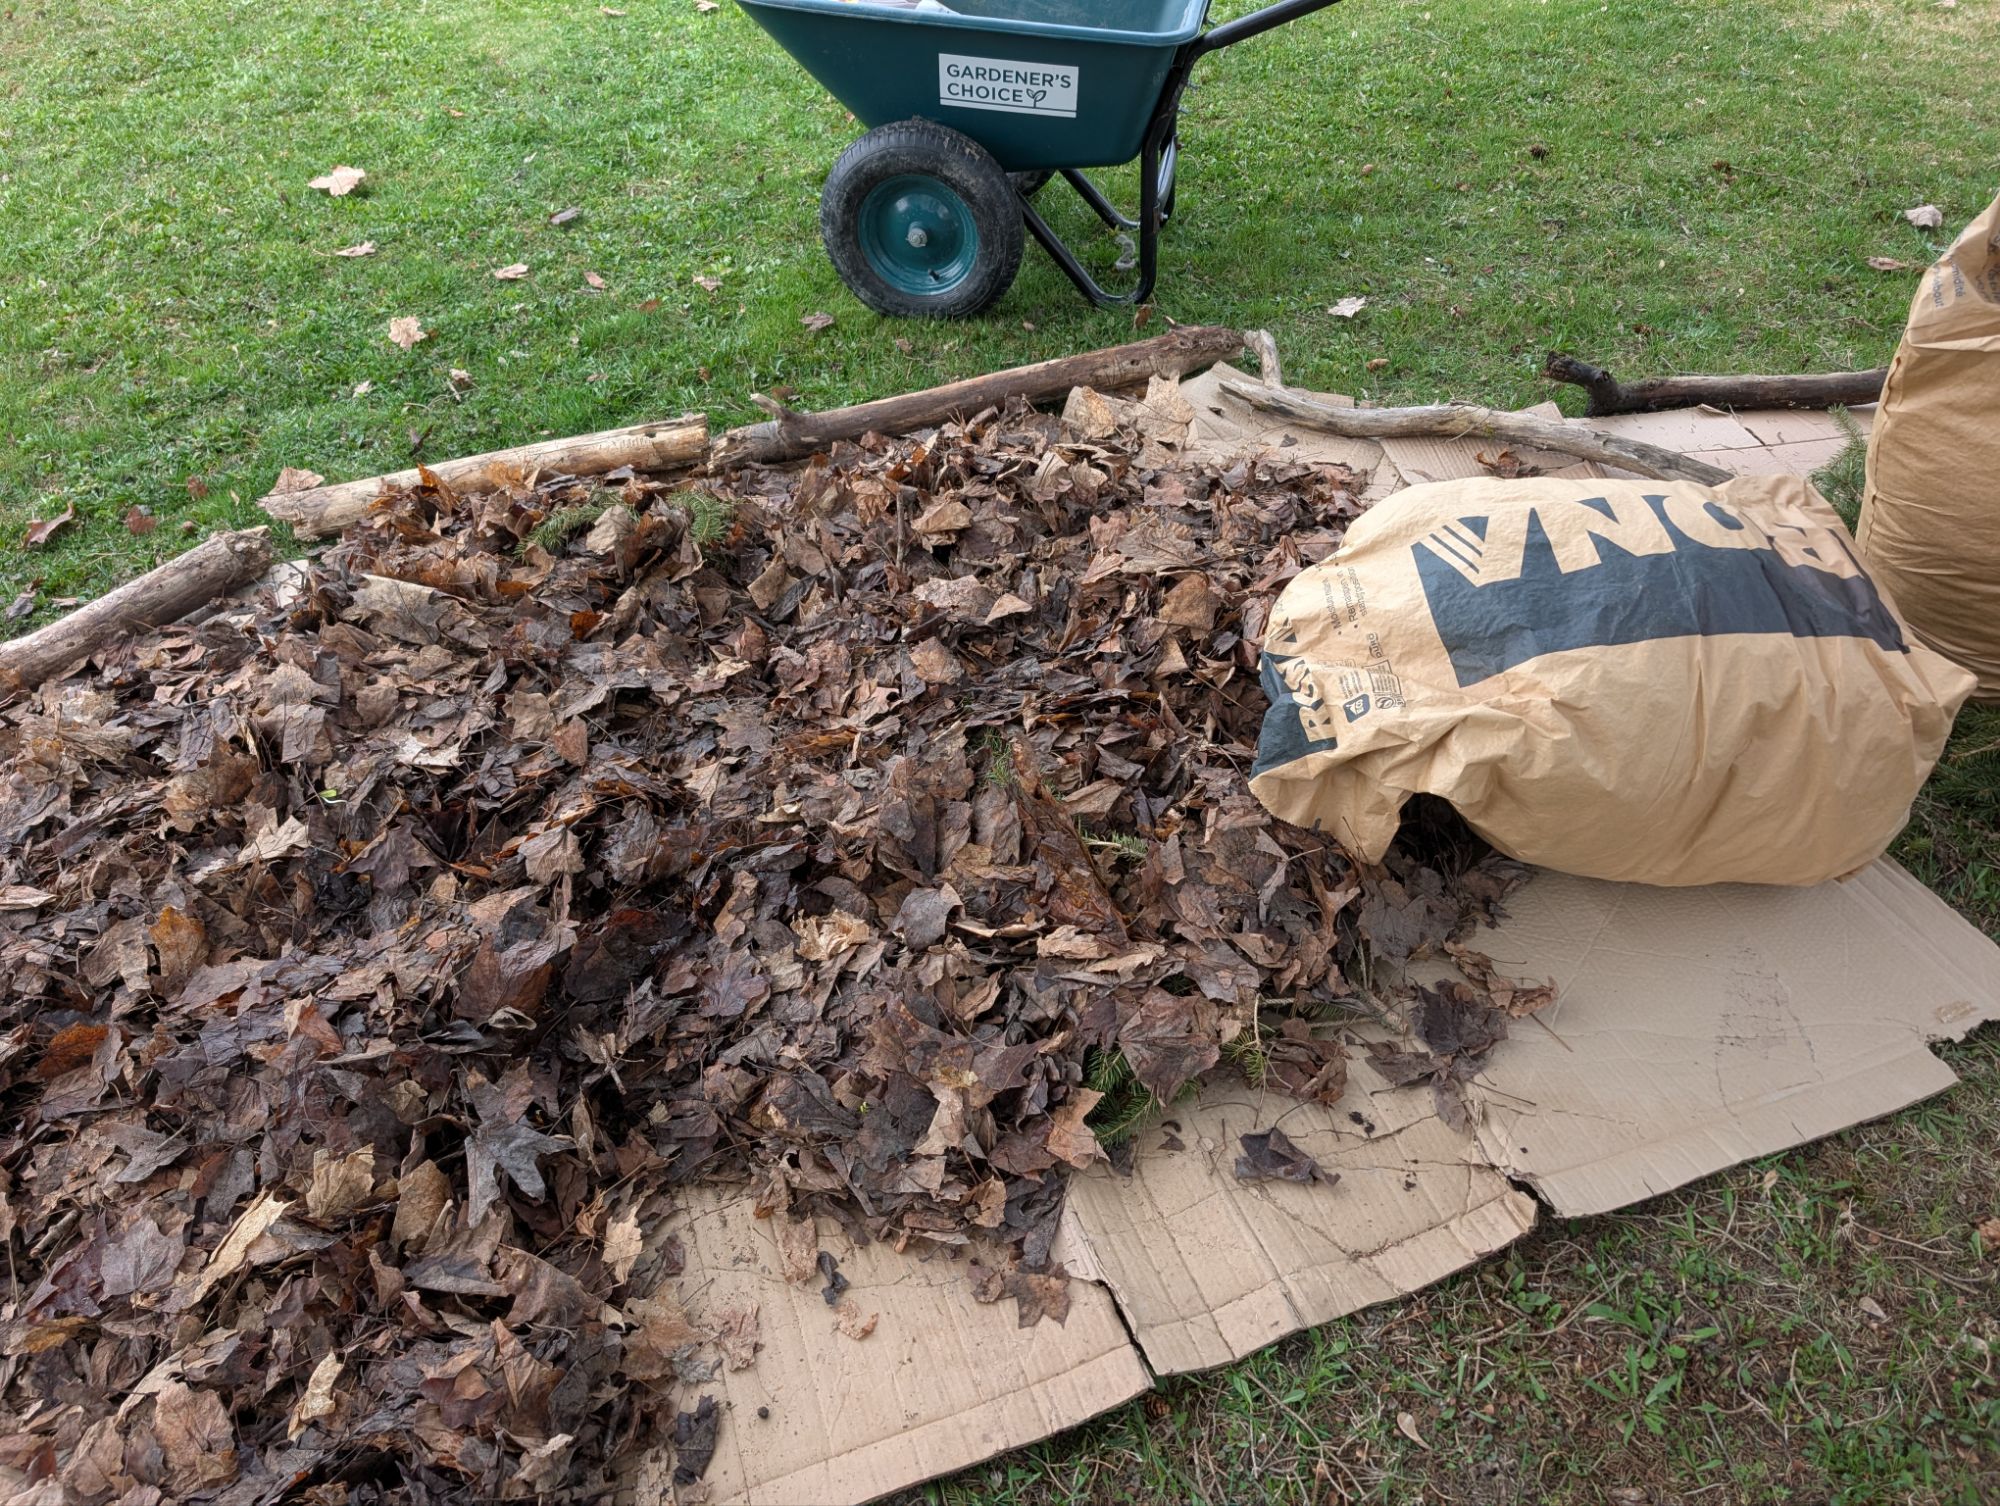
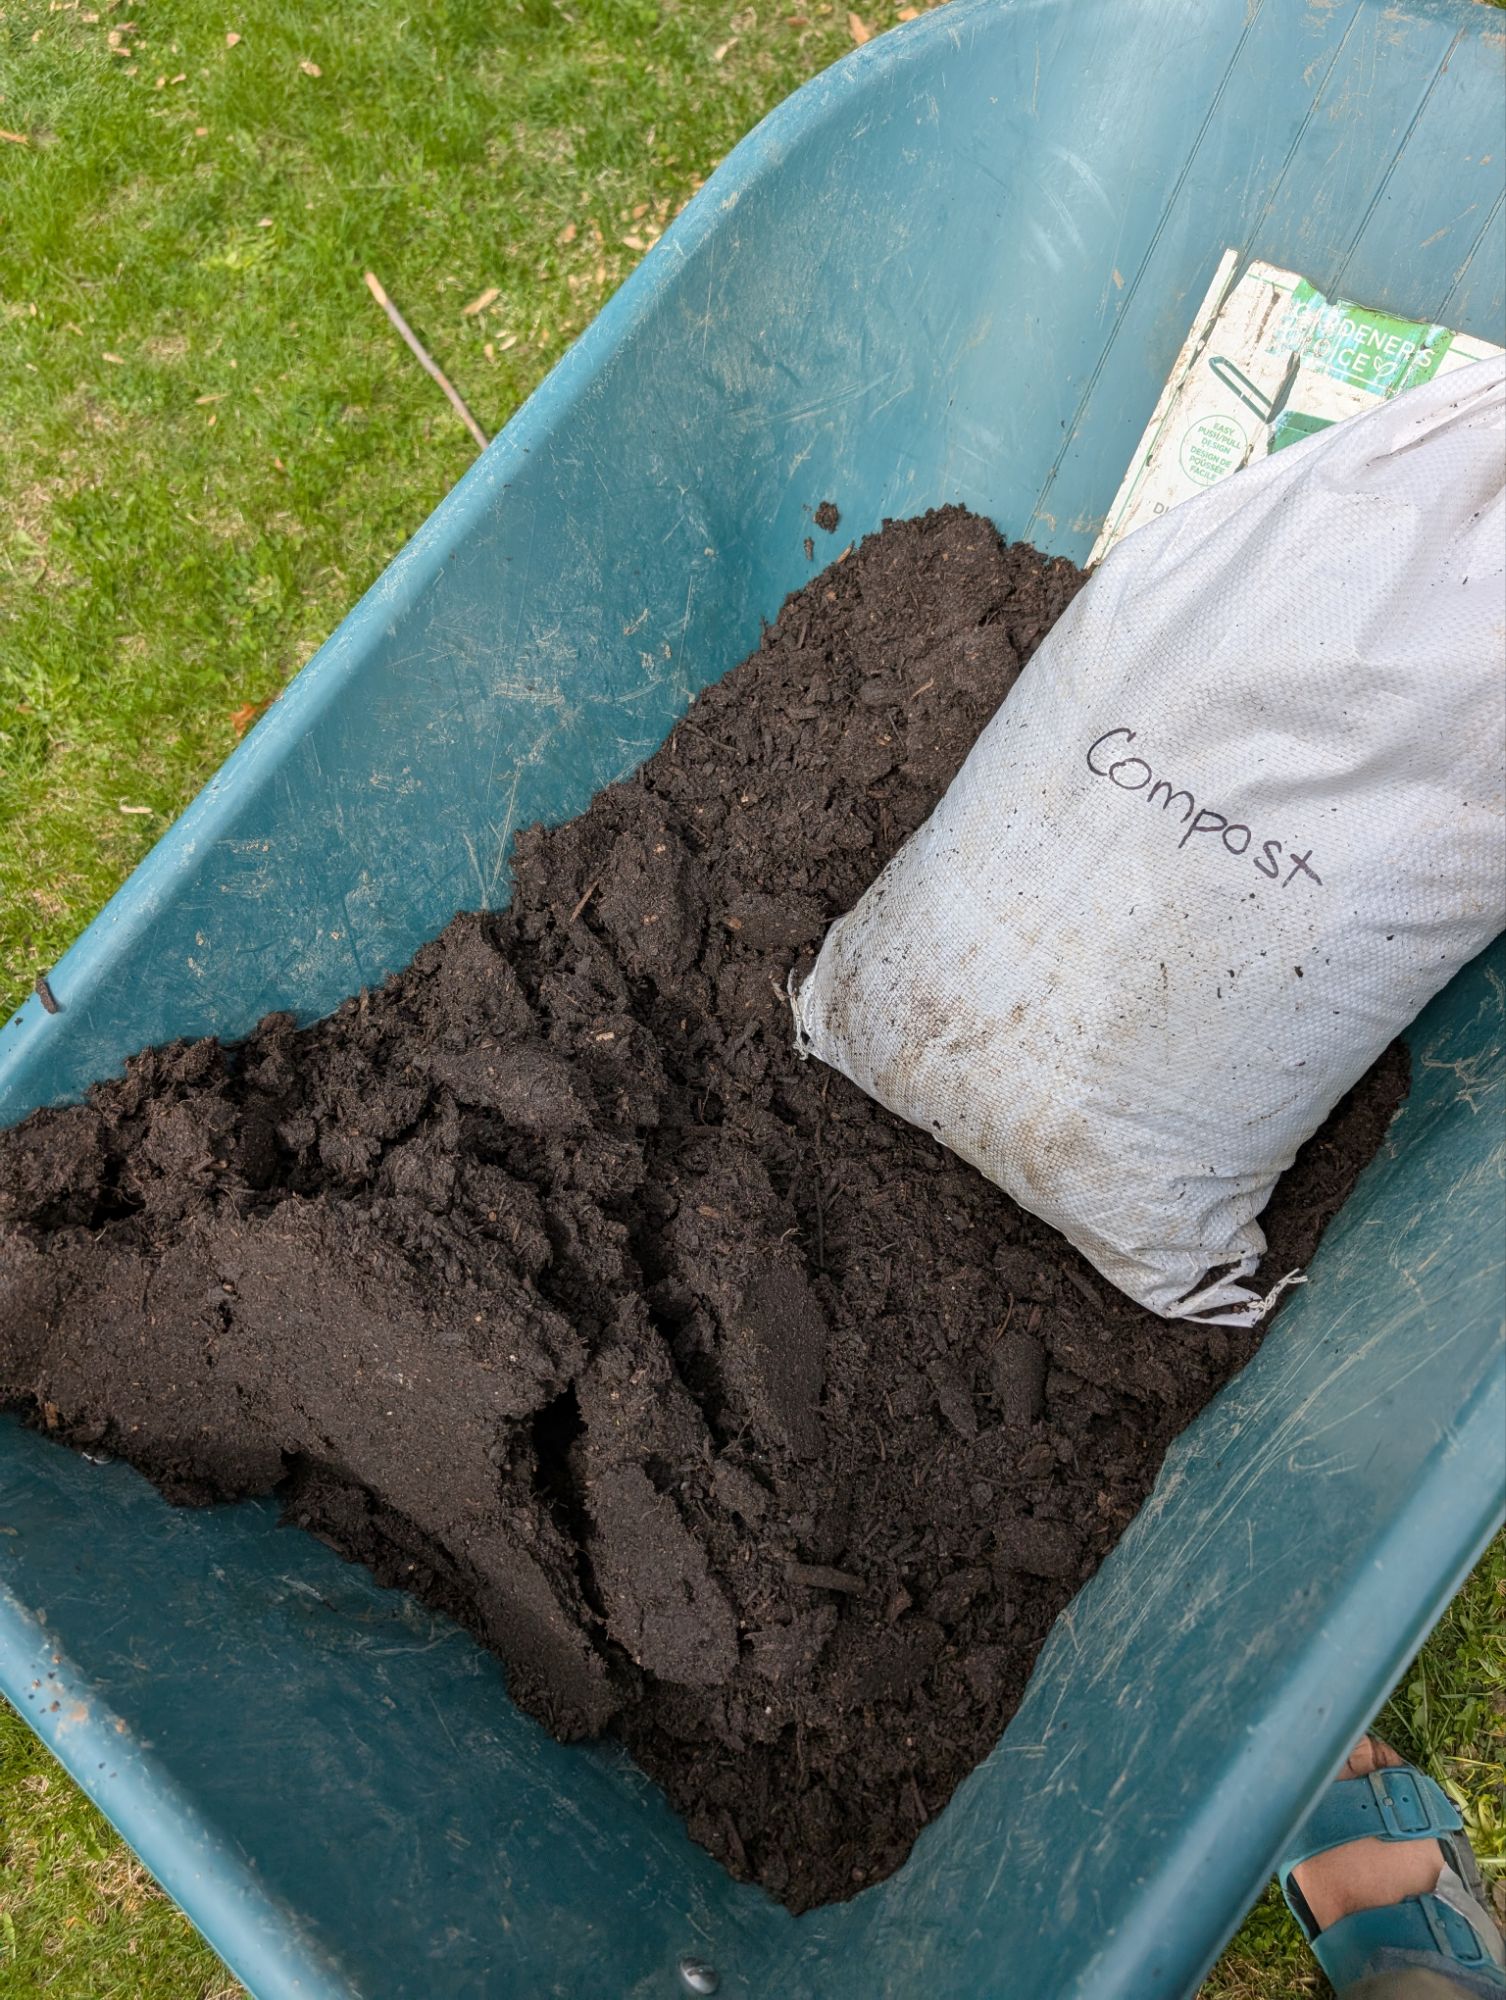
I mixed a little bit of garden soil with a bit of sheep compost, and spread that out thinly on top. Even though there really wasn’t much and it amounted to crumbs, it served two purposes. The manure will help the leaves and paper breakdown faster, and combined they helped to keep the leaves from flying everywhere while I was working, as today was a very windy day.
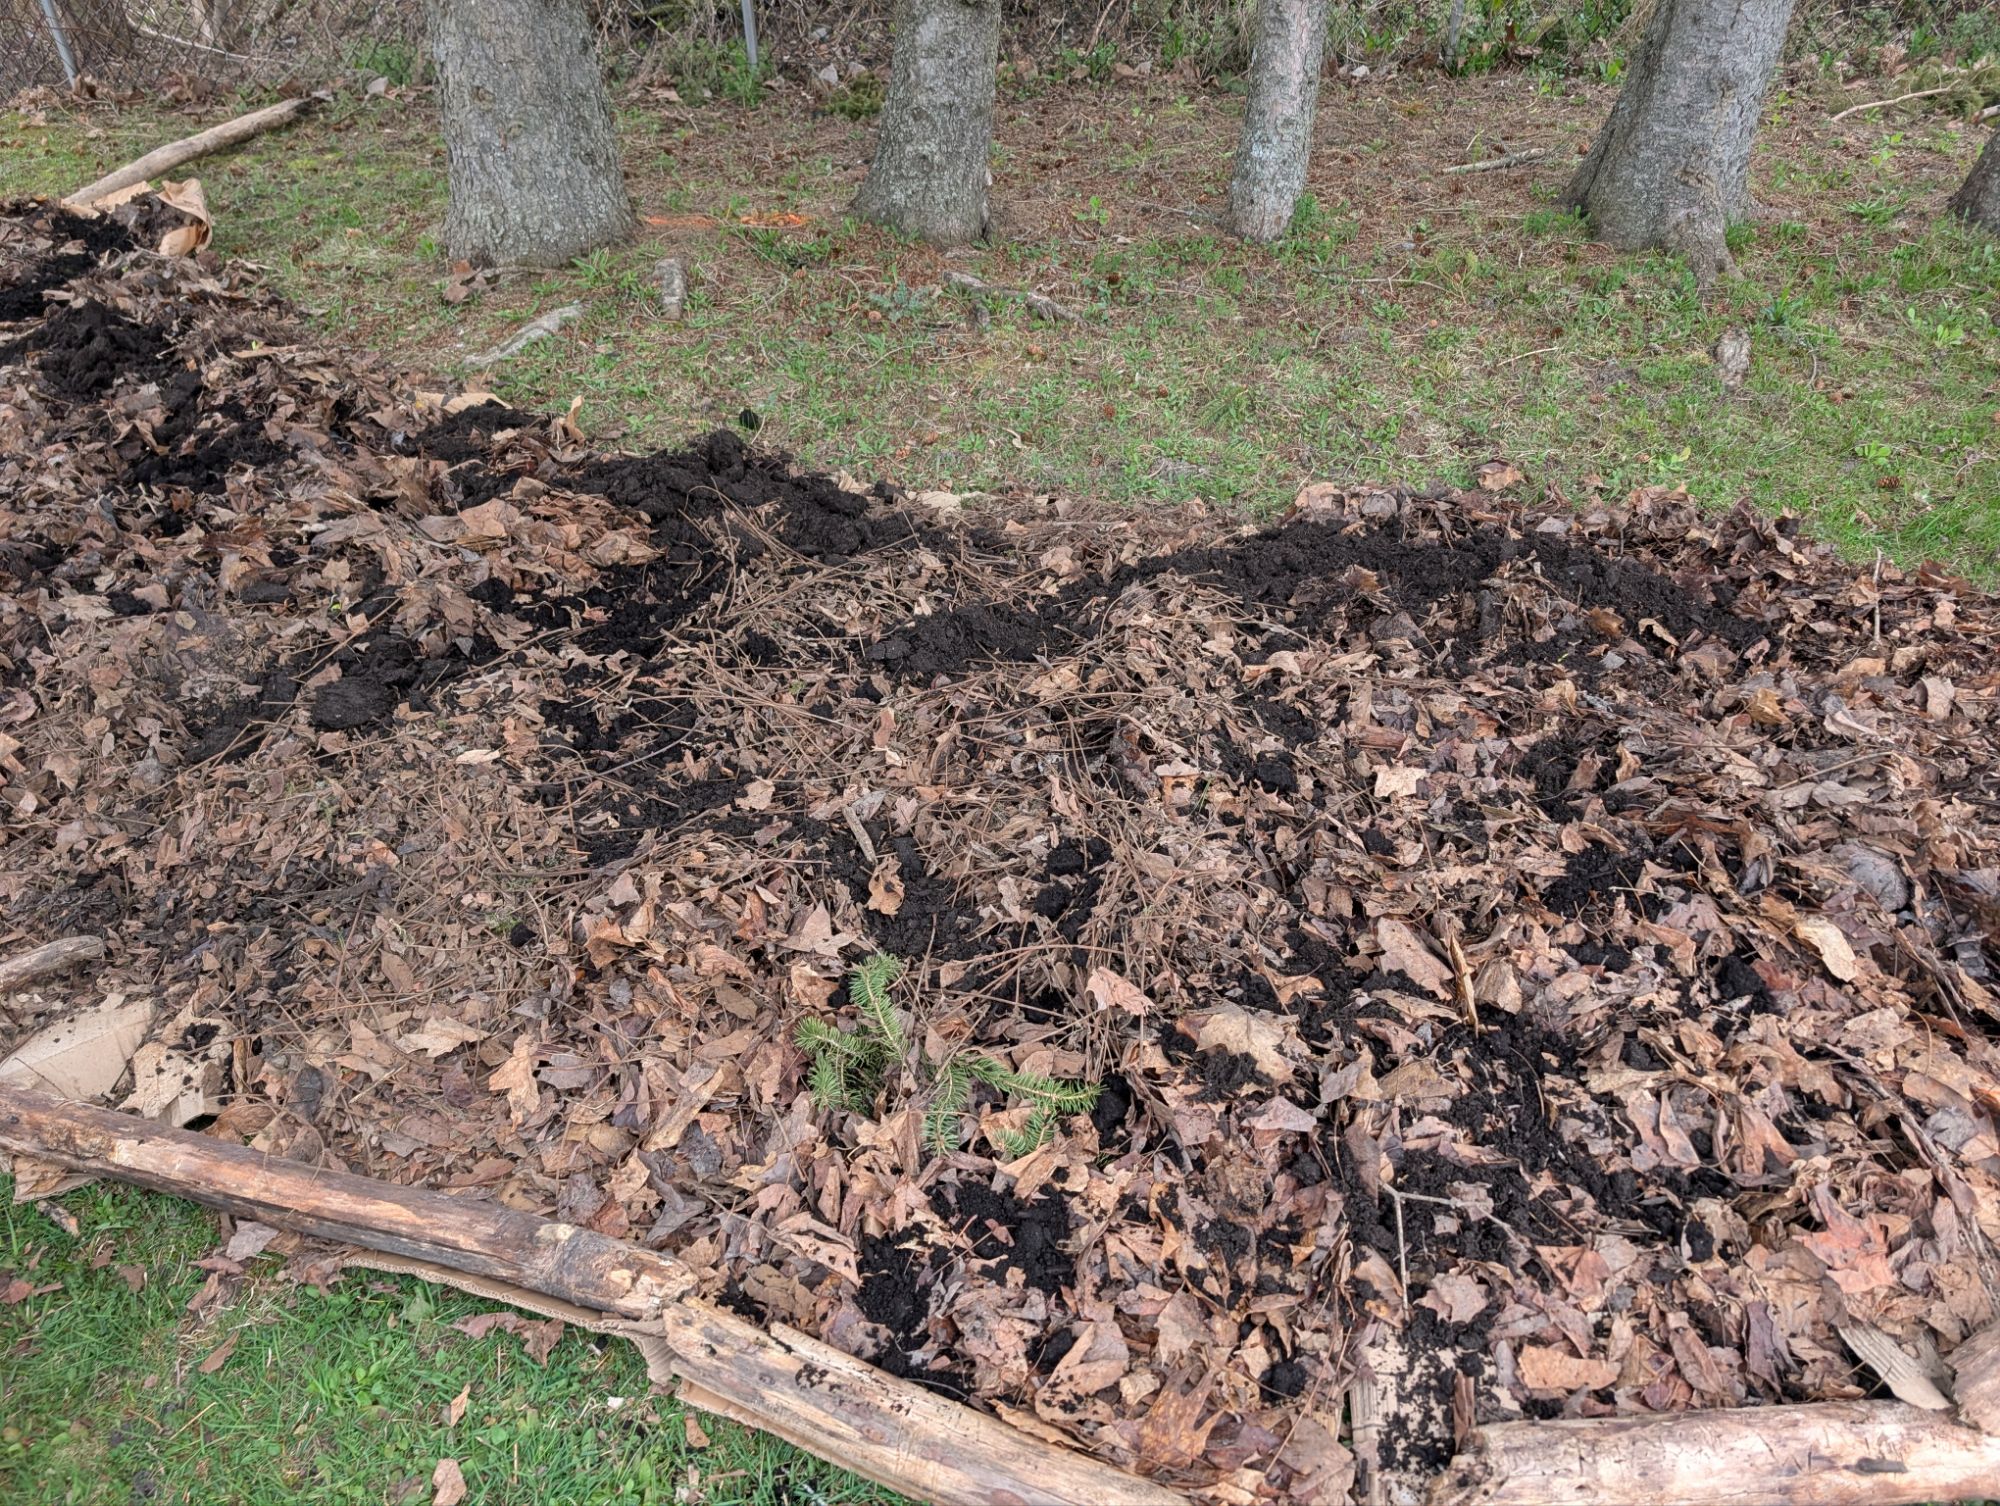
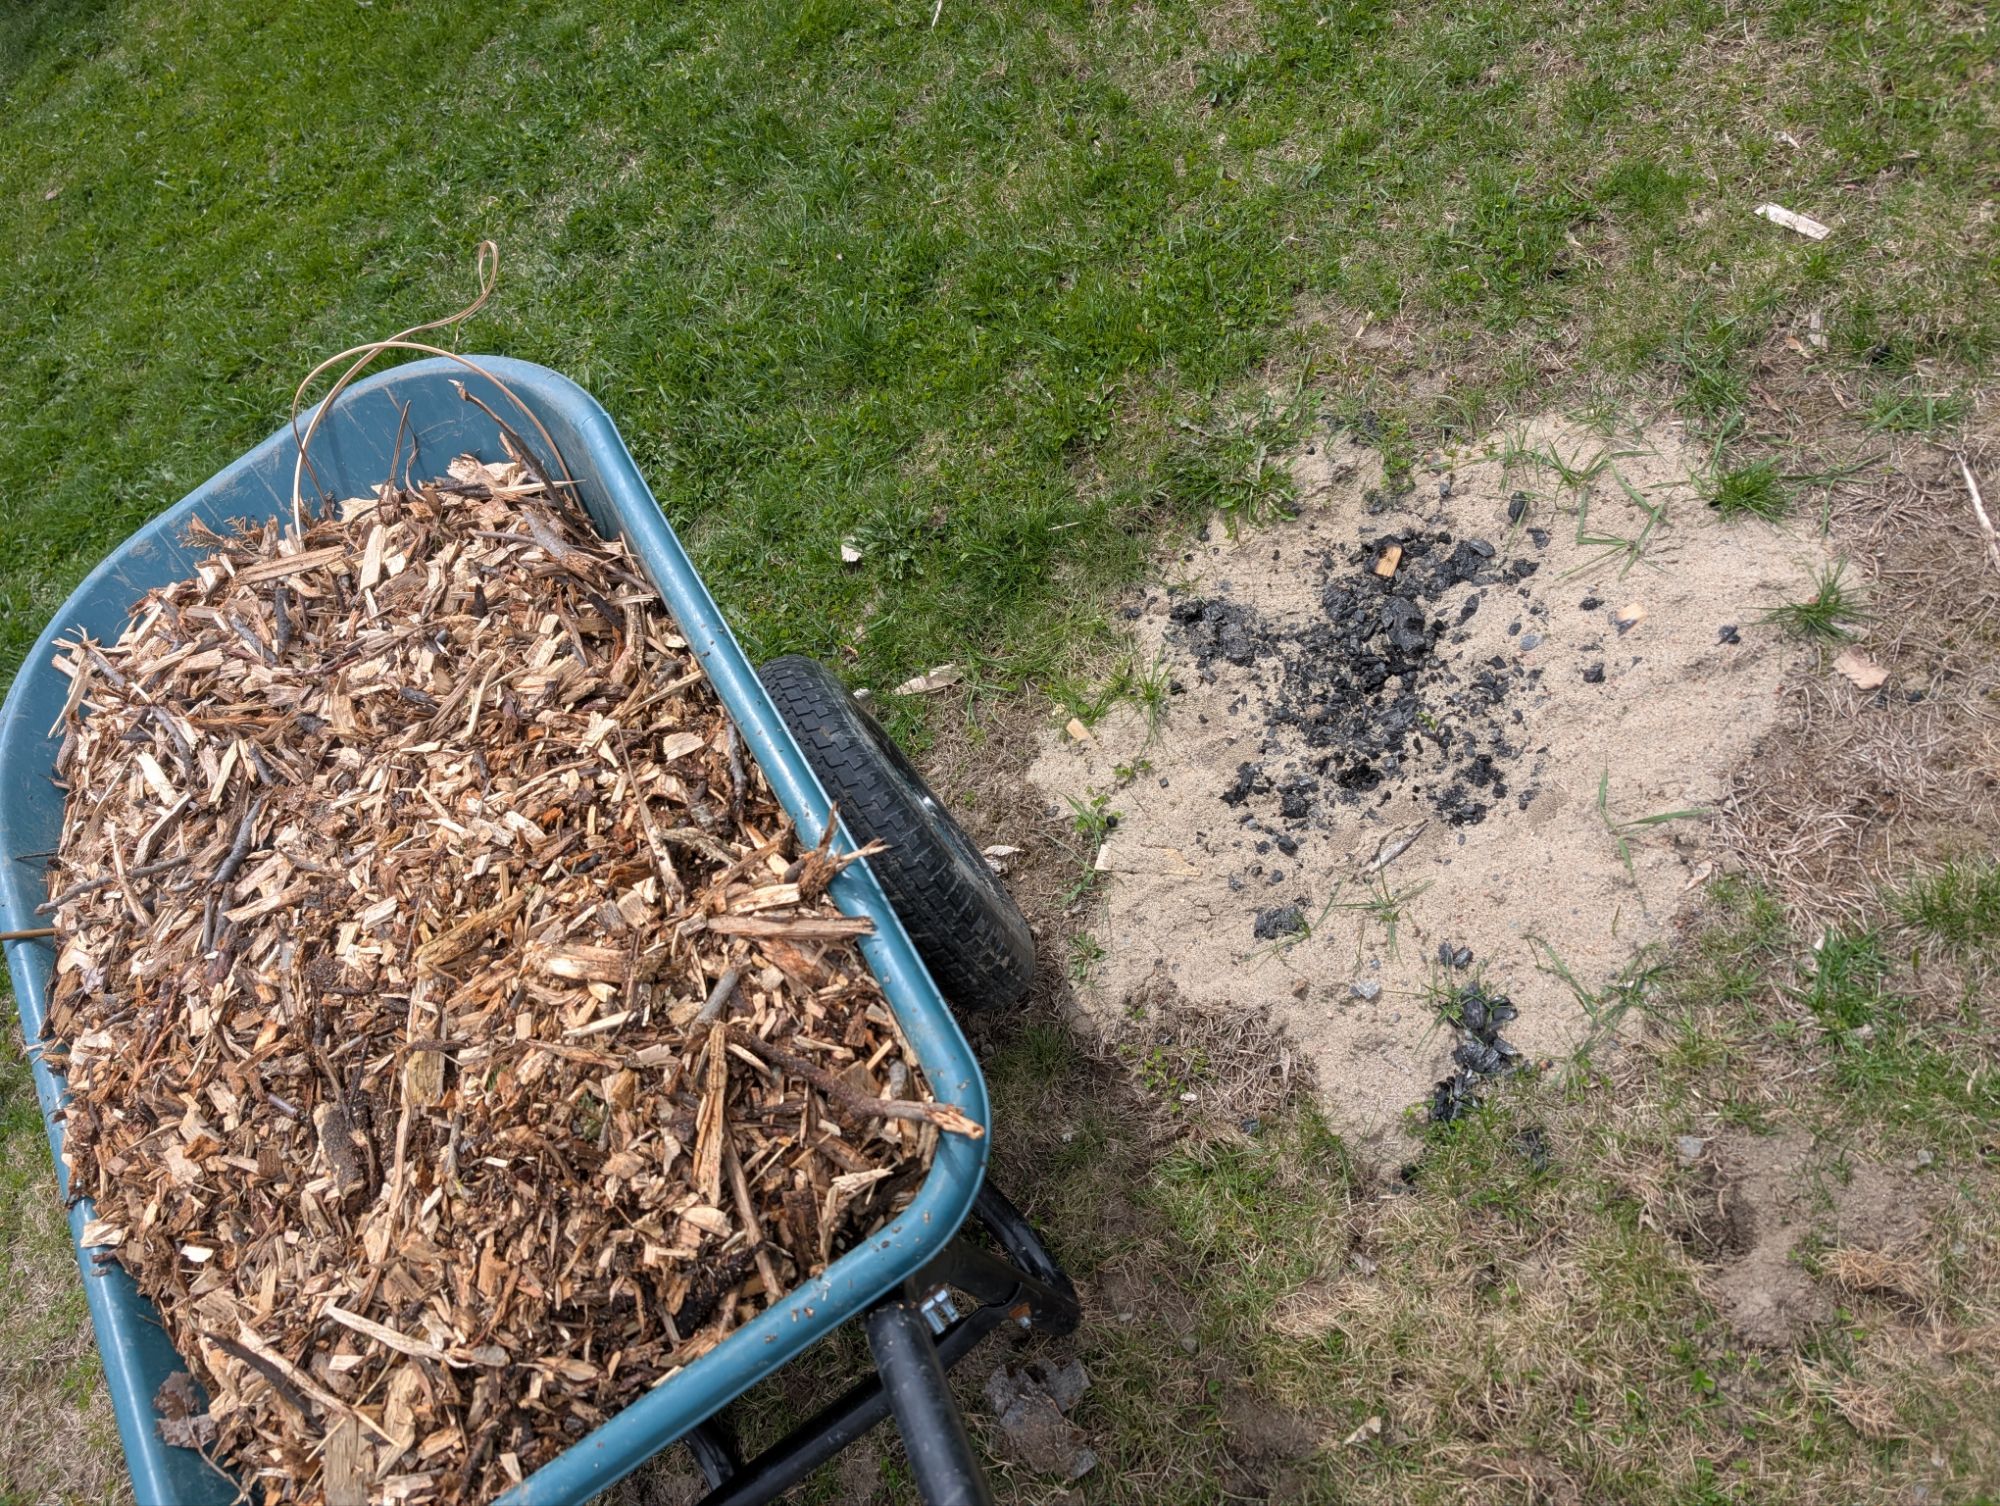
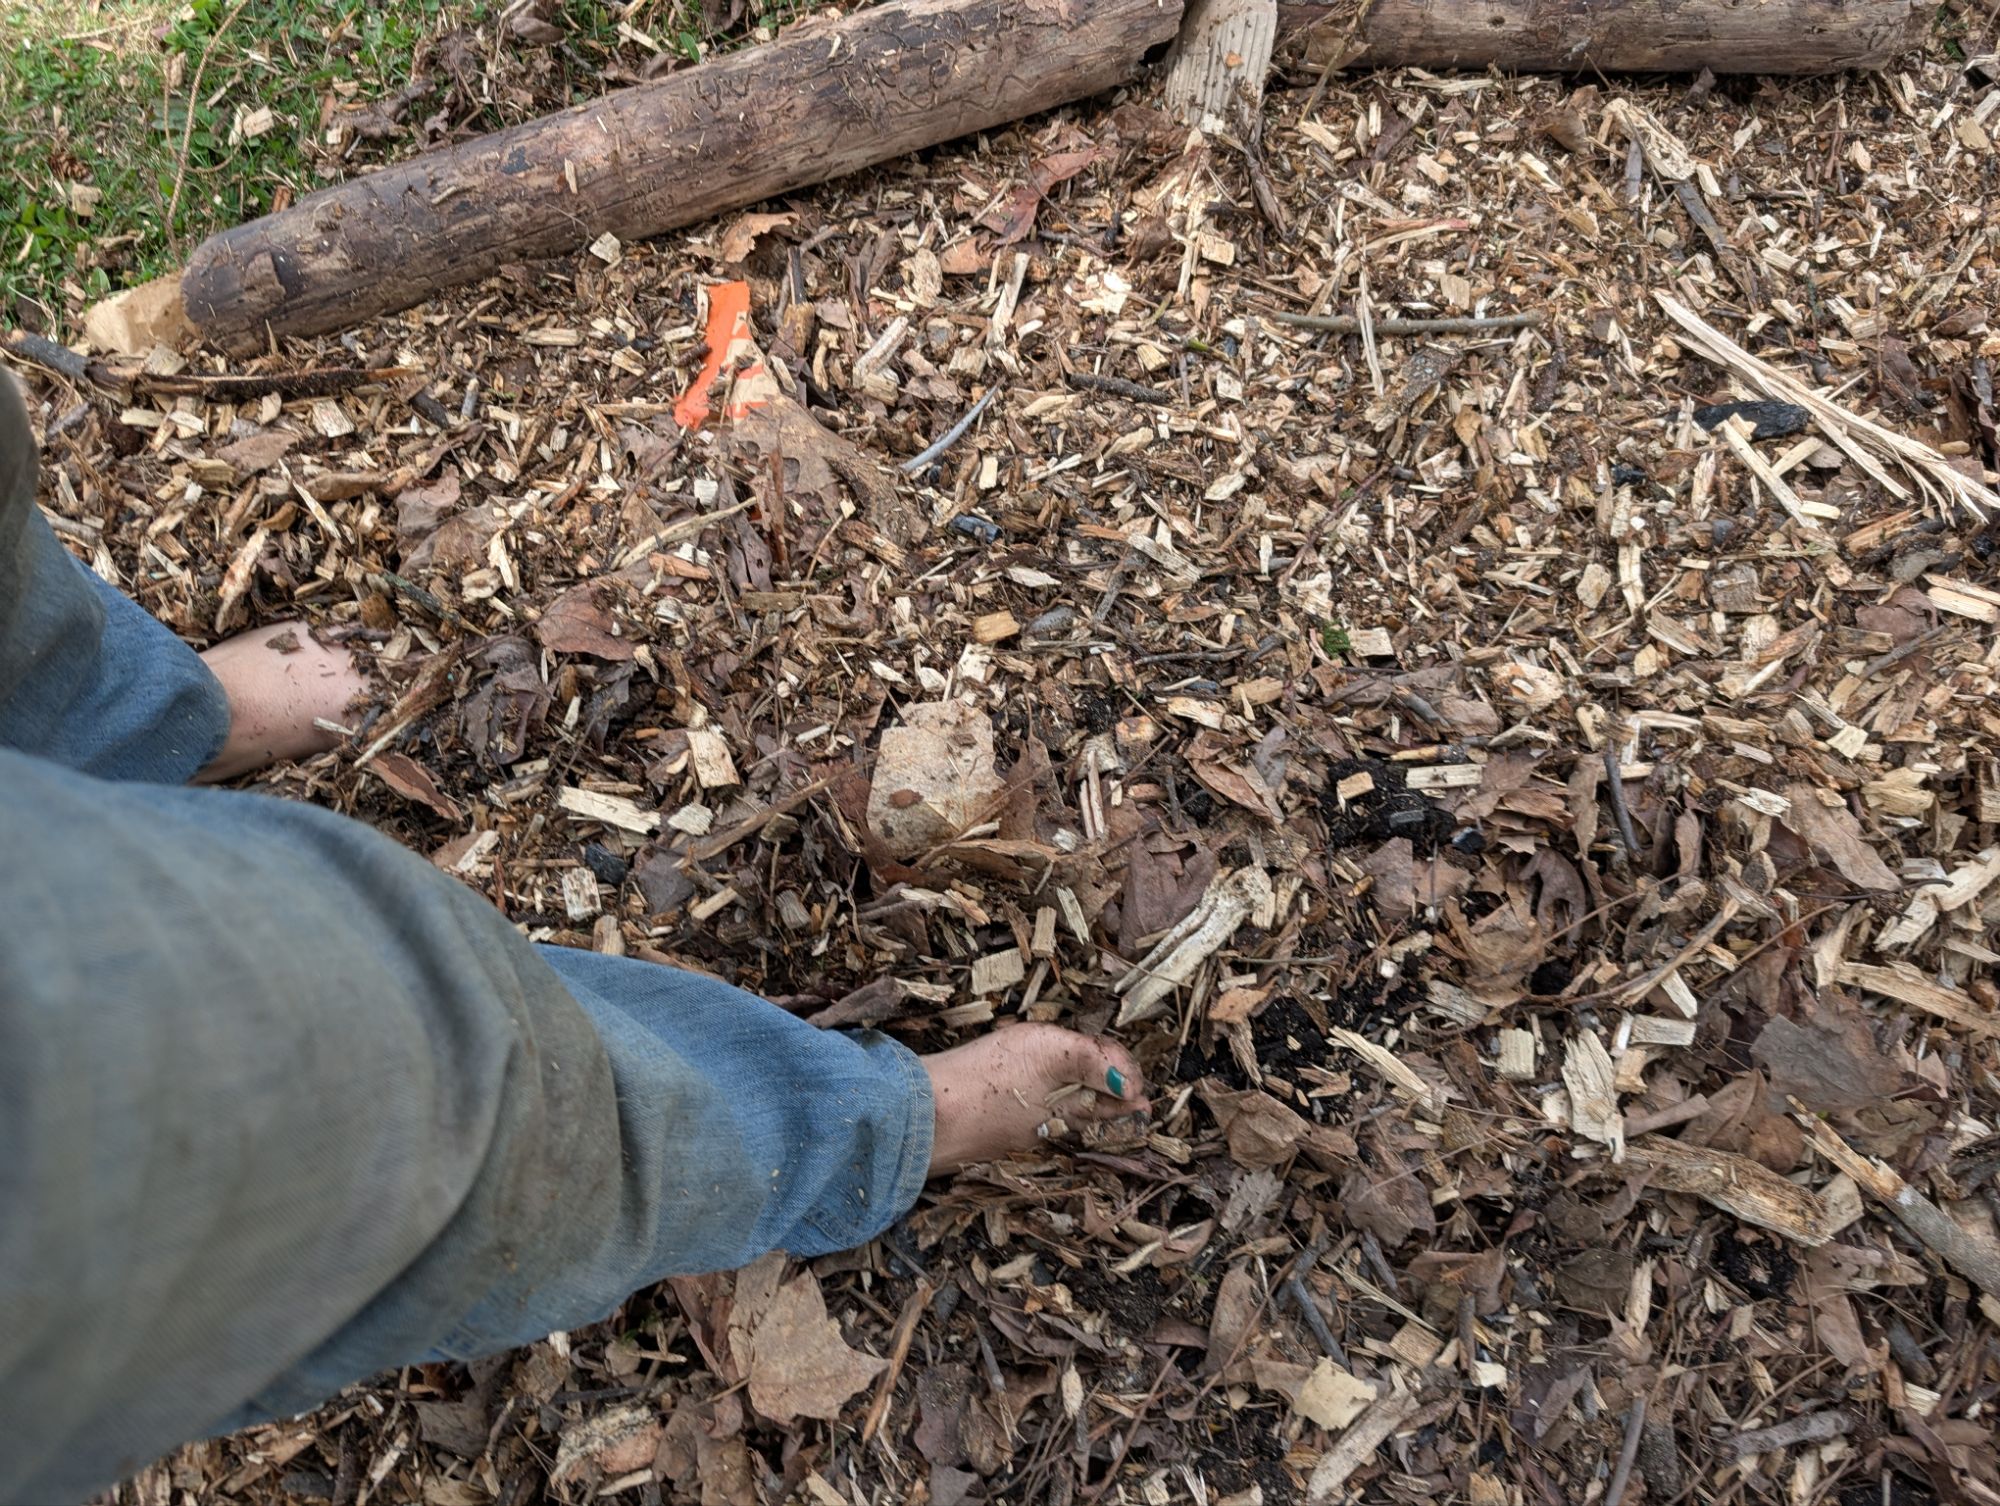
I grabbed a wheelbarrow of woodchips, and spread a thin layer of those on top as well. The soil here is quite moist all the time, so I’m not looking to lock in moisture necessarily, but a thin layer will also help keep everything in place until the cardboard and the leaves breakdown, and I can use it as a thin layer of protection around the plants.
I also gathered up some pine needles and fire pit reminents, and mixed those in to the woodchips because I like randomly sprinkling whatever I can find into soil mixes.
My shade plants choices
With a pretty decent planting area defined, it was time to choose some plants.
I took a very scientific and precise approach to choosing plants. Essentially, whatever I could find among my potted plants that I know prefers shade came with me. One small sliver of the new space has some morning sun, so I picked a few part shade species as well.
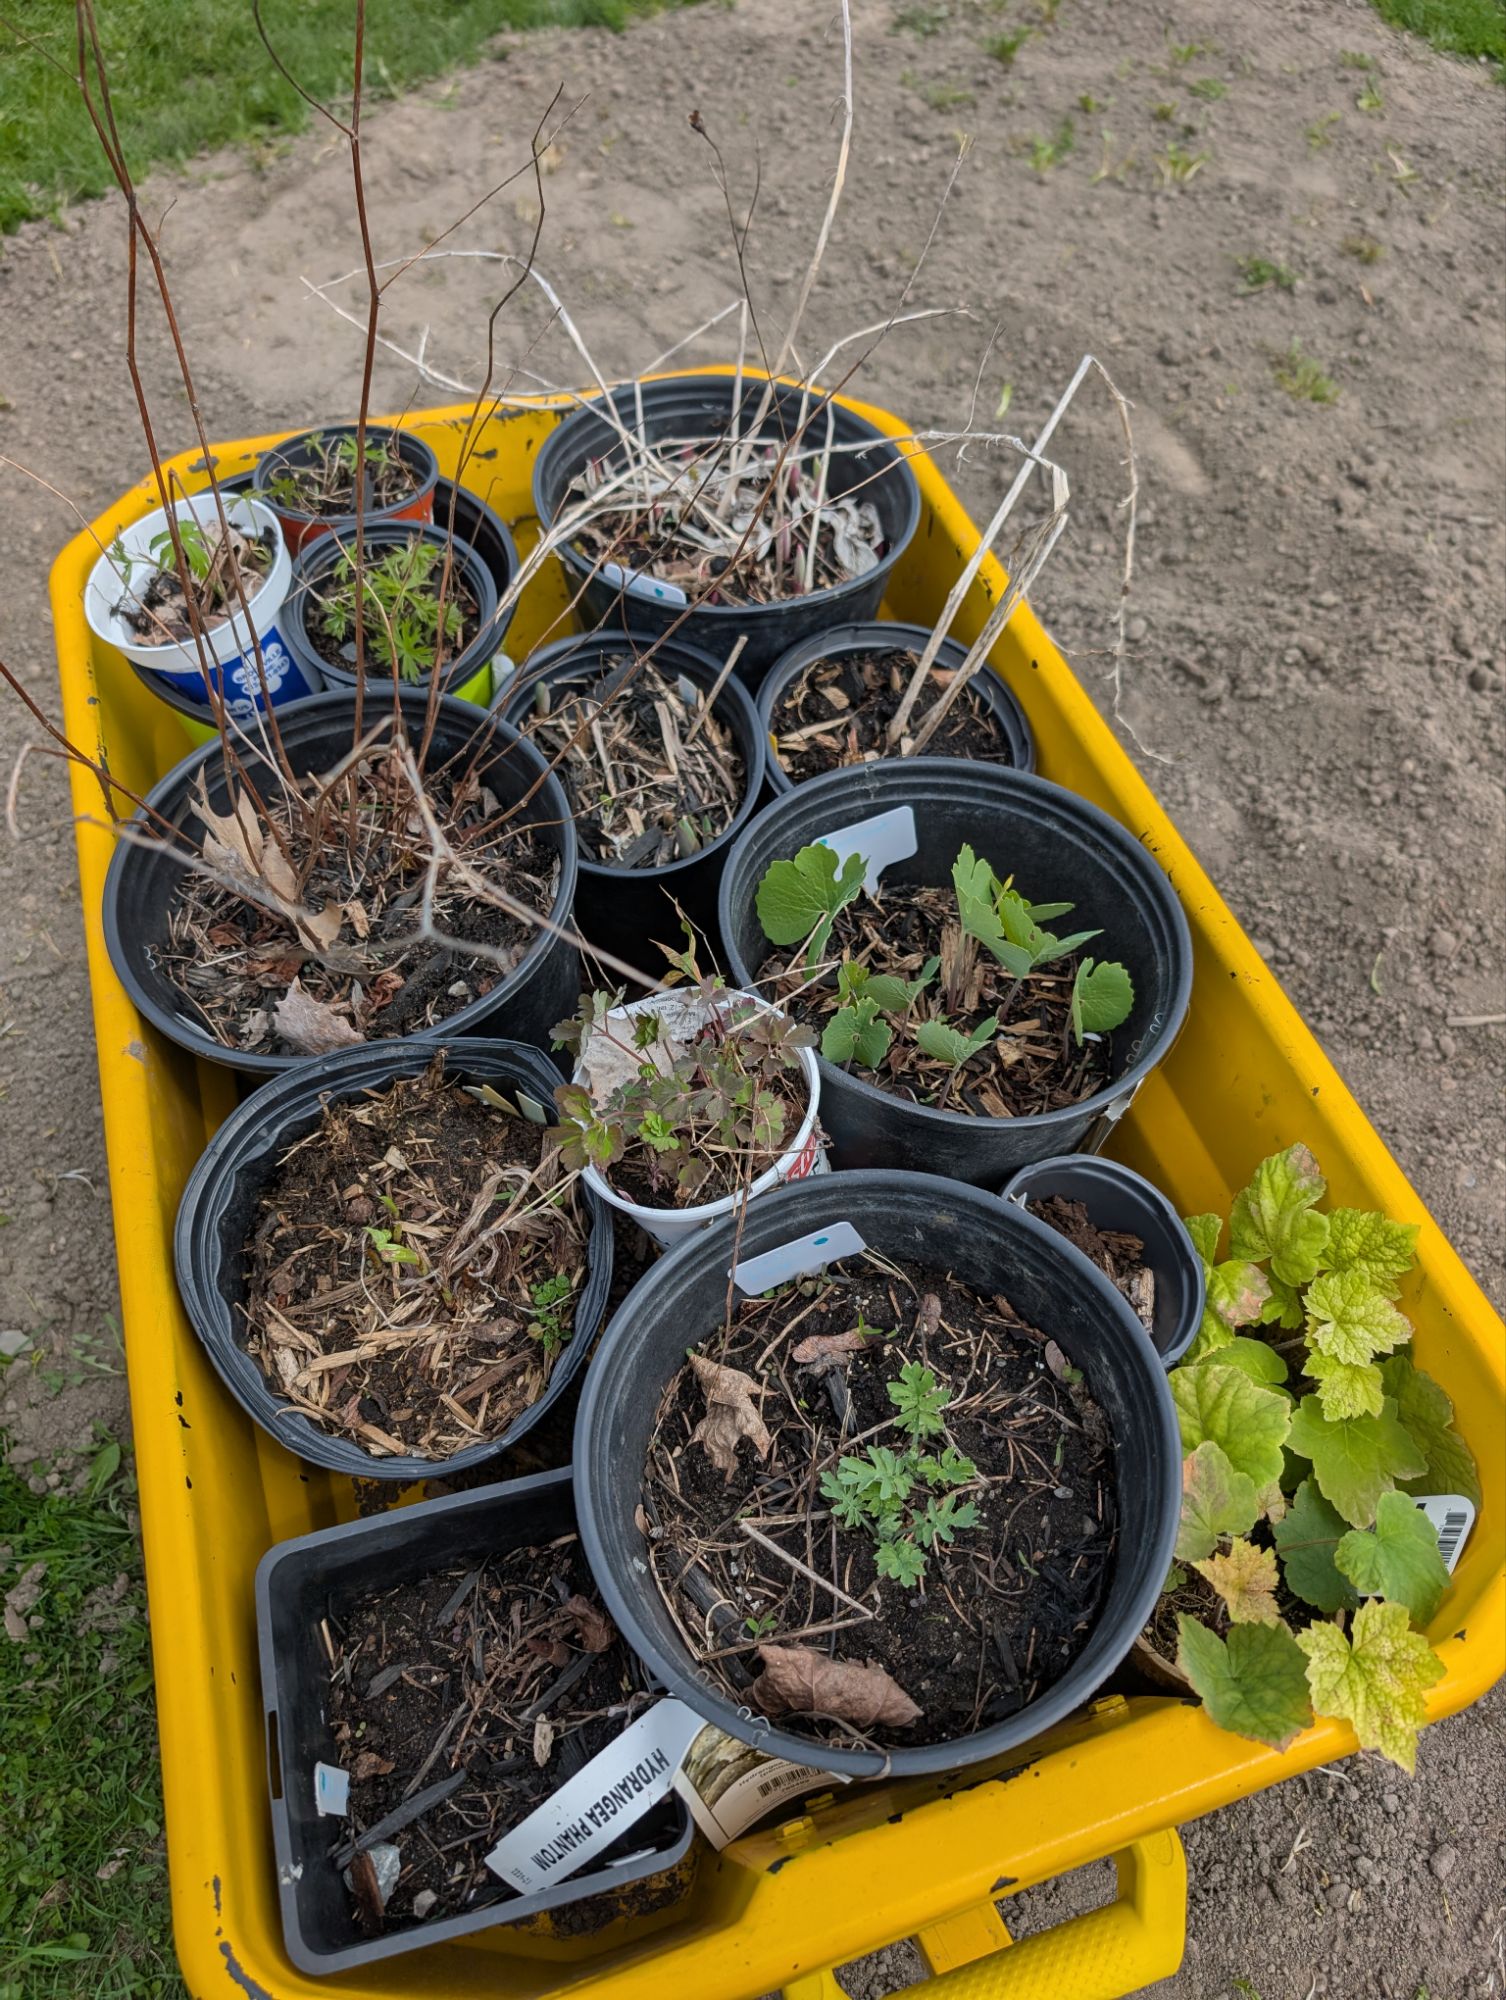
It took a few trips with my little wagon to bring over the shade plants I wanted, but finally, I was ready to plant. Here is what I picked for the planting (many available on our species list):
- Bishop’s cap (Mitella diphylla)
- Black cohosh (Actaea racemosa)
- Bloodroot (Sanguinaria canadensis)
- Bowman’s root (Gillenia trifoliata)
- Buttonbush (Cephalanthus occidentalis)
- Canada anemone (Anemone canadensis)
- Canada columbine (Aquilegia canadensis)
- Canada honewort (Cryptotaenia canadensis)
- Foam flower (Tiarella cordifolia)
- Foxglove beardtongue (Penstemon digitalis)
- Jack in the pulpit (Arisaema triphyllum)
- Large-leaved aster (Eurybia macrophylla)
- Maidenhair fern (Adiantum pedatum)
- Mayapple (Podophyllum peltatum)
- New York fern (Thelypteris noveboracensis)
- Northern Small Yellow Ladyslipper (Cypripedium parviflorum var. makasin)
- Ostrich fern (Matteuccia struthiopteris)
- Poke milkweed (Asclepias exaltata)
- Random Unknown Fern
- Solomon’s seal (Polygonatum biflorum)
- Whorled milkweed (Asclepias verticillata)
- Wild ginger (Asarum canadense)
- Woodland poppy (Stylophorum diphyllum)
- Woodland strawberry (Fragaria vesca)
- Zigzag goldenrod (Solidago flexicaulis)
I can’t pretend I made a site plan, I was so excited to finally plant something in our new place I just kind of went for it.

I arranged the pots how I thought I would like them, then changed my mind a bunch of times, and finally just decided to go for it, to try to get them in the ground before the rain tonight.
Disclaimer: a planting plan is always better, and tends to lead to better results. I would have likely taken my time and made one if more of these plants were new to me, but these are all plants I have been growing for a few years at least, and I’m quite familiar with their temperament as well as growing patterns in similar growing conditions (except for the soil. It’s much more clay-based and moist here.
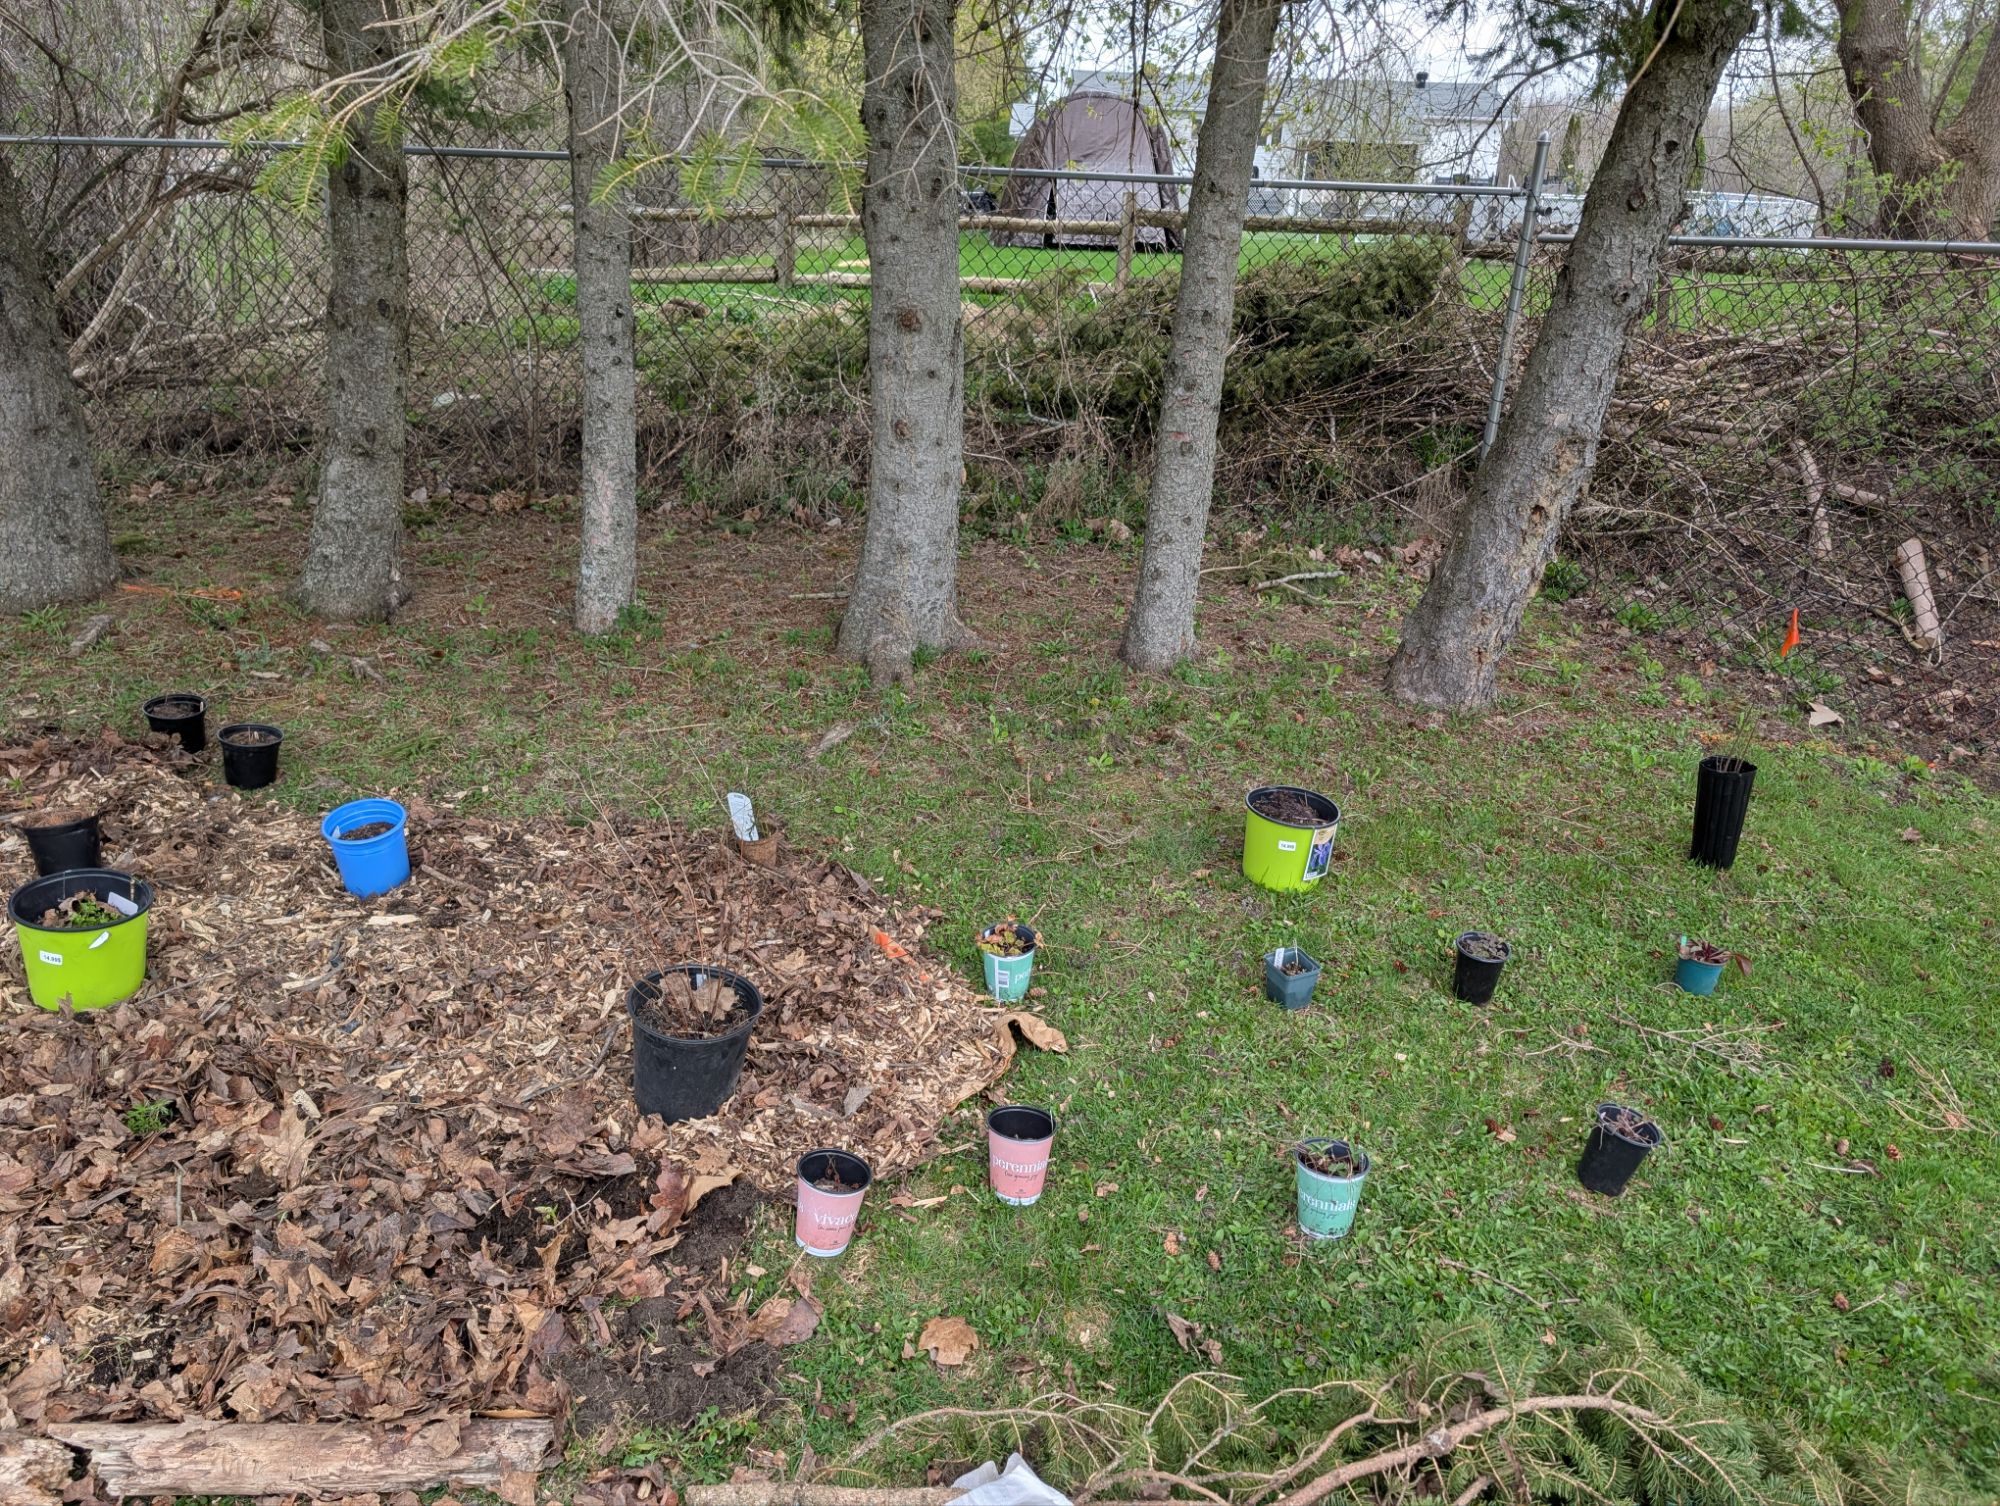
I aimed to space everything about a foot apart, knowing they will likely spread themselves out fully by the end of the summer.
The planting
I mixed a bag of soil with a bag of local made farm compost, and used that underneath each plant to give them a bit of a boost until they reestablish their roots in their new home.
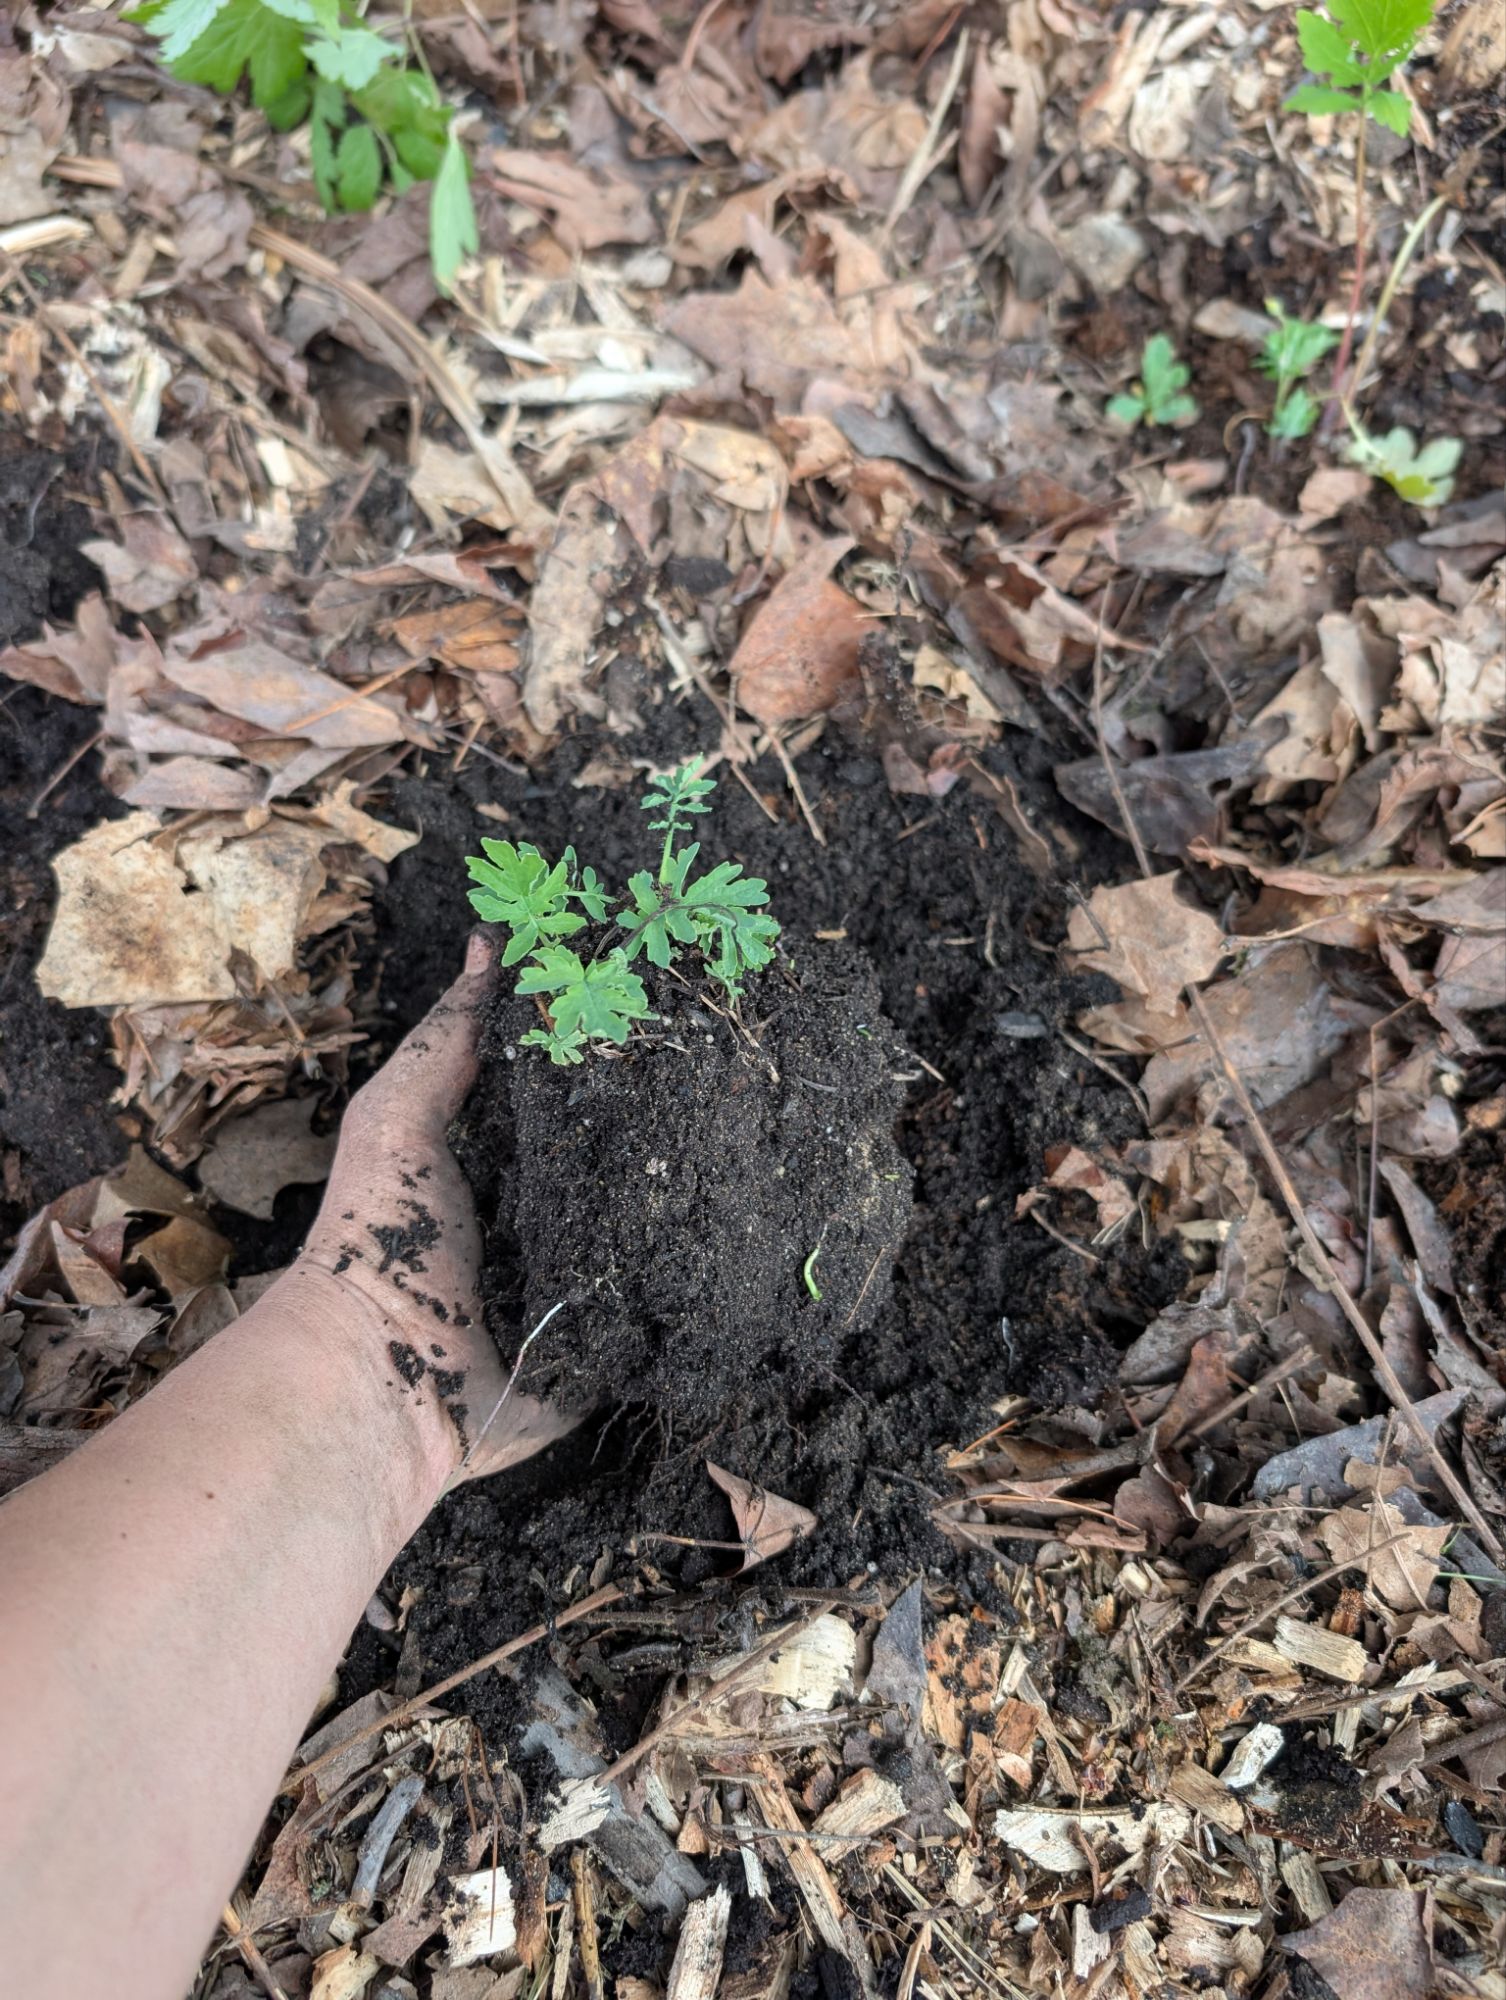
I love planting this way as there is so little digging required. I make a small well in the leaf mixture, add a handful or two of the compost mix, place the plant and dirt on top of the compost, and cover it back up with the leaves and mulch.
Around 3:00 pm I was two thirds done planting but I had run out of mulched space. The clouds were looming over my head and threatening to crack open at any moment with gusts of strong wind warning me a storm is coming, so I changed my approach a bit, to get everything in the ground.
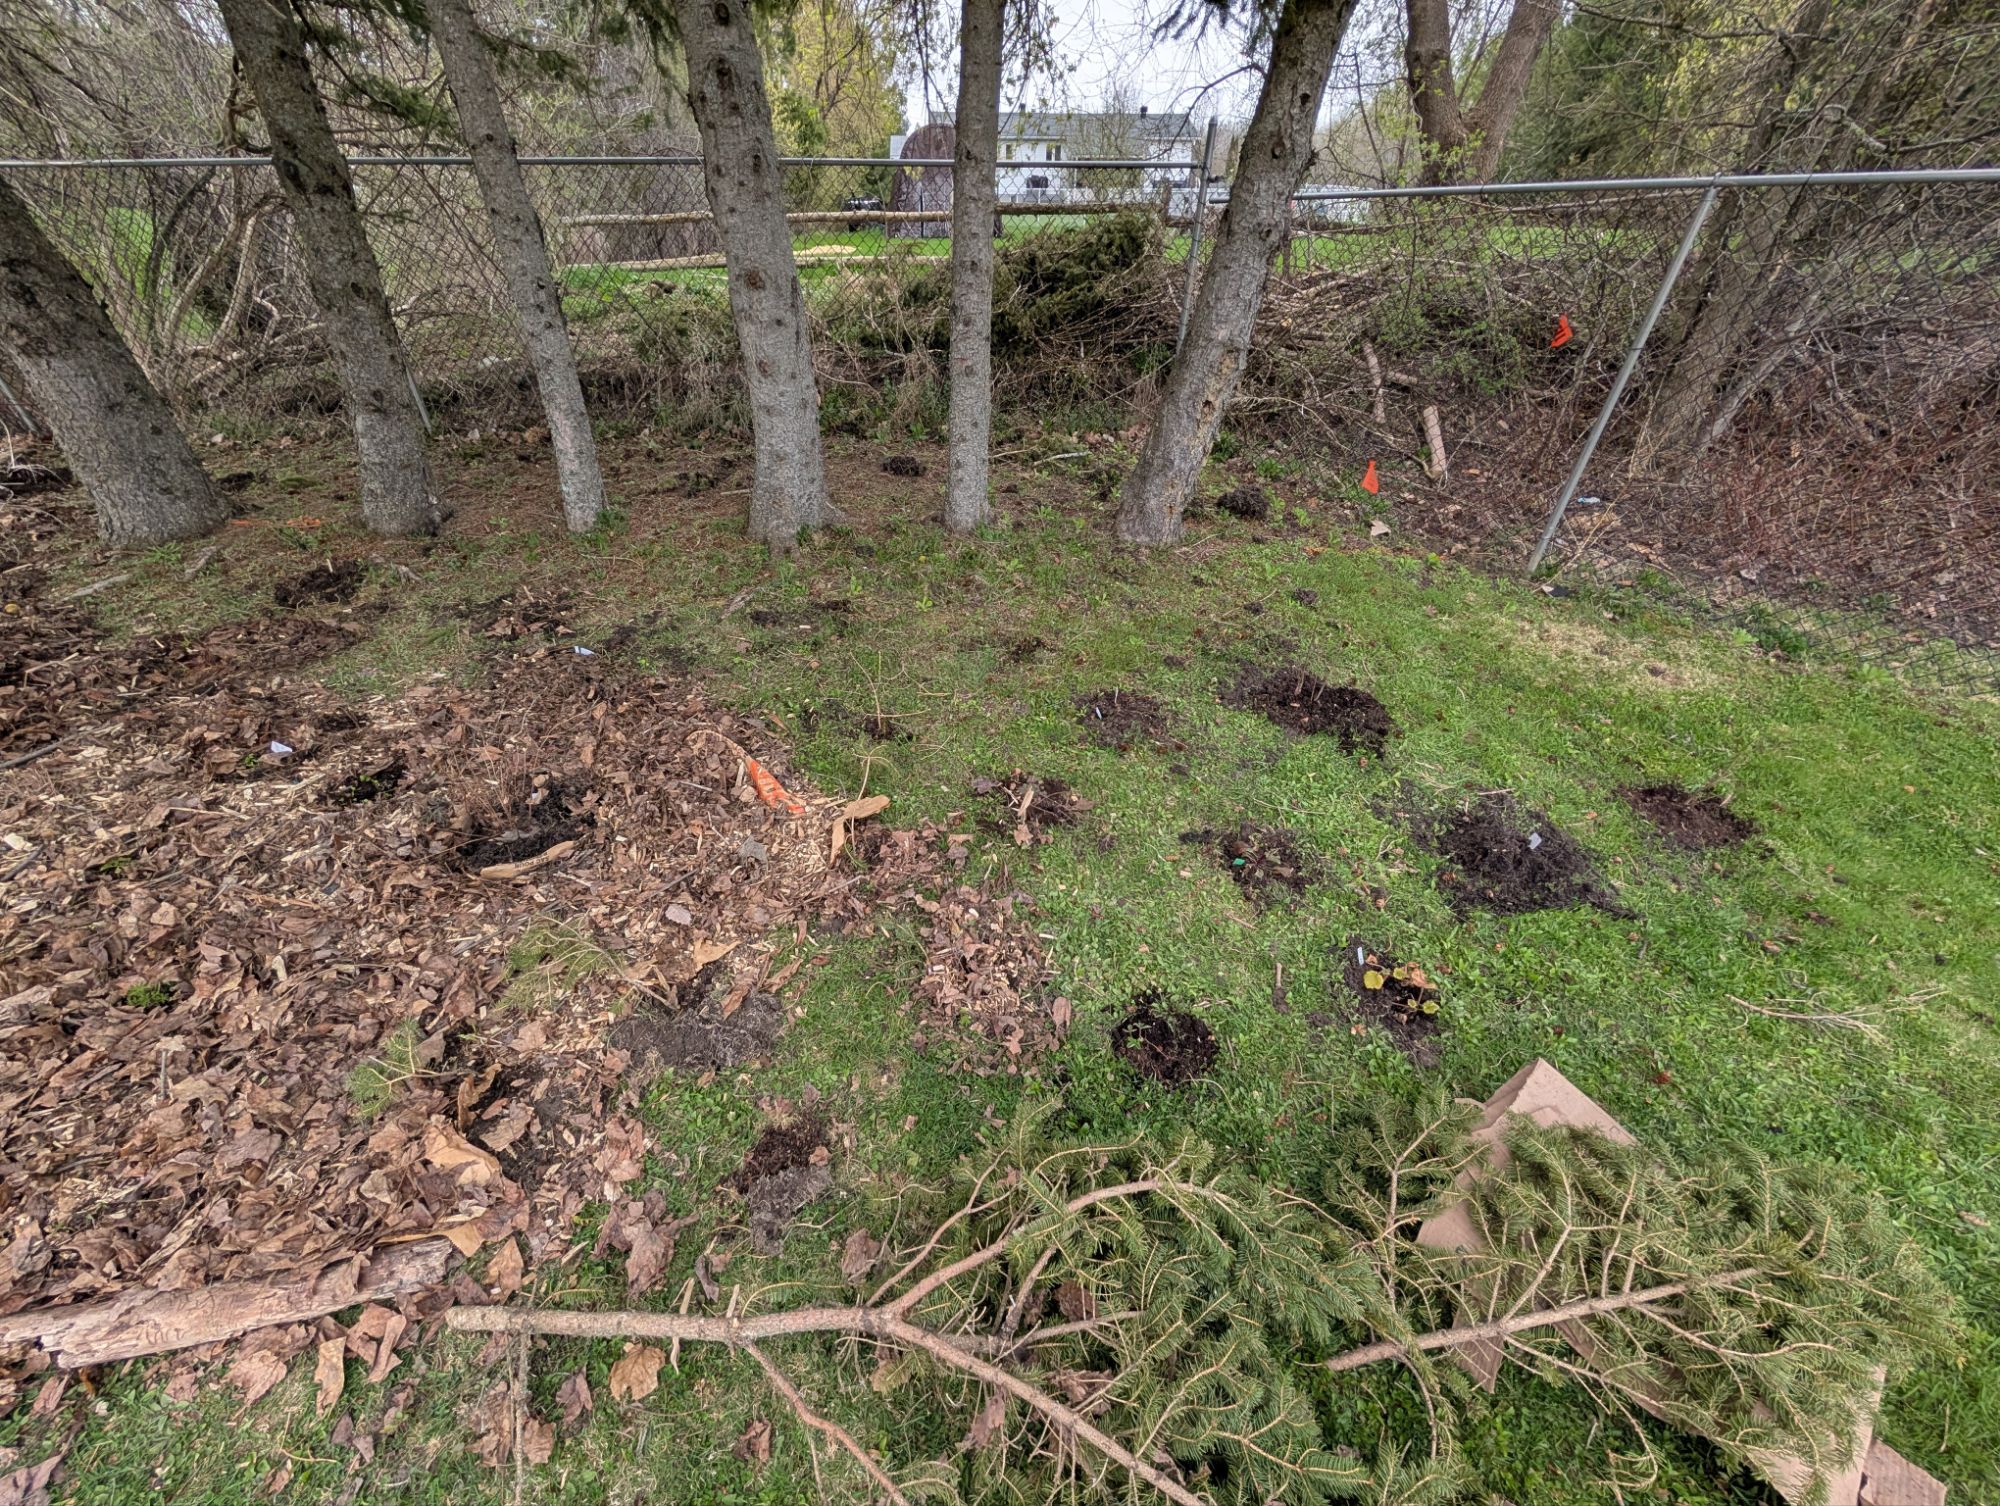
I dug out grass in small circles where I wanted to place remaining plants, added some compost to the soil directly, and planted on top of that. I will come back tomorrow with a couple more bags of leaves and a bit more wood chips, and then I’ll consider this little shady patch complete, and enjoy watching it grow into itself this summer.
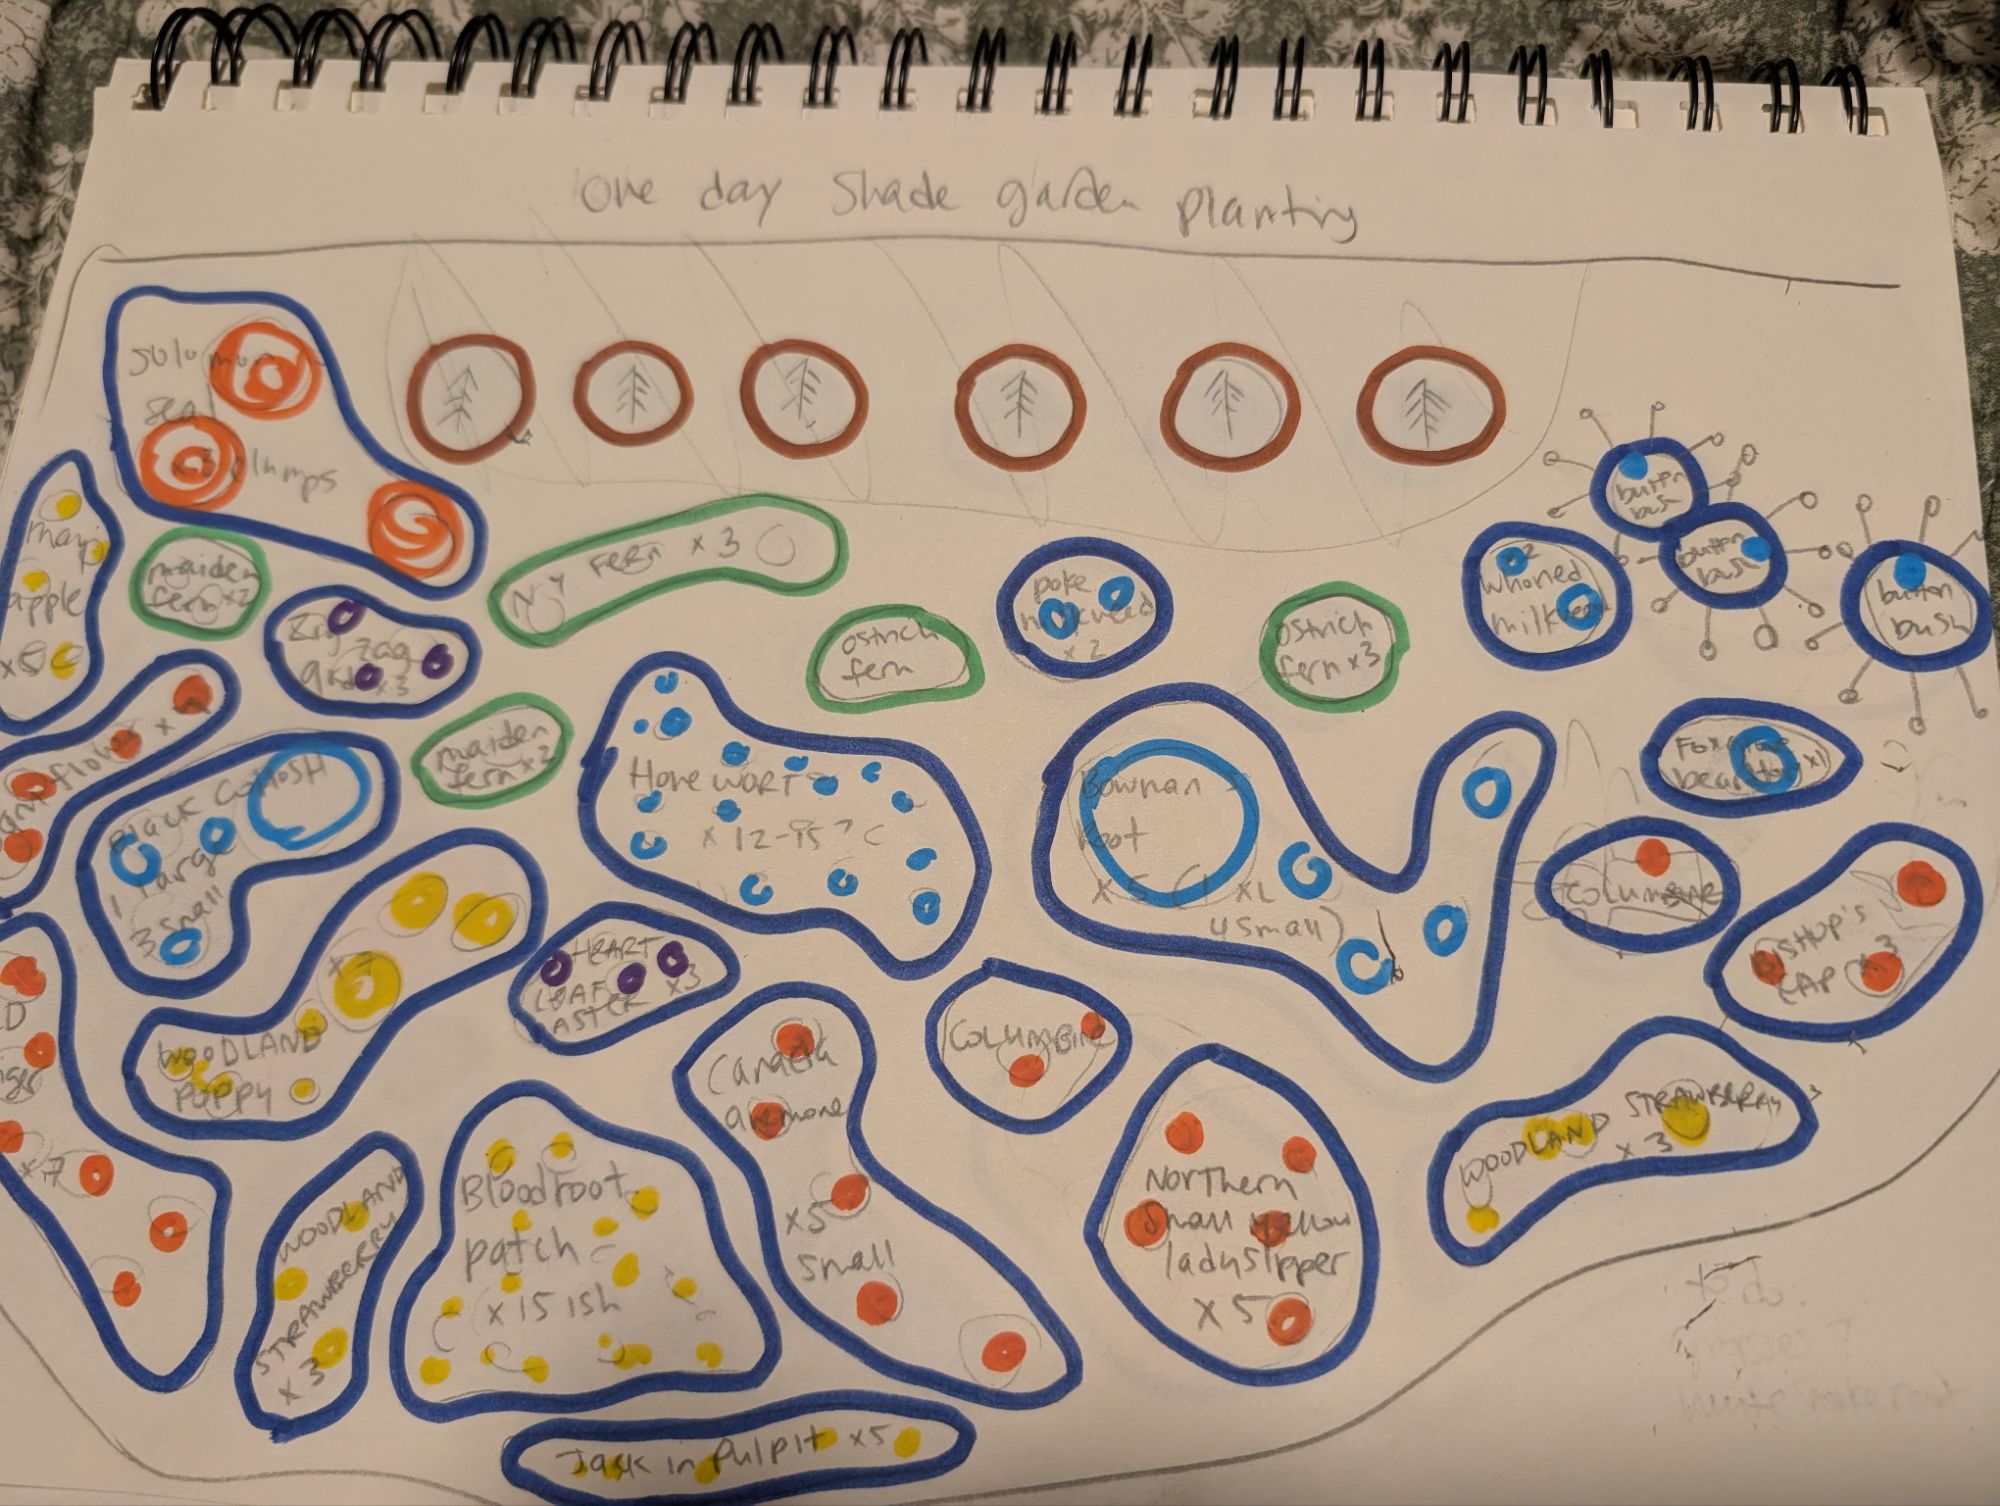
I didn’t create a plan for the planting ahead of time, because I was too excited to plant, but I also don’t have plant tags for many of the pots I planted, so I sketched a quick one to help me remember how this started.
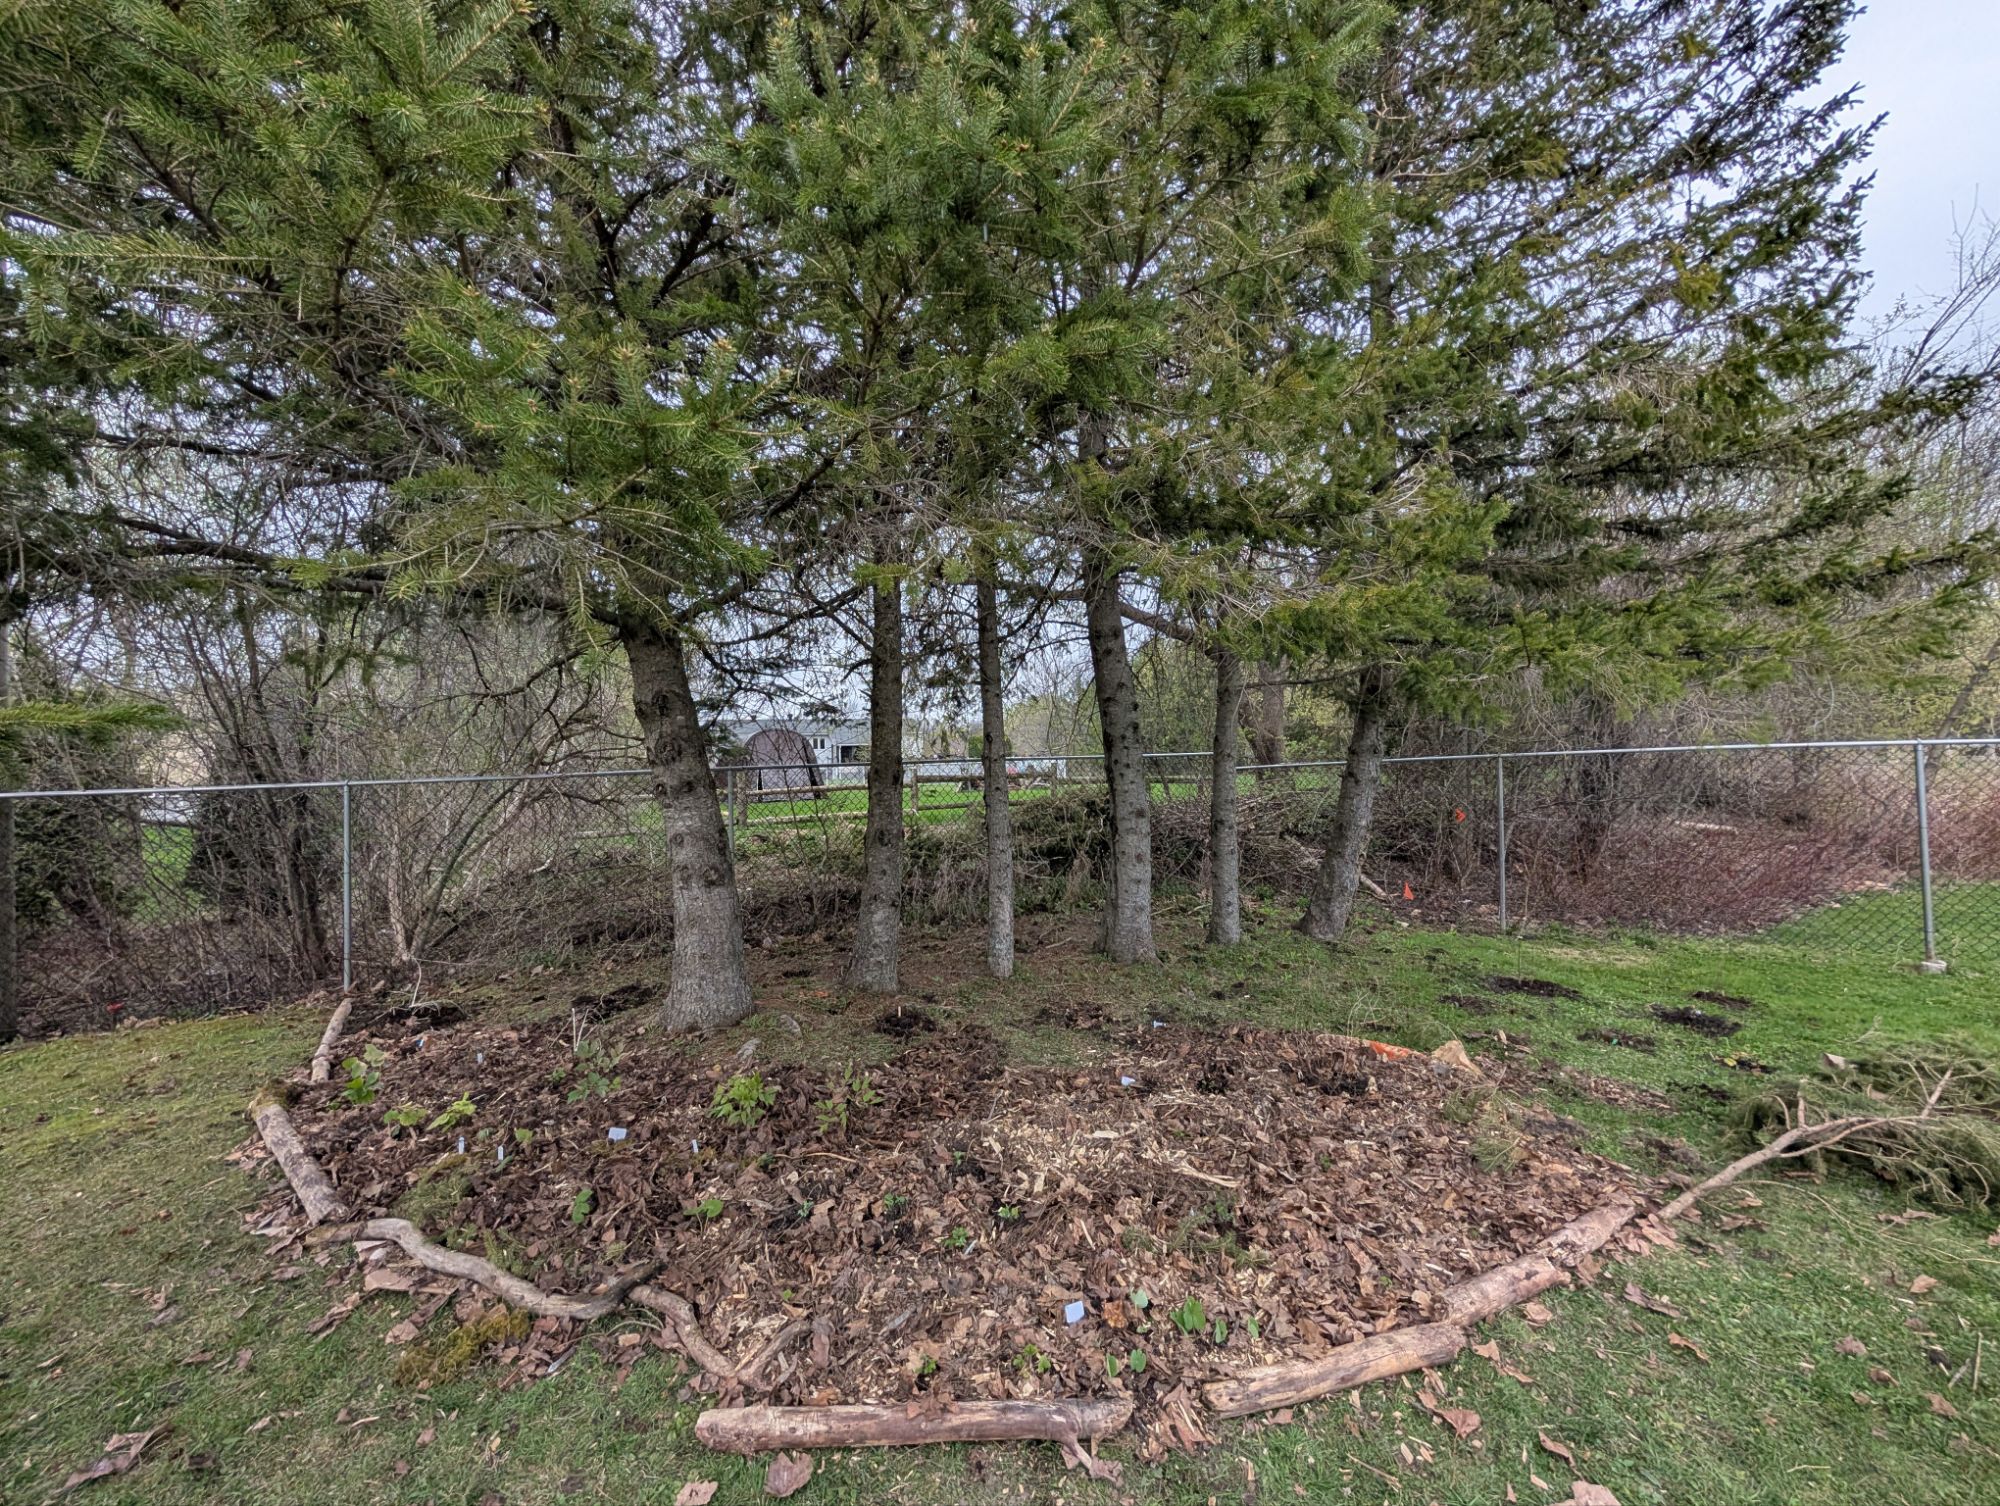
Here’s my first planting, in our new space. I only used mature plants for this planting, but will likely either extend the site, or come back and fill in areas with some baby plants once this winter’s seedlings get a little bigger.
I hope this inspires you to consider a native planting under a tough to grow shaded area of your yard. What I planted today doesn’t look impressive yet, but follow along to see this patch transform into a biodiverse and beautiful shady pollinator magnet.
Leave a Reply